
User's Manual


SurveyMonkey User Manual
Page 40
1a. Create Link for Your Email Message through Your Own
Email Client:
If you would like to send a link through your own email client like Outlook or
Hotmail, then this option is provided to collect the link that you can copy and paste
into the message to be sent through your email client. Please look over the following
steps to see how this is done. In addition, click here to visit the online tutorial for
sending a link through your own email.
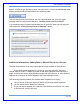
Step 1: Click the Collect icon to the right of the survey title on the My Surveys page.
This opens the page where you pick what kind of collector you want to create. (Click
the Add New Collector button if you have previously created collectors). Since you
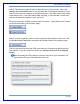
want to send a link through you own email client, you will choose the option of
"create link for email message or for a webpage."
This option does provide anonymous responses to your survey. If you want to
track respondents using this method, click here for additional information.
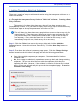
Name this collector and move on to the collector summary page by clicking the Next
Step button (These types of collectors will say "Web Link" under the name). Now you
can set up the settings and restrictions.
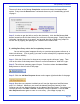
Step 2: The summary page will open to show the survey link and code. Click the
settings and restrictions button on the left hand side of the page to determine if you
want to allow only one response or multiple responses, if you want to allow the survey
to be edited or not, if you want add a thank you page, if you want add a cutoff date
and time or maximum response count, and so on.
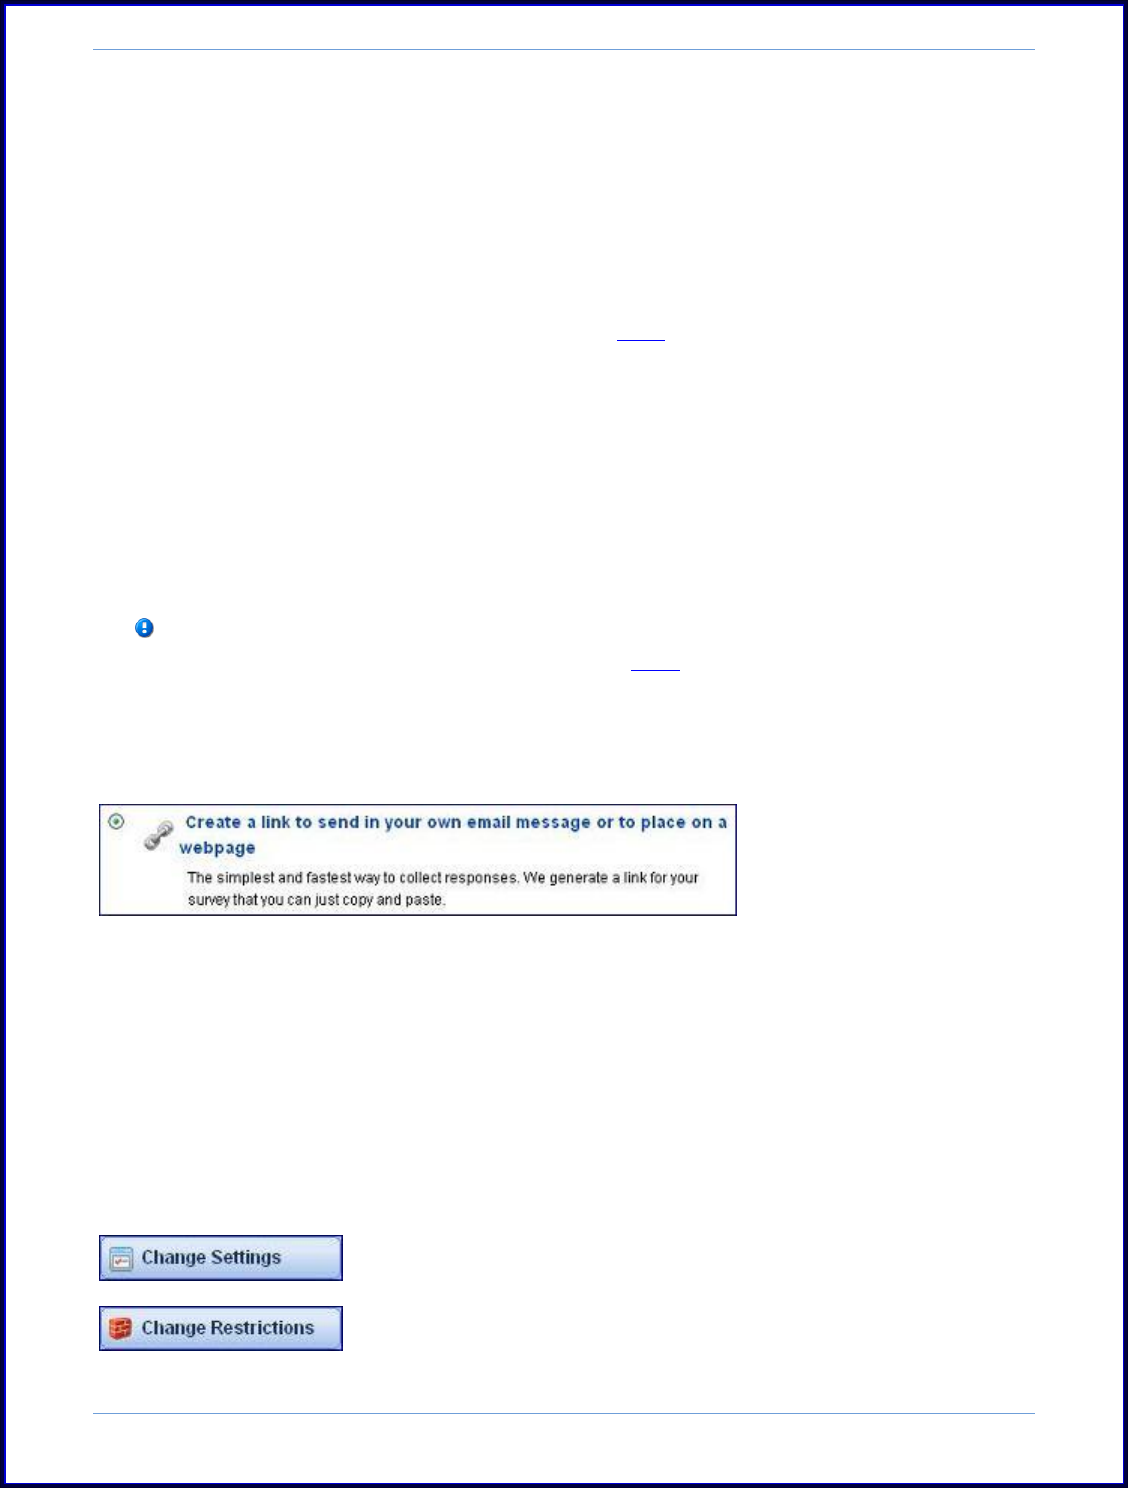
Once you create your settings and restrictions save them. (These buttons are located
on the left hand side of the collector‟s summary page):