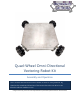
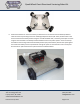
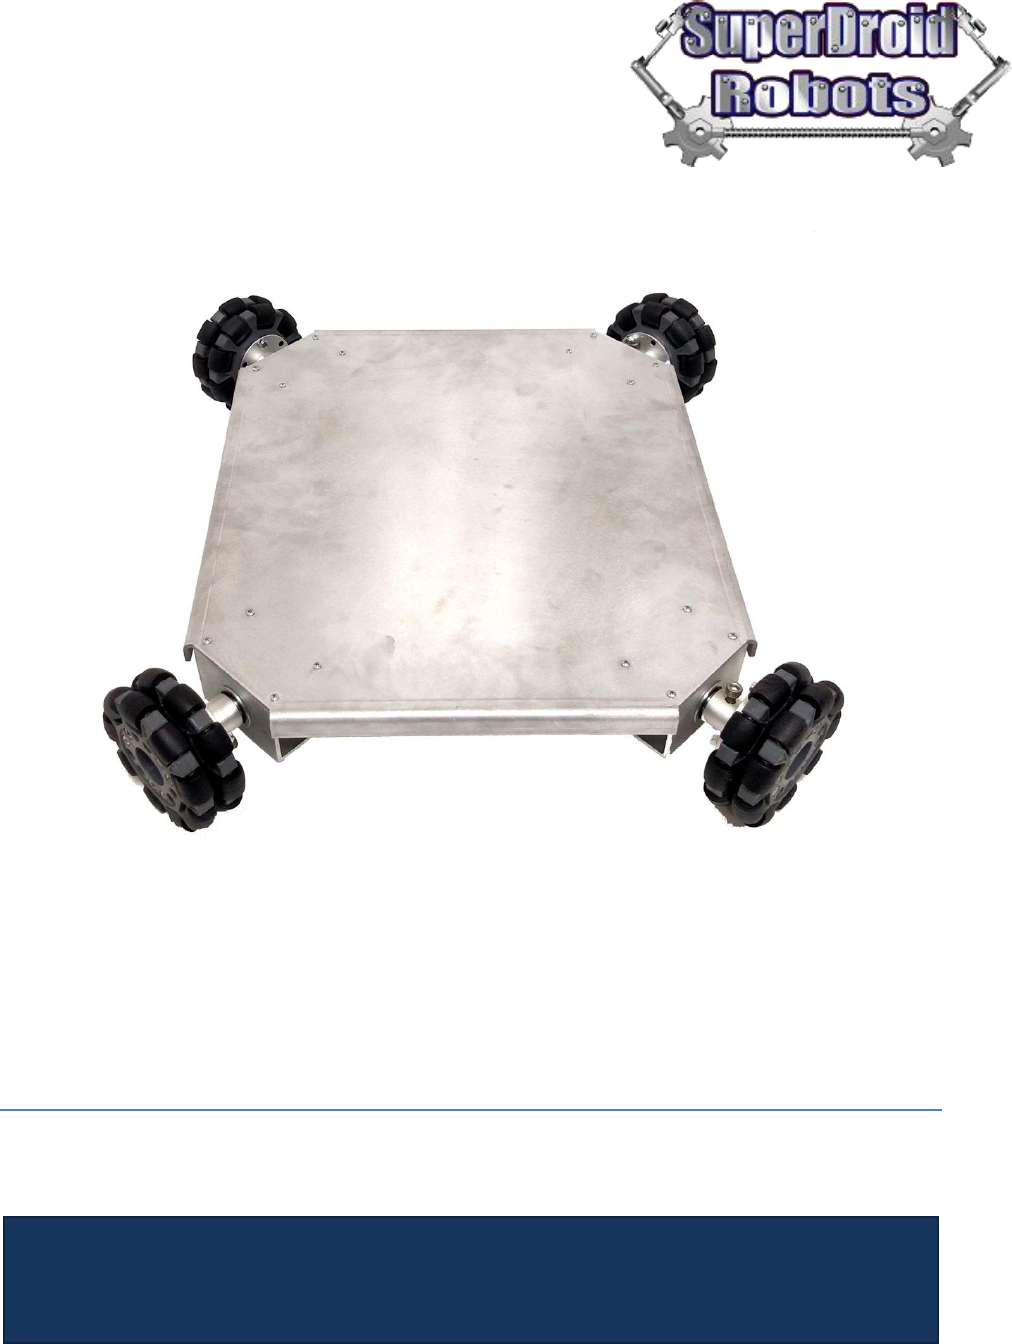
Quad-Wheel Omni-Directional Vectoring Robot Kit Assembly and Operation This is a robot that uses 4 omni omni-wheels to vector it in any direction. By changing the speeds and directions of the motors the robot can drive in any direction without needing to turn.
Quad-Wheel Omni-Directional Vectoring Robot Kit Contents Mechanical Assembly ................................................................................................................................................... 3 Electrical Assembly ....................................................................................................................................................... 8 Operation ....................................................................................................
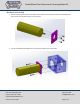
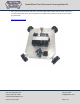
Quad-Wheel Omni-Directional Vectoring Robot Kit Mechanical Assembly 1. Start by mounting the motors to the motor plates. Use Loctite to keep the screws from vibrating loose. (Use Loctite on all screws that do not use locknuts). 2. Use the included #4-40 hardware to mount the motor plate to the motor tube. SuperDroid Robots, Inc 224 Technology Park Lane Fuquay Varina, NC 27526 www.SuperDroidRobots.com Contact (919) 557-9162 SDR@SDRobots.
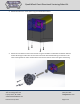
Quad-Wheel Omni-Directional Vectoring Robot Kit 3. Mount the tube to the chassis plate using included #4-40 hardware. 4. Mount the omni wheels to the aluminum hubs using the hardware included with the wheels. Slide the steel shaft through a shaft collar and onto the motor shaft. Slide the ball bearing into the hole in the motor tube opposite the motor. Now slide the hub onto the shaft so that it rests against the bearing. SuperDroid Robots, Inc 224 Technology Park Lane Fuquay Varina, NC 27526 www.
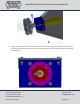
Quad-Wheel Omni-Directional Vectoring Robot Kit 5. Tighten the socket head screw in the aluminum hub onto the steel shaft. Also tighten the set screw in the lock collar, through the hole in the shaft, and onto the flat part of the motor shaft. See section view below for clarification. SuperDroid Robots, Inc 224 Technology Park Lane Fuquay Varina, NC 27526 www.SuperDroidRobots.com Contact (919) 557-9162 SDR@SDRobots.
Quad-Wheel Omni-Directional Vectoring Robot Kit 6. Position the batteries on the chassis where you want them to be mounted. Use the battery bracket to mark the necessary mounting holes to be drilled (typically these will be 1/8” holes). Drill the holes in the chassis and mount the battery bracket using the included hardware and, if necessary, foam tape to ensure a tight fit. Also included in the battery bracket hardware kit are some plastic spacers.
Quad-Wheel Omni-Directional Vectoring Robot Kit 7. Pick a spot to mount the switch and motor controllers. Mark and drill holes (1/8” for motor controller, ½” for switch). Optionally, switch mounting brackets are available for purchase for easier switch mounting (see link below). Switch Mounting Bracket SuperDroid Robots, Inc 224 Technology Park Lane Fuquay Varina, NC 27526 www.SuperDroidRobots.com Contact (919) 557-9162 SDR@SDRobots.
Quad-Wheel Omni-Directional Vectoring Robot Kit Electrical Assembly For electrical assembly please find the schematics for “Vectoring Robot” on our website: Schematics For additional support on wiring, soldering, and crimping, please read the following support pages: Electric Motor Hookup Support Electric Power Hookup Support Soldering Tips Crimping Wires Operation 1. Before powering on the robot make sure it is up on blocks so the wheels can spin freely.
Quad-Wheel Omni-Directional Vectoring Robot Kit General Terms 1. SuperDroid Robots, Inc is not responsible for special incidental or consequential damages resulting from any warranty or under any legal theory, including, but not limited to lost profits, downtime, goodwill, damage to, or replacement equipment or property, or any cost of recovering, reprogramming, or reproducing any data stored. ANY LIABILITY SHALL BE LIMITED TO REPLACEMENT OF DEFECTIVE PARTS. SuperDroid Robots, Inc.