
User Manual

34
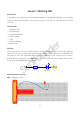
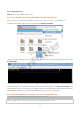
In either way, you now are in the folder C. The subsequent procedures under the two
methods are the same. Let's move on.
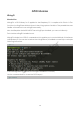
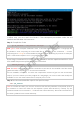
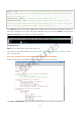
Step 3: Compile the Code
gcc 01_blinkLed.c -o 01_blinkLed -lwiringPi
Note: gcc is GNU Compiler Collection. Here, it functions like compiling the C language file
01_blinkLed.c and outputting an executable file 01_blinkLed. In the command, -o means
outputting and -lwiringPi is to load the library wiringPi (l is short for library).If you want to write your
own C code and compile to run it, you need to master gcc.
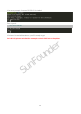
Since the gcc command is too long, you can use make to test the experimental effect of the
kit to make the process quicker and more convenient.
make 01_blinkLed
Note: The make command will compile according to the rules in the Makefile. Two files will be
generated after compiling: “*.o” and an executable file.
We use makefile, in essence, is to write the compilation method of gcc into the automated
script. If you have written your own program in C language, you need to write and modify the
makefile so as to use make command to compile your C code.
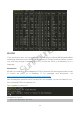
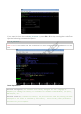
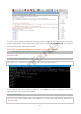
Step 4: Run the executable file output in the previous step:
sudo ./01_blinkLed
Note: To control the GPIO, you need to access to led with the permission of superuser (sudo is
not needed to control the GPIO for the raspbian system after 2016-5-27), namely, by the
command sudo. In the command “./” indicates the current directory. The whole command is to
run the 01_blinkLed in the current directory.
SunFounder