
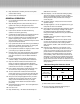
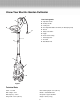
Replacement Part List
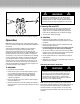

7
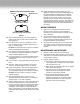
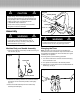
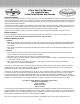
4. Exchange blades and assemble them in the sequence of
disassembly and tight on with locknut. (Fig. 5, 6, 7, 8, 9
and 10)
IMPORTANT! The tines must be set in the correct turning
direction. Note the way the old tines came off and replace the
new ones exactly the same way.
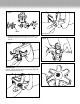
Fig. 4
Blade
Fig. 5
Fig. 6
Fig. 7
Fig. 8
Fig. 9