
Full Product Manual


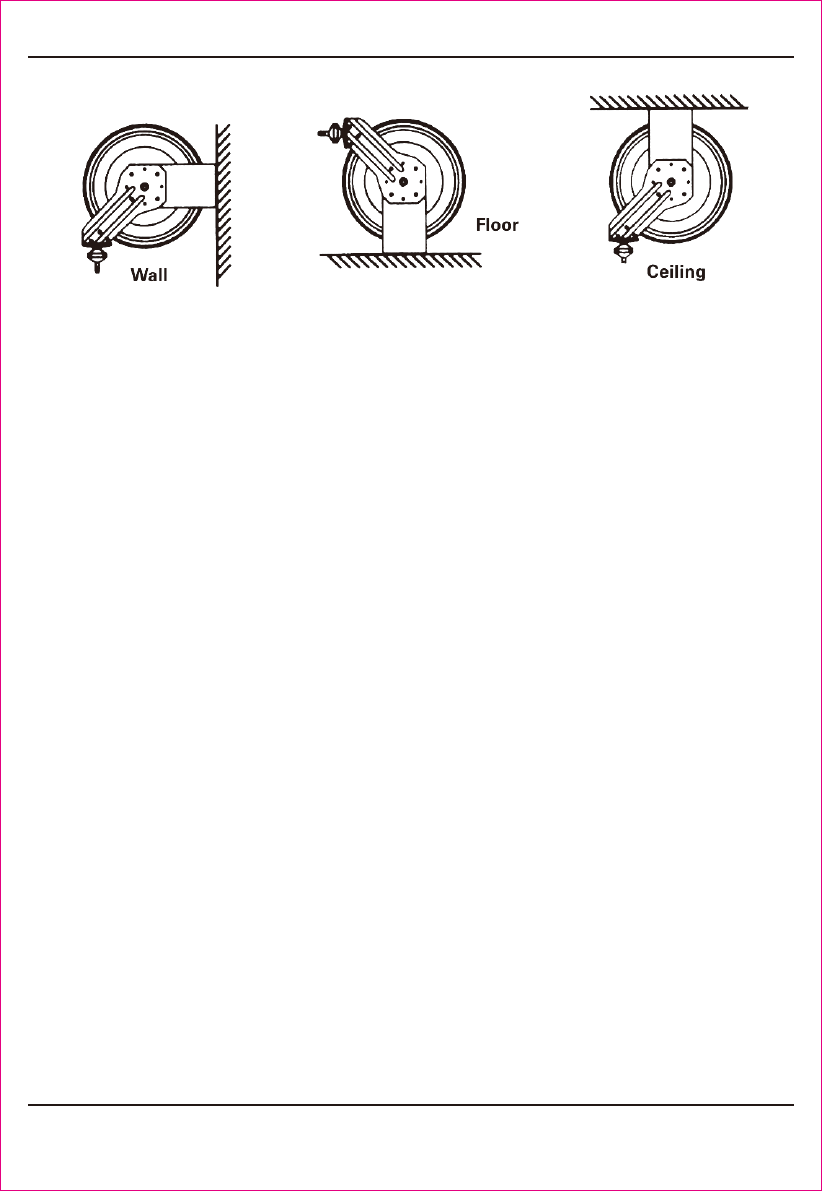
TYPICAL MOUNTING POSITIONS
ADJUSTING THE GUIDE ARM
1. Pull out 3-4 feet of hose and allow reel to lock in position
2. Remove the four bolts connecting guide arm to support post
3. Rotate guide arm in 90° increments to desired position. Replace four bolts and tighten
ADJUSTING THE HOSE STOPPER
The hose stopper determines the length or hose that remains outside of reel. To adjust,
pull hose out past desired position of hose stopper and latch reel. Loosen both stopper
bolts and move stopper to proper position. Tighten stopper bolts.
OPERATING HOSE RELL
1. Slowly pull hose from reel to desired length. A ratcheting mechanism inside reel makes
a short series of clicking sounds every half revolution of reel.
2. To lock reel in position, listen for clicking sounds as hose is slowly pulled from reel. When
reel clicks stop pulling hose. Decrease tension on hose and reel should lock in position.
3. To retract hose onto reel, slowly pull out hose until series of clicking sounds stop
(1/8 revolution). DO NOT LET GO OF HOSE! Allow hose to retract slowly until hose
stopper rests against hose guide.
4. Periodically check the hose for excessive wear and hose connections for air leaks.
MAINTAINING HOSE REEL
Refer to parts diagram on back page for part numbers.
ADJUSTING RECOIL TENSION
1. Disconnect incoming air supply.
2. Pull out about 2 feet of hose and latch the reel.
3. Remove hose stopper (Part 28).
Continue by choosing proper mounting hardware. Mounting reel using four 1/2” bolts
secured through four slots in mounting base. Use washers on mounting bolts to help
bear weight of reel.
After reel is secured in position, attach air hose coming from compressor. Warp threads
of male connector on incoming air hose with teflon tape (included) or thread sealant and
connect to air inlet valve on side of hose reel. Connect other end of incoming air hose to
air compressor. Apply teflon tape to threads on hose before attaching ir tools.
customerservice@focus-ontools.com
3
1-800-348-5004