
User's Guide


88
Wireless System
Image-TBD
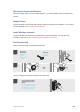
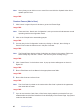
8 Place the Person in a Group.
Image-TBD
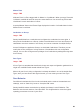
9 Click the arrow in the Groups tag (or drag & drop) to add a name to the selected Group
(visible below the Card Code boxes).
Image-TBD
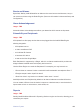
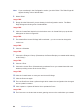
10 A list of Group names will slide from the left, exposing the only existing Group
(‘Everyone’).
Image-TBD
Note To easily nd a Group name in a long list of Groups, click the mouse anywhere in the
Available Groups window and start typing the name of the Group. The name most
closely matching will automatically select.
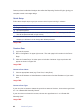
11 Repeat these steps to create each additional Person.
12 Each time you create/update a Person or prole, the information will be automatically
sent to each Door – there is no need to perform a Door Update Action.
Image-TBD
Note If you create or update a Person and you see a red wavy line in a eld, hover the
cursor over that eld and a message will appear explaining the problem. Correct the
problem and try again.
13 Change the Admin password.
14 Select the Admin rectangle.
15 Click ‘Edit Person’ in the Actions menu. A pop-up window will appear displaying the
Admin information, as shown in Figure XX.
Image-TBD
16 Click ‘Role’ to modify Admin user’s credentials.
17 Provide a new Password in both Password elds.
18 Click ‘Save’.
19 You will automatically log out. You may log back in using the new Password.
Create an Access Privilege
1 Click on ‘Conguration’.
Image-TBD