
User guide
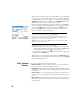
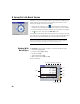

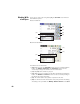

Table Of Contents
- Software End User License Agreement
- Data Collector Warranty Program
- Table of Contents
- 1. Welcome to Survey Pro
- 2. Introduction to the Survey Pro User Interface
- 3. Creating a Job
- 4. Connecting Survey Pro to an Instrument
- 5. Optical Surveying
- 6. GNSS Surveying
- 7. Stakeout Routines
- 8. Survey Pro’s On-Board Version
- Appendix
- Index
62
Working With
a Job Open
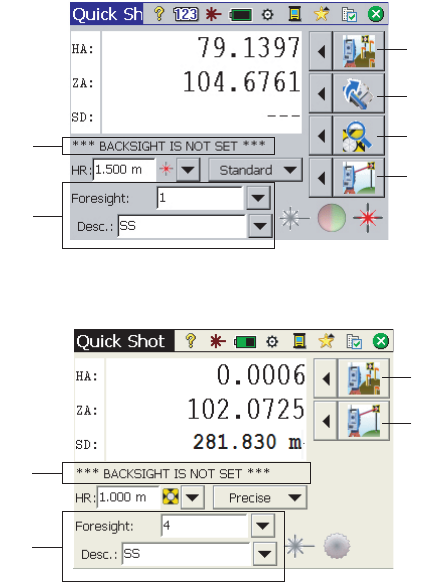
If you open or create a job using button [13], the Quick Shot screen will then
show different options.
Robotic Instrument:
Mechanical Instrument:
The differences are listed below:
• [10]: With a job open, the Quick Stake screen can be accessed through this
button. The Stakeout, Station Setup and Check Setup functions can be
accessed by clicking on the arrow to the left of this button.
• [11] and [12]: Same as with no job open.
• [13]: With a job open, a sideshot can be taken and stored by pressing this
button. The Sideshot and Traverse functions can be accessed by clicking on
the arrow to the left of this button.
• [19]: The current station setup status is reported in this area.
• [20]: Use this area to name and describe each point you will be measuring
and storing in the job. Make sure MSR Key= Measure and Store on the Quick
[10]
[11]
[12]
[19]
[20]
[13]
[10]
[13]
[19]
[20]