
User guide

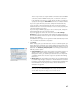
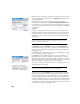
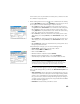
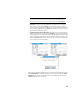
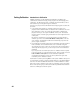
Table Of Contents
- Software End User License Agreement
- Data Collector Warranty Program
- Table of Contents
- 1. Welcome to Survey Pro
- 2. Introduction to the Survey Pro User Interface
- 3. Creating a Job
- 4. Connecting Survey Pro to an Instrument
- 5. Optical Surveying
- 6. GNSS Surveying
- 7. Stakeout Routines
- 8. Survey Pro’s On-Board Version
- Appendix
- Index
39
Some routines, such as point stakeout or offset points, cannot be run until
the calibration is properly solved.
• Before starting data collection, tap in the command bar. This directly
opens the Meas. Mode tab (part of the Job Settings screen) where you can set
the acceptance criteria for different types of point collection:
–On the Data tab, define the criteria for all the points you will collect
using Point from the Data Collection screen or from the active survey map.
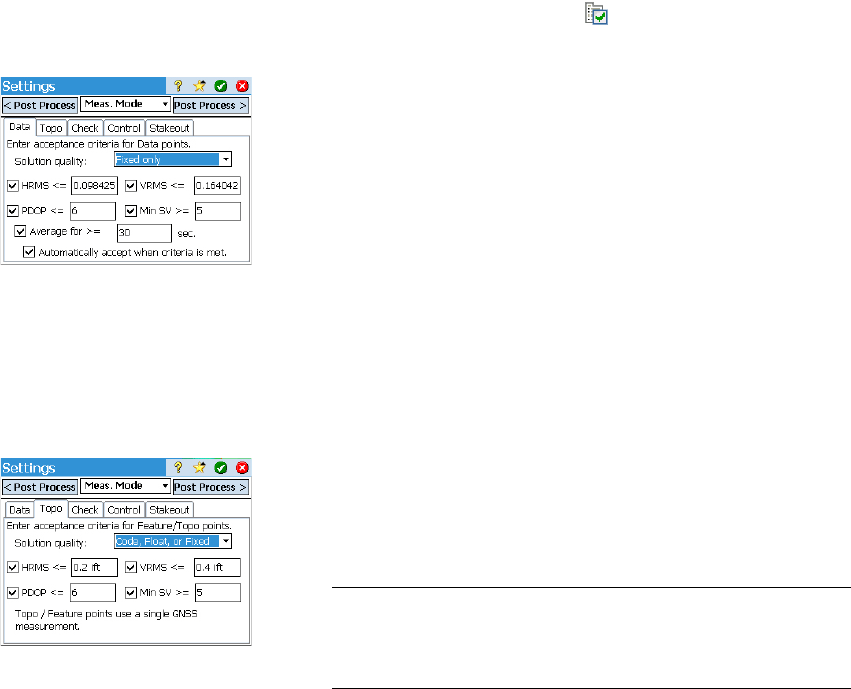
–On the Topo tab, define the criteria for all the points you will collect
using Topo SS from any measurement screen or from the active survey
map. Topo criteria are also used for feature collection.
–On the Check tab, define the criteria for all the points you will collect
after tapping successively Control (on the Data Collection screen), then
Check.
–On the Control tab, define the criteria for all the points you will collect
after tapping successively Control (on the Data Collection screen), then
Control.
–On the Stakeout tab, define the criteria for all the points you will collect
through any stakeout routine.
Independently for each type, you can set the following criteria:
– Solution quality: “Fixed only” or “Code, Float or Fixed”
– Max. tolerated HRMS and VRMS values
– Max. tolerated PDOP value
– Minimum number of satellites required (Min SV).
– Minimum position averaging time, in seconds (Average for)
– Automatically accept data collection or not when criteria are met.
NOTE: The last two criteria make sense when the receiver is set to static to give
the best averaged position. Since in Topo SS point collection Survey Pro is
allowed to store a point using the single latest epoch of data, these two criteria
are irrelevant in that case (compare the two screen examples on the left).
If you enabled raw data logging for post processing, the Post Process tab is
also accessible through which you will set the RTK autonomous points field
as follows:
– Allow in PPK Survey: Choose this option to allow Survey Pro to store an
autonomous solution for a data point. This will happen during an RTK
survey in case of intermittent or prolonged data link failure. By doing
this, you will be able, after the survey and through post-processing, to
calculate a precise solution for the point using the data from the GNSS
raw data file (PPK logging file).
– Do Not Store: No autonomous point will be stored.