
User guide
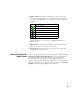
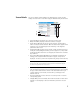
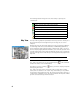
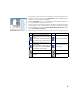

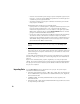
Table Of Contents
- Software End User License Agreement
- Data Collector Warranty Program
- Table of Contents
- 1. Welcome to Survey Pro
- 2. Introduction to the Survey Pro User Interface
- 3. Creating a Job
- 4. Connecting Survey Pro to an Instrument
- 5. Optical Surveying
- 6. GNSS Surveying
- 7. Stakeout Routines
- 8. Survey Pro’s On-Board Version
- Appendix
- Index
5
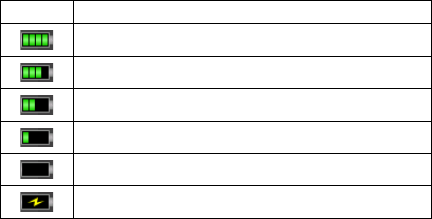
• Battery Level [3]: The battery icon displays the condition of the data
collector’s rechargeable battery. The icon has five variations depending on
the level of charge remaining, and a sixth variation to indicate battery
charging.
Tapping the battery icon is a shortcut to the Windows Mobile Power
Settings screen.
• Quick Pick [4]: The Quick Pick button will open a customizable list of
routines. To quickly access a routine, just tap on it.
• Online Help [5]: This button opens the online help, which allows you to
access information for each screen.
How to Customize the
Home Screen
A message is displayed right after opening or creating a job asking you to “Tap
and hold on menu items to manage the Home screen”. This message prompts you
to customize the Home menu so that only the functions you will most
frequently be using in the field will be made available from this screen.
After you have become familiar with the customization process and next time
you launch Survey Pro, you can dismiss the message by checking the Don’t ask
this again prompt before tapping OK to close the message.
Icon Meaning
100% charge remaining
75% charge remaining
50% charge remaining
25% charge remaining
Less than 5% charge remaining
Battery charging from AC adaptor