Reference Manual
Table Of Contents
- Table of Contents
- Welcome
- Main Menu
- File Menu
- Job Menu
- Job Menu – GPS
- Job Menu – Basic GPS
- Survey Menu
- Backsight Setup
- Traverse / Sideshot
- Repetition Shots
- Multiple Sideshots
- Radial Sideshots
- Distance Offset Shot
- Horizontal Angle Offset
- Vertical Angle Offset
- Auto Collect
- Corner & 2 Lines
- Corner & Angle
- Corner & Offset
- Corner & Plane
- Surface Scan
- Video Scan
- Shoot From Two Ends
- Record Mode
- Resection
- Remote Elevation
- Check Point
- Solar Observation
- Remote Control
- Survey Menu – GPS
- Survey Menu – Basic GPS
- Leveling Menu
- Stakeout Menu
- Stakeout Menu – GPS and Basic GPS
- Inverse Menu
- Cogo Menu
- Curve Menu
- Roads Menu
- Adjust Menu
- Miscelaneous Screens
- Appendix A
- Index

Job Menu
R-61
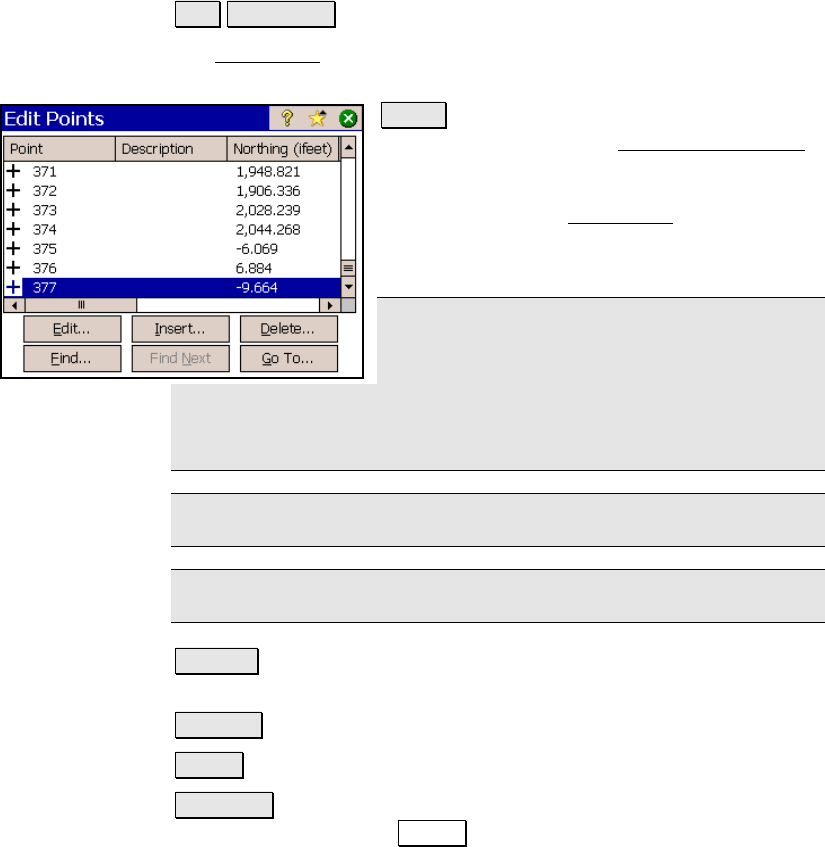
Edit Points
Job Edit Points.
The Edit Points screen allows you to add, edit, and delete any points
in the current job.
Edit… : if only a single point is selected, this
will open the point in the Edit Point - General
screen (Page R-63) where the details of the
po
int can be modified. If more than one point
is selected, the next Edit Points
screen will
open where the description and layer for the
selected points can be modified simultaneously.
Note: as with most Windows applications, a
series of points can be selected by holding down
the shift key while selecting the first and last
point within a range of points. Miscellaneous points can be
selected/unselected by holding down the control key while tapping
them.
Note: Double tapping on a point will also open the point in the editor.
Note: The current occupy and backsight points cannot be edited.
Insert… : opens a dialog box where a new point can be added to the
current job.
Delete… : will delete the selected point.
Find… : will search for a point by its description.
Find Next : will find the next point that contains the description
entered when using the Find… button (above).


