Reference Manual
Table Of Contents
- Table of Contents
- Welcome
- Main Menu
- File Menu
- Job Menu
- Job Menu – GPS
- Job Menu – Basic GPS
- Survey Menu
- Backsight Setup
- Traverse / Sideshot
- Repetition Shots
- Multiple Sideshots
- Radial Sideshots
- Distance Offset Shot
- Horizontal Angle Offset
- Vertical Angle Offset
- Auto Collect
- Corner & 2 Lines
- Corner & Angle
- Corner & Offset
- Corner & Plane
- Surface Scan
- Video Scan
- Shoot From Two Ends
- Record Mode
- Resection
- Remote Elevation
- Check Point
- Solar Observation
- Remote Control
- Survey Menu – GPS
- Survey Menu – Basic GPS
- Leveling Menu
- Stakeout Menu
- Stakeout Menu – GPS and Basic GPS
- Inverse Menu
- Cogo Menu
- Curve Menu
- Roads Menu
- Adjust Menu
- Miscelaneous Screens
- Appendix A
- Index

Survey Pro Reference Manual
R-446
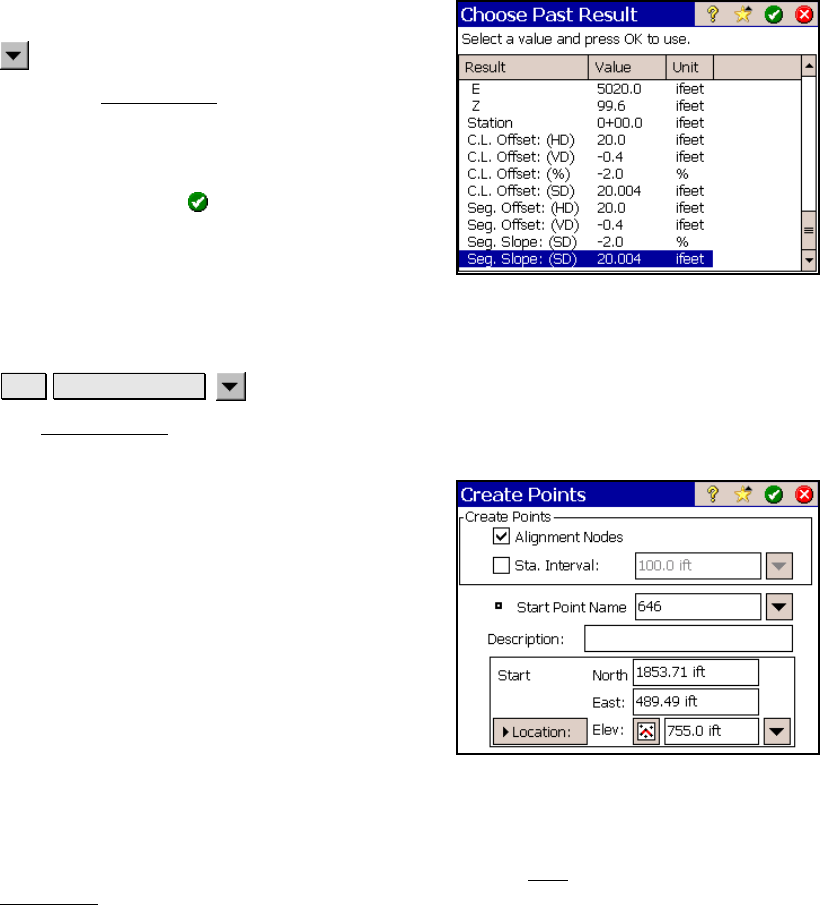
Past Results
, Past Results (where applicable)
When the Past Results
option is used to enter
a value in a specific field that was computed
previously within Survey Pro.
Select the line that contains the value that you
want to use and tap
. The selected value will
then be entered in the field associated with
that power button.
Create Points
Job Edit Alignments
Create Points
The Create Points screen is used to store points that coincide with
specific locations on an alignment.
Alignment Nodes: When checked, will store
points at locations where a change occurs on an
alignment, for example where a straight
section and a curved section meet.
Sta. Intervals: When checked, will store a
point at the specified station interval along an
alignment.
Start Point Name: is the name for the first
point that will be stored from this screen.
Description: is the description that will be
given to all the points that are stored from this
screen.
Start Location: is the location for the first point, which is the
reference location used to compute the locations of the remaining
points. The default location is the POB defined from the Edit
Alignment screen.


