Reference Manual
Table Of Contents
- Table of Contents
- Welcome
- Main Menu
- File Menu
- Job Menu
- Job Menu – GPS
- Job Menu – Basic GPS
- Survey Menu
- Backsight Setup
- Traverse / Sideshot
- Repetition Shots
- Multiple Sideshots
- Radial Sideshots
- Distance Offset Shot
- Horizontal Angle Offset
- Vertical Angle Offset
- Auto Collect
- Corner & 2 Lines
- Corner & Angle
- Corner & Offset
- Corner & Plane
- Surface Scan
- Video Scan
- Shoot From Two Ends
- Record Mode
- Resection
- Remote Elevation
- Check Point
- Solar Observation
- Remote Control
- Survey Menu – GPS
- Survey Menu – Basic GPS
- Leveling Menu
- Stakeout Menu
- Stakeout Menu – GPS and Basic GPS
- Inverse Menu
- Cogo Menu
- Curve Menu
- Roads Menu
- Adjust Menu
- Miscelaneous Screens
- Appendix A
- Index

Stakeout Menu
R-325
point is stored to it. You can also view this surface with live cut/fill
volumes at anytime from the 3D View
screen (Page R-89).
Note: Viewing the DTM during DTM Stakeout is a useful quality
assurance technique to determine where additional points are
needed.
Setup / View DTM : opens the Setup DTM 3D screen (Page R-84)
where the non-reference DTM layers are configured and optionally
viewed from the 3D View
screen (Page R-89).
Backsight : opens the Backsight Setup screen (Page R-122) where the
current backsight can be modified.
Next > : opens the next screen.
Choose a Centerline
Stakeout Stake DTM Choose a Centerline….
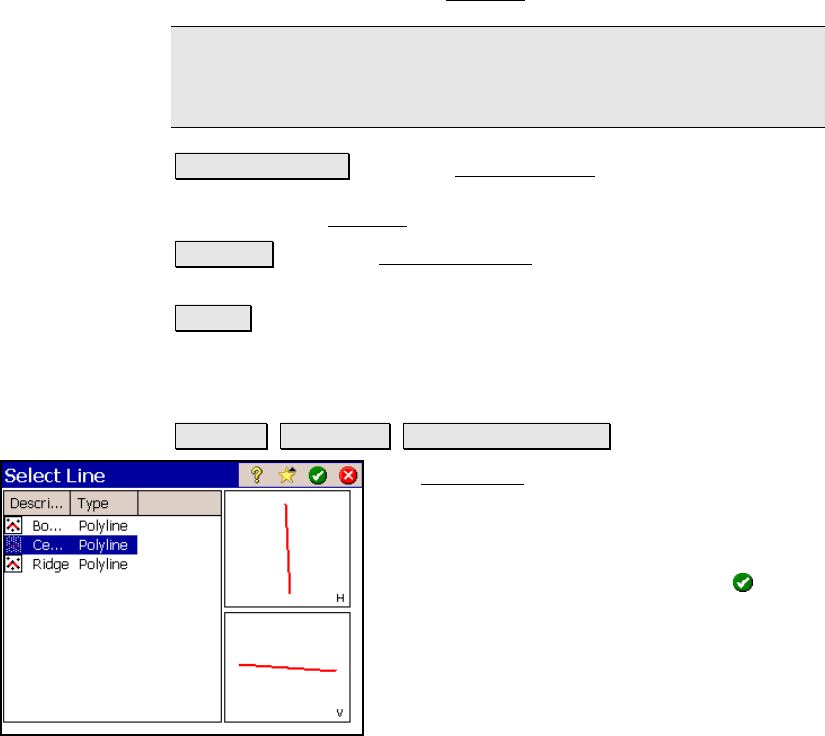
The Select Line screen is used to select a
particular polyline or alignment that defines a
centerline. Separate overhead and side views
are displayed for the selected polyline.
Simply select the desired line and tap
.


