
Reference Manual


Table Of Contents
- Table of Contents
- Welcome
- Main Menu
- File Menu
- Job Menu
- Job Menu – GPS
- Job Menu – Basic GPS
- Survey Menu
- Backsight Setup
- Traverse / Sideshot
- Repetition Shots
- Multiple Sideshots
- Radial Sideshots
- Distance Offset Shot
- Horizontal Angle Offset
- Vertical Angle Offset
- Auto Collect
- Corner & 2 Lines
- Corner & Angle
- Corner & Offset
- Corner & Plane
- Surface Scan
- Video Scan
- Shoot From Two Ends
- Record Mode
- Resection
- Remote Elevation
- Check Point
- Solar Observation
- Remote Control
- Survey Menu – GPS
- Survey Menu – Basic GPS
- Leveling Menu
- Stakeout Menu
- Stakeout Menu – GPS and Basic GPS
- Inverse Menu
- Cogo Menu
- Curve Menu
- Roads Menu
- Adjust Menu
- Miscelaneous Screens
- Appendix A
- Index
Stakeout Menu
R-285
Solve > : opens the next Stake List of Points screen where the
current Design Point can be staked.
Note: The screens available after tapping Solve > or Next Point > are
identical to Screens Two and Three in the Stake Points routine and
are described on pages R-279 through R-280.
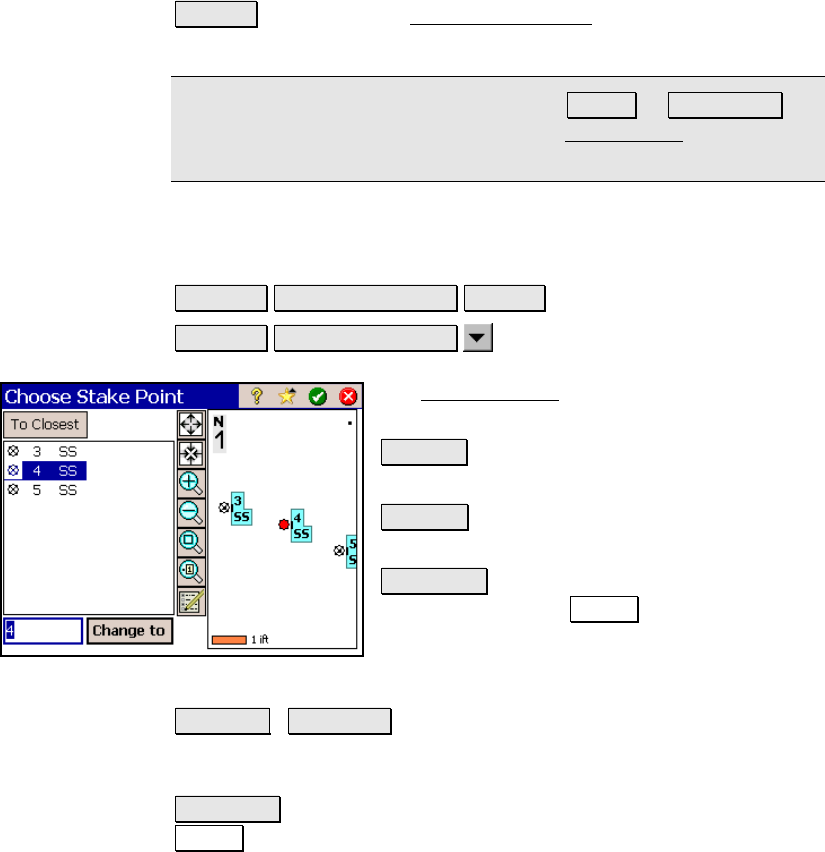
Edit Point List
Stakeout Stake List of Points Change or
Stakeout Stake List of Points
Edit List…
The Edit Point List screen is used to modify the
existing point list.
Remove : removes the selected point from the
point list.
Clear All : removes all the points from the point
list.
To Closest : is available only when the screen
is accessed with the Change button. This will
automatically select the point in the point list
that is nearest to the previously staked point,
which is the selected point when the screen if first accessed.
<- Insert / <-Append : will insert the point specified in the
corresponding field above the point selected in the point list. When
<End> is selected, the point is appended to the end of the list.
Change to : is available only when the screen is accessed with the
Change button. This is used to stake the point currently selected in
the point list.