
Reference Manual


Table Of Contents
- Table of Contents
- Welcome
- Main Menu
- File Menu
- Job Menu
- Job Menu – GPS
- Job Menu – Basic GPS
- Survey Menu
- Backsight Setup
- Traverse / Sideshot
- Repetition Shots
- Multiple Sideshots
- Radial Sideshots
- Distance Offset Shot
- Horizontal Angle Offset
- Vertical Angle Offset
- Auto Collect
- Corner & 2 Lines
- Corner & Angle
- Corner & Offset
- Corner & Plane
- Surface Scan
- Video Scan
- Shoot From Two Ends
- Record Mode
- Resection
- Remote Elevation
- Check Point
- Solar Observation
- Remote Control
- Survey Menu – GPS
- Survey Menu – Basic GPS
- Leveling Menu
- Stakeout Menu
- Stakeout Menu – GPS and Basic GPS
- Inverse Menu
- Cogo Menu
- Curve Menu
- Roads Menu
- Adjust Menu
- Miscelaneous Screens
- Appendix A
- Index
Survey Pro Reference Manual
R-282
Instrument Stakeout
Stakeout Stake Points Solve > Stake >.
Instrument Stakeout is a special stakeout option only available when
using a Nikon DTM or NPL series total station while the Send
Stakeout Data to Instrument option is checked in the Instrument
Settings screen.
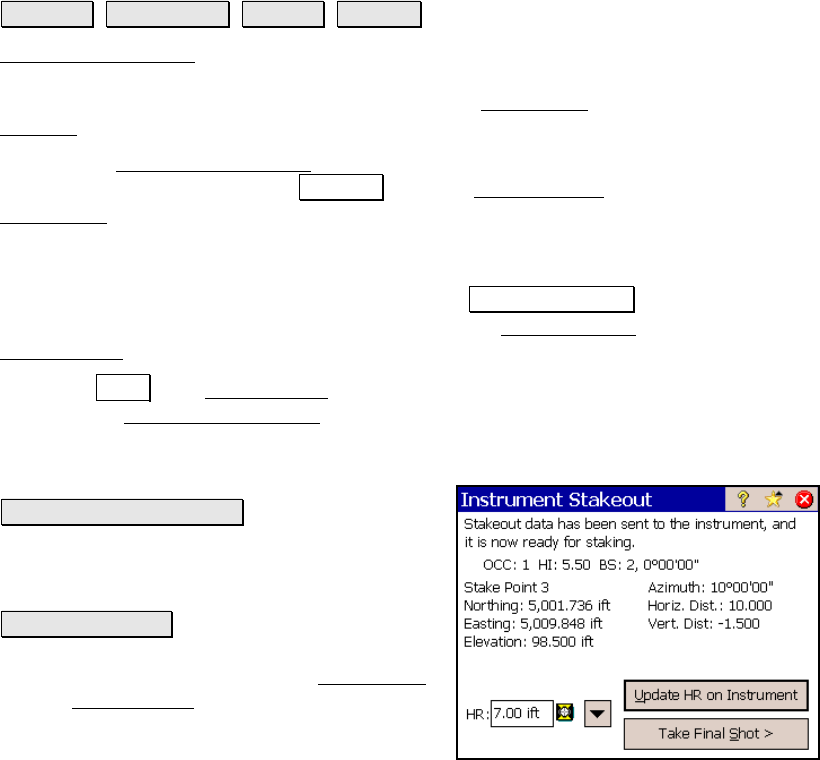
When using Instrument Stakeout
, a new stakeout screen, shown
below, will appear after you tap Stake > from the Stake Points -
Screen Two, described above. The stakeout data is then sent to the
total station where the controls on the total station are used to stake
the point.
Once you are satisfied with the stake location, tap Take Final Shot >
to shoot the final stakeout location and proceed to the Stake Points –
Screen Three
, as described above.
If you tap Shot from Screen Three
to take another shot, you will
return to the Instrument Stakeout screen, where you can once again
use the controls on the total station to stake the point.
HR: is the rod height.
Update HR on Instrument : If a new rod height
is entered in the HR field, or if a new Smart
Target is selected, this button sends the new
HR information to the total station.
Take Final Shot > : Once you are satisfied with
the stake location, this button will take a final
shot before proceeding to the next Stake Point
screen (Screen Three
, described above).