
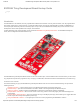
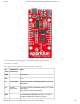
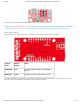
ESP8266 Thing Developpment Board w/ Headers Introduction

1/23/2018 ESP8266 Thing Development Board Hookup Guide - learn.sparkfun.com
https://learn.sparkfun.com/tutorials/esp8266-thing-development-board-hookup-guide/all 9/24
COPY CODE
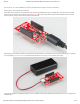
Driver Install: If you've never used an FTDI device, you may need to install drivers on your computer before you can program
the ESP8266. For help with that, follow along with our How to Install FTDI Drivers tutorial.
We have installation directions documented for all major operating systems:
WINDOWS
MAC
LINUX
Setting Up Arduino
There are a variety of development environments that can be equipped to program the ESP8266. You can go with a simple
Notepad/gcc setup, fine-tune an Eclipse environment, or use a virtual machine provided by Espressif. If you’re just getting started,
though, we recommend the comfy confines of the Arduino IDE.
The amazing ESP8266 community has cooperatively created an ESP8266 addon for the IDE, which is what we'll focus on
using throughout this tutorial. This ESP8266 addon for Arduino is based on the amazing work by Ivan Grokhotkov and the rest
of the ESP8266 community. Check out the ESP8266 Arduino GitHub repository for more information.
Installing the Addon With the Arduino Boards Manager
With the release of Arduino 1.6.4, adding third party boards to the Arduino IDE is easily achieved through the board manager. If
you’re running an older version of Arduino (1.6.3 or earlier), we recommend upgrading now. As always, you can download the latest
version of Arduino from arduino.cc.
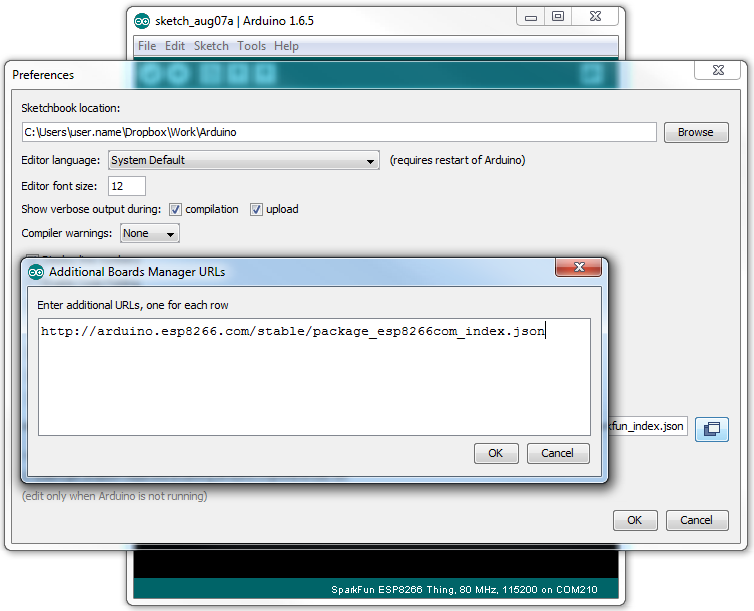
To begin, you’ll need to point the Arduino IDE board manager to a custom URL. Open up Arduino, then go to the Preferences
(File > Preferences). Then, towards the bottom of the window, paste this URL into the “Additional Board Manager URLs” text box:
http://arduino.esp8266.com/stable/package_esp8266com_index.json
You can add multiple URLs by clicking the window icon, and pasting in one URL per line.