
ESP8266 Thing Developpment Board w/ Headers Introduction

1/23/2018 ESP8266 Thing Development Board Hookup Guide - learn.sparkfun.com
https://learn.sparkfun.com/tutorials/esp8266-thing-development-board-hookup-guide/all 8/24
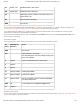
And, of course, wire can be soldered to any of the pins that have a long way to connect to something.
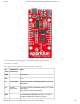
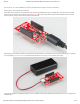
Powering the Thing Development Board
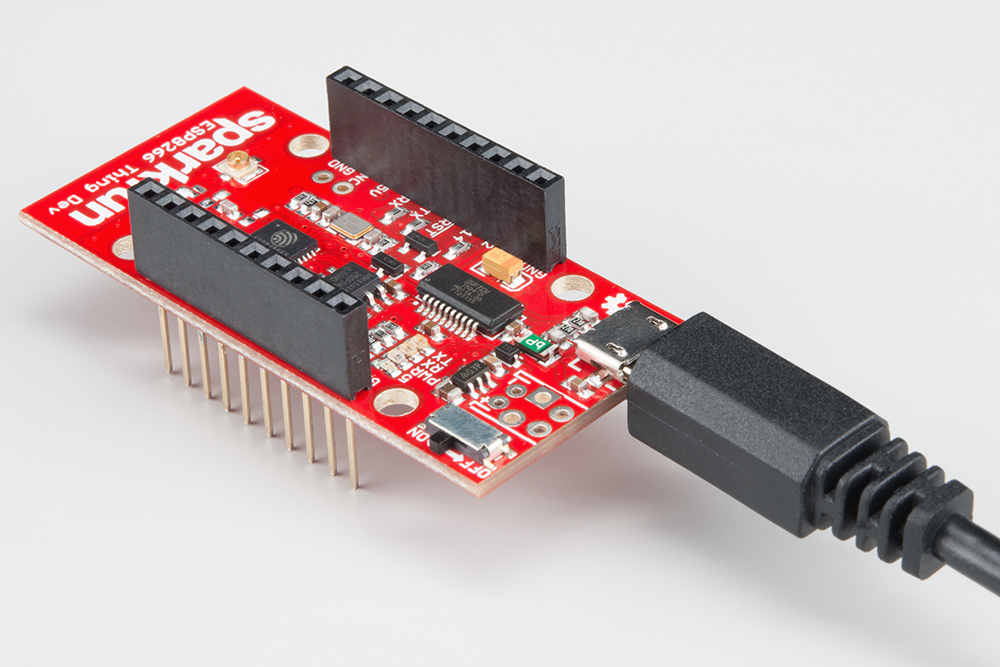
The easiest way to power the Thing Dev Board is by connecting a USB cable to the micro-B USB jack. The other end of the USB
cable can be connected to your computer or a USB wall wart. After powering the board, make sure the ON/OFF switch is slid into
the “ON” position, and you should see the “PWR” LED illuminate.
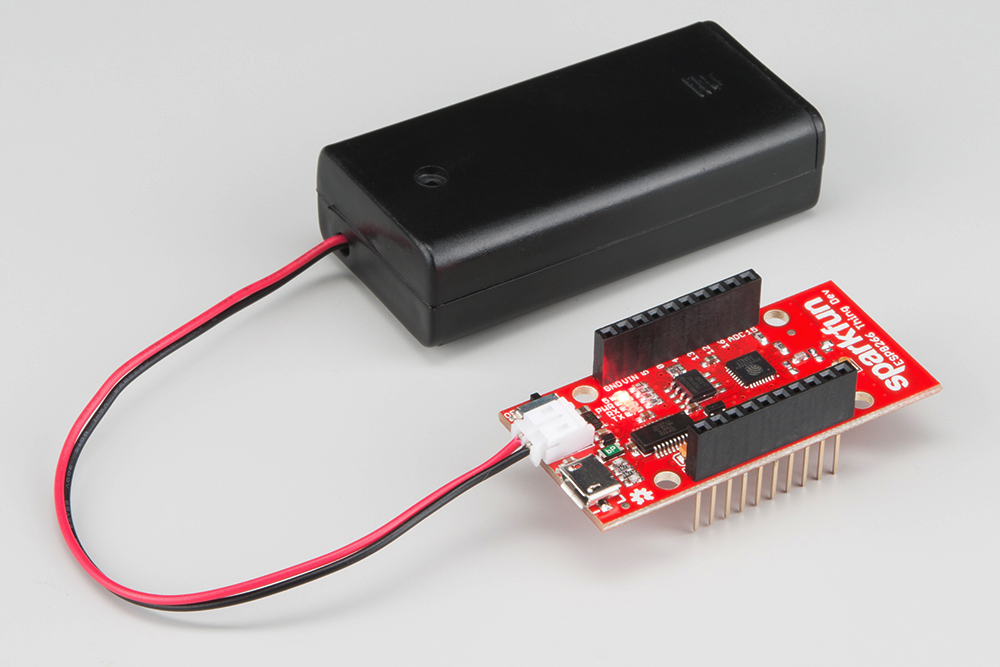
Alternatively, you can solder a variety of connectors into the VIN position to run the board on some other power supply. For example,
you could solder a 2-pin JST connector and mate the board with a 2xAA Battery Holder to power your project.
(A pair of AA batteries may slightly underpower the 3.3V regulator, but the board should still provide more than the 1.8V required for
the ESP8266.)