
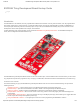
ESP8266 Thing Developpment Board w/ Headers Introduction

1/23/2018 ESP8266 Thing Development Board Hookup Guide - learn.sparkfun.com
https://learn.sparkfun.com/tutorials/esp8266-thing-development-board-hookup-guide/all 5/24
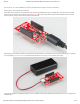
You can supply anywhere between 3.3V and 6V into these inputs to power the board.
Note: Unlike the original ESP8266 Thing, the ESP8266 Thing Development Board does not have a built-in LiPo charger. A
LiPo battery can be connected into a populated JST connector, but you'll need to add some extra circuitry to charge it.
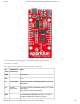
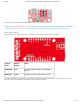
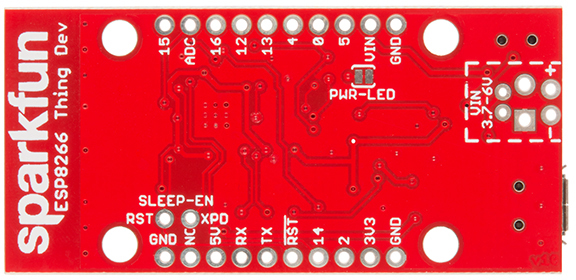
Power-Saving Jumpers
A pair of jumpers on the back of the board can be used to help reduce the Thing’s power consumption.
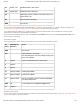
Jumper
Label
Default
Setting
Notes
SLEEP-EN Open Connects GPIO16 (XPD) to the ESP8266's
RST pin.
PWR-LED Closed Completes the power LED indicator circuit.
The SLEEP-EN jumper connects GPIO16 (which has the XPD functionality) to the ESP8266’s reset input. This connection is
required if you want the ESP8266 to automatically wake itself from deep sleep.