
ESP8266 Thing Developpment Board w/ Headers Introduction


1/23/2018 ESP8266 Thing Development Board Hookup Guide - learn.sparkfun.com
https://learn.sparkfun.com/tutorials/esp8266-thing-development-board-hookup-guide/all 15/24
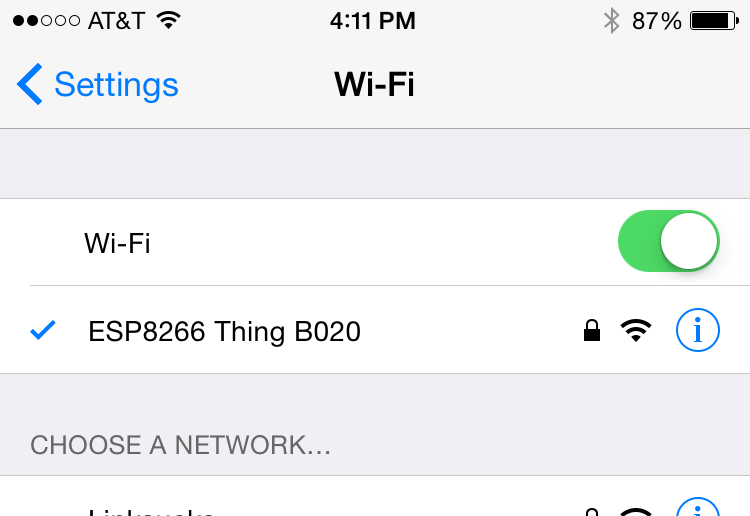
The sketch sets the network’s password to “sparkfun”.
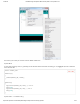
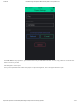
After connecting to your ESP8266’s AP network, load up a browser and point it to 192.168.4.1/read (unfortunately, mDNS doesn’t
work in AP mode). The Thing Dev Board should serve up a web page showing you its ADC and digital pin 12 readings:
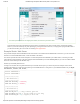
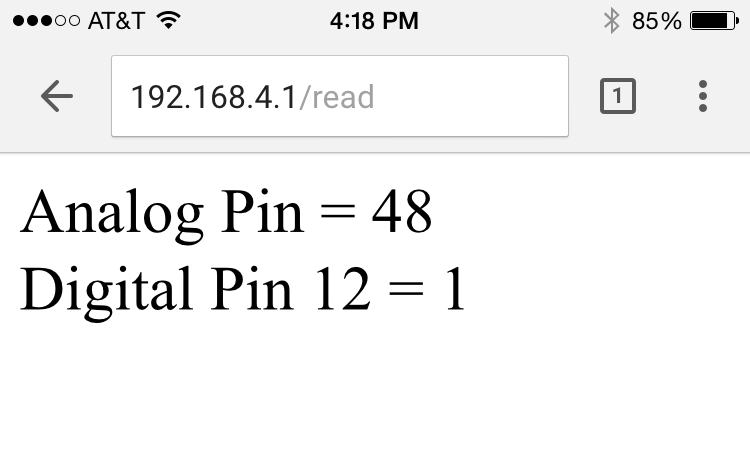
After that, give 192.168.4.1/led/0 and 192.168.4.1/led/1 a try.
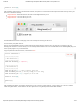
As always, check through the code comments to get a line-by-line breakdown of what’s going on.
Example Sketch: Blink with Blynk
The previous example is great for showing the nuts-and-bolts behind using HTTP to toggle outputs or read inputs. But if you’re
looking for a much simpler solution, we recommend checking out Blynk.
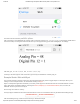
Blynk is a smartphone application that allows you to easily create “apps” that interact with Internet-connected hardware. It works
with a wide variety of hardware platforms, including the Photon, Raspberry Pi, Arduino/Ethernet Shield, and, of course, the
ESP8266. Here’s a quick how-to on Blynk:
Get the App and Arduino Library
The Blynk app is available for both iOS and Android devices. Click one of the buttons below to get started downloading the app:
BLYNK FOR IOS
BLYNK FOR ANDROID
After downloading the app, create an account and log in. Welcome to Blynk!