
ESP8266 Thing Developpment Board w/ Headers Introduction


1/23/2018 ESP8266 Thing Development Board Hookup Guide - learn.sparkfun.com
https://learn.sparkfun.com/tutorials/esp8266-thing-development-board-hookup-guide/all 14/24
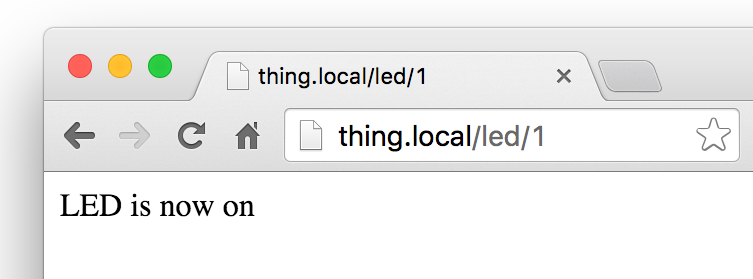
After uploading, find a device on the same WiFi network, and point it to one of these locations (the links below will only work if your
device is on the same network):
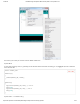
thing.local/read – Read the status of the ADC and the digital status of pin 12.
thing.local/led/0 – Turn the LED on pin 5 off.
thing.local/led/1 – Turn the LED on pin 5 on.
The ESP8266 should server a web page, even if it’s as simple as ensuring its LED is on.
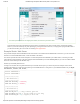
Access Point (AP) Web Server
Not only can the ESP8266 connect to a WiFi network and interact with the Internet, but it can also set up a network of its own,
allowing other devices to connect directly to it. This example demonstrates how to turn the ESP8266 into an access point (AP), and
serve up web pages to any connected client.
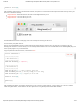
Copy and paste the code from below, or download it here.
After uploading this sketch, find another device that you can connect to a WiFi network – phone, laptop, etc. Look for a network
called “ThingDev-XXXX”, where XXXX is the last 2 bytes of the Thing Development Board’s MAC address.
WiFiServer server(80);
COPY CODE
#include <ESP8266WiFi.h>
//////////////////////
// WiFi Definitions //
//////////////////////
const char WiFiAPPSK[] = "sparkfun";
/////////////////////
// Pin Definitions //
/////////////////////
const int LED_PIN = 5; // Thing's onboard, green LED
const int ANALOG_PIN = A0; // The only analog pin on the Thing
const int DIGITAL_PIN = 12; // Digital pin to be read
WiFiServer server(80);
void setup()
{