
ESP8266 Thing Developpment Board w/ Headers Introduction


1/23/2018 ESP8266 Thing Development Board Hookup Guide - learn.sparkfun.com
https://learn.sparkfun.com/tutorials/esp8266-thing-development-board-hookup-guide/all 13/24
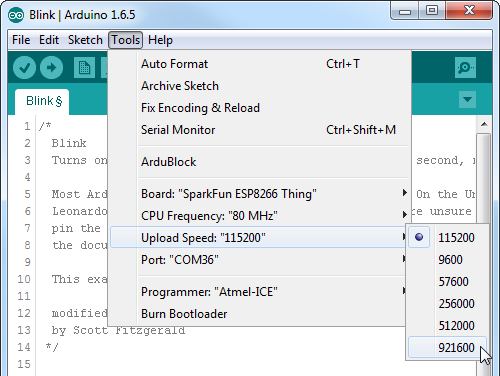
This faster upload speed can be slightly less reliable, but will save you loads of time!
There are still some bugs to be fleshed out of the esptool, sometimes it may take a couple tries to successfully upload a
sketch. If you’re still not having any luck uploading, try turning the board on then off, or unplug then replug the USB cable. If
you still have trouble, get in touch with our amazing tech support team.
Example Sketch: Web Server
The previous example uses the ESP8266 in web client mode. If we instead use the ESP8266 as a web server, you can use a web
browser to control the ESP8266’s LED, or read the status of its GPIO’s.
This section provides two web server examples. The first example sets the ESP8266 up as a WiFi station, connecting to a WiFi
router like the previous example. The other example sets the ESP8266 up as a WiFi access point, so you can use a WiFi-enabled
device to connect directly to the little WiFi chip.
Station (and mDNS) Web Server
To begin, let’s connect the Thing Dev Board back up to the WiFi access point you used in the previous example. Here’s some
example code setting up a web server and pointing a local mDNS domain of “thing.local” to your ESP8266. Make sure you adjust
the values for WiFiSSID and WiFiPSK .
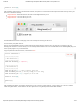
COPY CODE
#include <ESP8266WiFi.h>
#include <ESP8266mDNS.h>
//////////////////////
// WiFi Definitions //
//////////////////////
const char WiFiSSID[] = "WiFiSSID";
const char WiFiPSK[] = "WiFiPSK";
/////////////////////
// Pin Definitions //
/////////////////////
const int LED_PIN = 5; // Thing's onboard, green LED
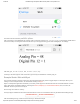
const int ANALOG_PIN = A0; // The only analog pin on the Thing
const int DIGITAL_PIN = 12; // Digital pin to be read