
Guide


1/22/2018 micro:bot Kit Experiment Guide - learn.sparkfun.com
https://learn.sparkfun.com/tutorials/microbot-kit-experiment-guide/all#about-the-motobit-board 60/75
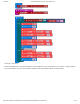
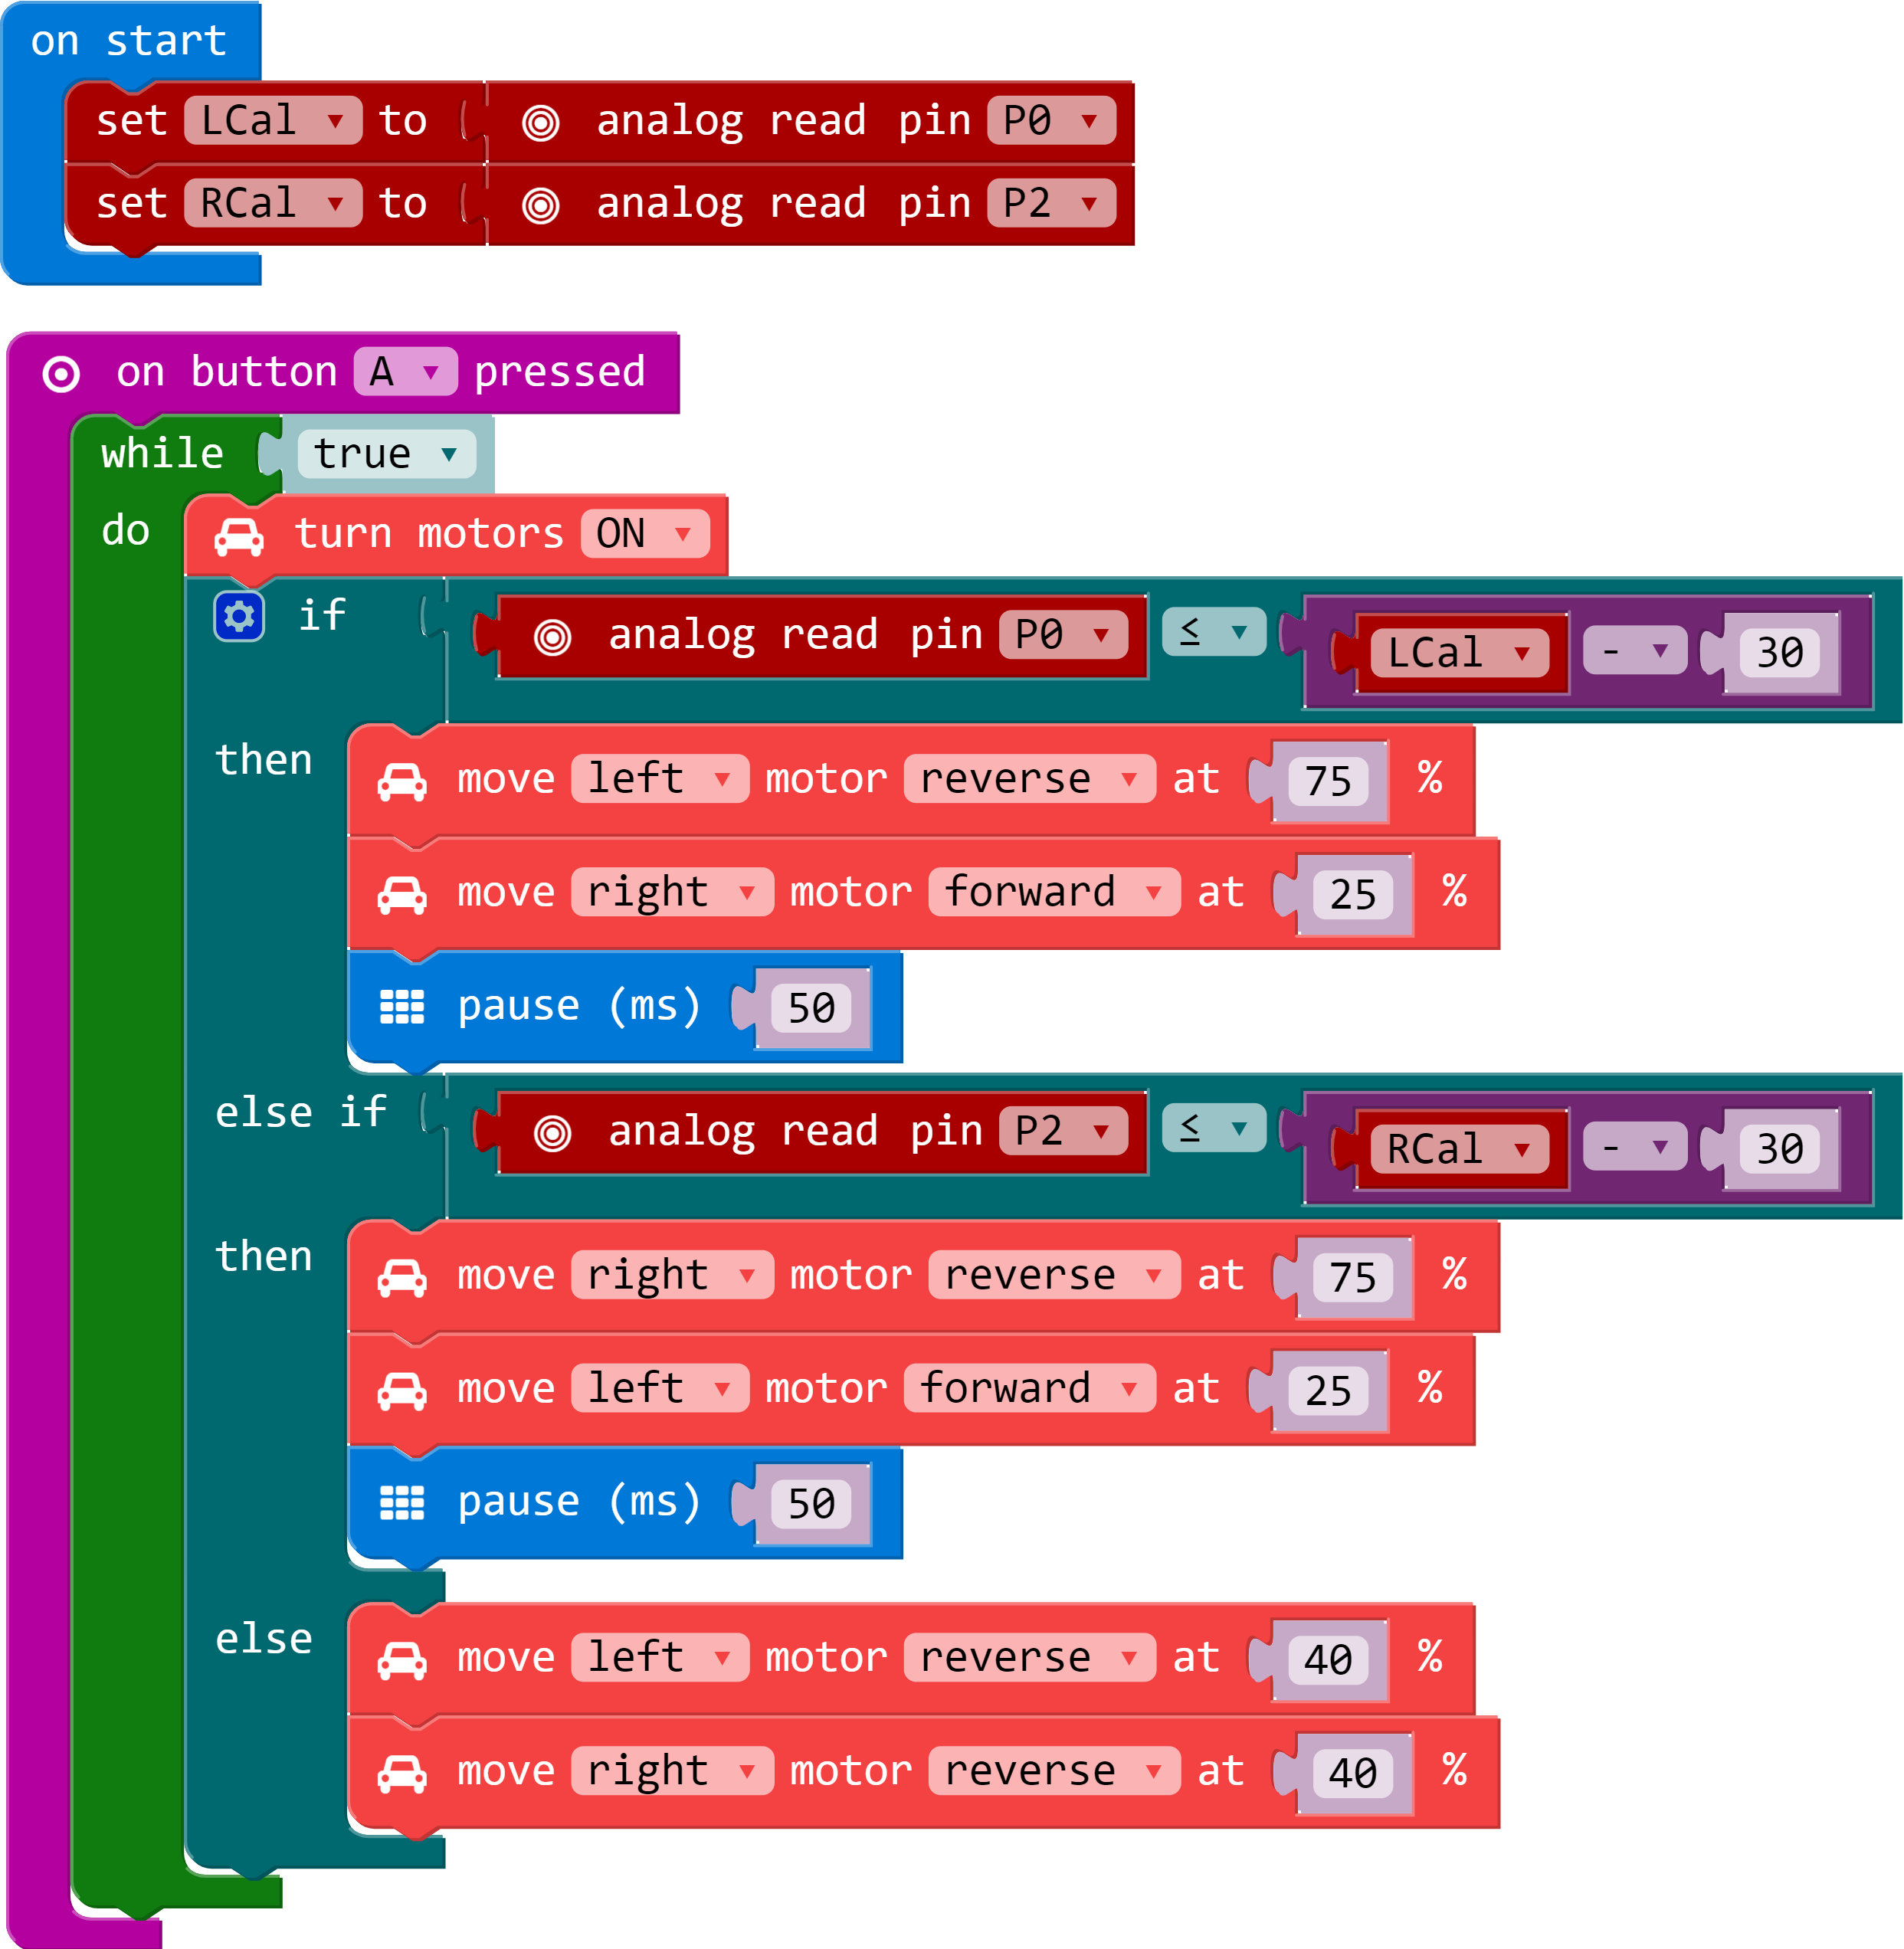
lCal / rCal
Like in the previous experiment, you need to set a baseline value for the surface that your robot is driving on. This is
actually called a calibration value. Like the previous experiment, we need to do this, but for two sensors; right and left.
We go through the same routine we did for the single sensor previously, but for the right and left sensors.
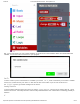
On Button Press
As in the first experiment we use the On Button Press block to start the program. This is so you can can get a good
base reading and calibrate your sensors without having to wrestle with a robot that is trying to move around.
While
The While block is a logic block that is similar to the loop block, but a bit smarter. The While block accepts a
TRUE/FALSE statement, if that statement is true the block will loop whatever code is placed inside of it. If that value
is false the While block is simply skipped over. We hardcode a true value into the While block so that it
constantly loops when the A button is pressed. That way we have the benefits of both the event block and
the loop block without needing complicated programming.
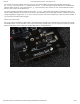
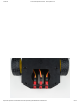
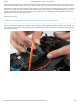
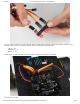
What You Should See
Once you have loaded your script place your robot on a dark line on a light / white background. Make sure you have it
centered with the line just underneath the center line sensor. Make sure the motor switch is changed from “STOP
MOTORS” to “RUN MOTORS” and press the A button to start.