
Guide

1/12/2018 mbed Starter Kit Experiment Guide - learn.sparkfun.com
https://learn.sparkfun.com/tutorials/mbed-starter-kit-experiment-guide/all 58/65
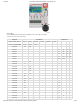
Jumper Wire ( - ) j14
Jumper Wire a14 j17
Jumper Wire ( - ) j19
* Pins not listed are not used.
Tips
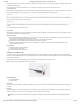
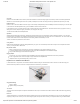
Transistor
Make sure you are using the 2N3904 transistor and not the temperature sensor! Note that the flat edge of the transistor is facing down in the Fritzing diagram.
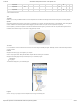
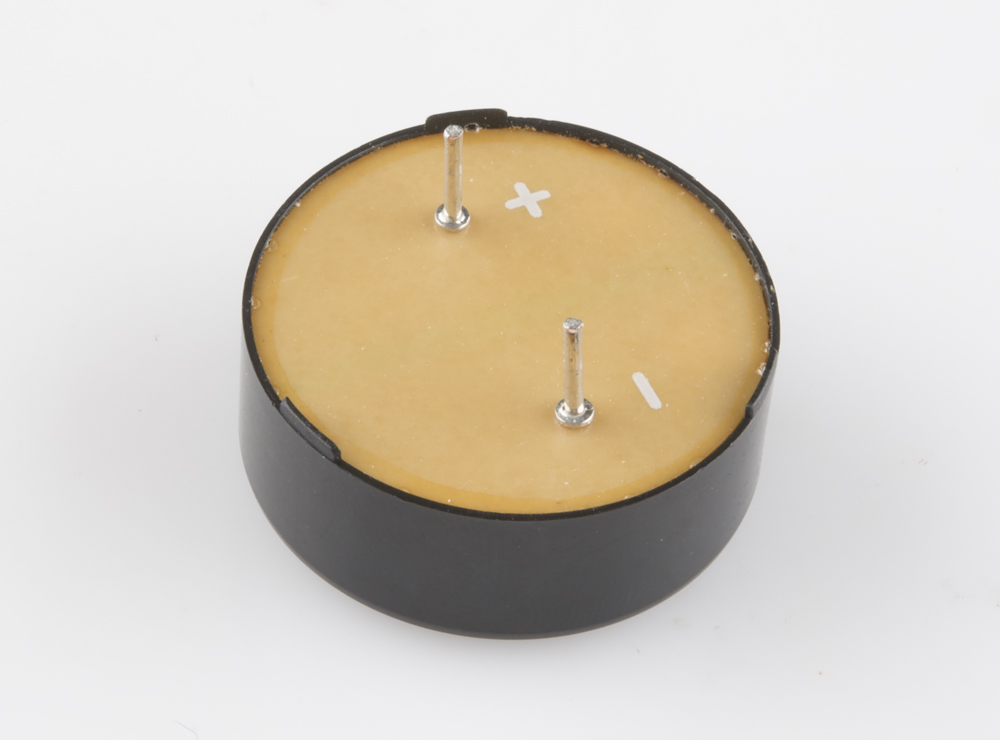
Speaker
Notice that the speaker has the positive (+) and negative (-) pins labeled on the underside. The speaker will fit directly on the breadboard, as the Fritzing diagram
has been modified to show where the speaker should be plugged in (otherwise it would cover up the rest of the components in the picture!).
Place the positive (+) terminal of the speaker into hole f25 of the breadboard and the negative (-) terminal into hole e30. The speaker will be angled across the
breadboard, but it will leave enough room for wires to be plugged into j25 and a30.
The Code
For our soundboard, we need to read files from an SD card, which means using the SDFileSystem again. Additionally, we want to add another library that allows
us to play .wav files.
Libraries
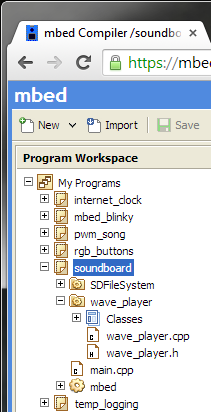
Navigate to the mbed.org, login, and navigate to your Compiler.
Create a new program with the “Blinky LED Hello World” template. Name it something like “soundboard.”
Navigate to the following pages and import each library into your “soundboard” program.
SDFileSystem
wave_player
The libraries should appear in your soundboard project.
Program
Click on “main.cpp” in your project, remove the template code, and copy in the following code.