
Guide

1/12/2018 mbed Starter Kit Experiment Guide - learn.sparkfun.com
https://learn.sparkfun.com/tutorials/mbed-starter-kit-experiment-guide/all 56/65
mbed Starter Kit - Part 10: Hardware Soundboard SparkFun Wish List
Heads up! For anyone ordering the parts separately from the SparkFun mbed starter kit, you will need to solder the header to the microSD card's breakout
board.
Resistor 330 Ohm 1/4 Watt PTH - 20 pack (Thick Leads)
PRT-14490
mbed - LPC1768 (Cortex-M3)
DEV-09564
The mbed microcontroller is an ARM processor, a comprehensive set of peripherals and a USB programming and communication interface provided in a small…
Jumper Wires Standard 7" M/M - 30 AWG (30 Pack)
PRT-11026
If you need to knock up a quick prototype there's nothing like having a pile of jumper wires to speed things up, and let's face it: sometimes you want…
(2) Breadboard - Self-Adhesive (White)
PRT-12002
This is your tried and true white solderless breadboard. It has 2 power buses, 10 columns, and 30 rows - a total of 400 tie in points. All pins are sp…
Break Away Headers - Straight
PRT-00116
A row of headers - break to fit. 40 pins that can be cut to any size. Used with custom PCBs or general custom headers.**Features: *** Pin Style: Squar…
(4) Momentary Pushbutton Switch - 12mm Square
COM-09190
This is a standard 12mm square momentary button. What we really like is the large button head and good tactile feel (it 'clicks' really well). This bu…
SparkFun microSD Transflash Breakout
BOB-00544
Breakout board for the microSD socket that is not much bigger than your fingernail. Compatible with the SPI interface found on any SD card, this tiny …
Transistor - NPN (2N3904)
COM-00521
These are very common, high quality BJT NPN transistors made by ST Micro.**Datasheet: **[2N3904](http://www.sparkfun.com/datasheets/Components/2N3904.…
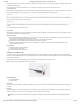
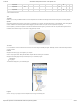
Speaker - PCB Mount
COM-11089
This through-hole speaker is great for projects where you need something that sounds better than a piezo buzzer but don't have room for a full-blown s…
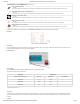
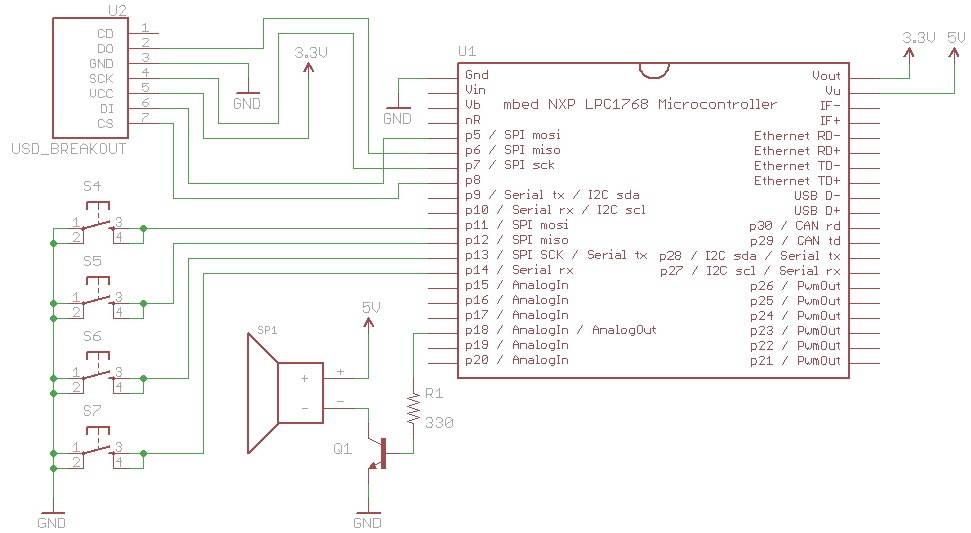
Schematic
Click on schematic to view larger image.
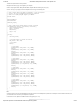
Connections
Connect a digital-to-analog (DAC) pin of the mbed (pin 18, in this case) to a 330 Ω resistor and connect that resistor to the base of an NPN transistor (2N3904).
Connect the emitter of the transistor to ground and the collector to the negative (-) side of the speaker. The positive side of the speaker should be attached to
+5V (the VU pin on the mbed). Note that the +/- markings can be found on the underside of the speaker (there are no wires on the speaker like in the Fritzing
diagram).
To hook up the buttons, connect one side of each pushbutton to ground and the other to pins 11, 12, 13, and 14 of the mbed.
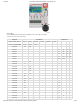
Polarized
Components
Pay special attention to the component’s markings indicating how to place it on the breadboard. Polarized components can only be connected
to a circuit in one direction. Polarized components are highlighted with a yellow warning triangle in the table below.
Fritzing Diagram