
Guide

1/12/2018 mbed Starter Kit Experiment Guide - learn.sparkfun.com
https://learn.sparkfun.com/tutorials/mbed-starter-kit-experiment-guide/all 52/65
It’s always a good idea to close a file when you are done with it! Otherwise, you might corrupt the file (or, worse, the filesystem) if your program starts to behave
unexpectedly with a file still open.
We can perform a similar procedure to read from a file. In our example, we use fgetc() to read characters from the file one at a time.
Lack of Super Loop
What happened to our while(1) statement? All of our other examples included this loop-forever statement to make up our super loop architecture. In this tutorial,
we only wanted the program to run once and then stop. To do this, we do not include a while(1) statement and exit main() with
return 0;
After our program executes the return line in main(), the program stops running. We need to restart the mbed board (with the button) to run the program again.
Generally, it is good practice to include an empty while loop:
while (1) { }
to end your program in an embedded system. We did not include it to show that you can get away without it, and the program will still execute (only once,
though!).
You can read more about return values from main().
Going Further
Sensor reading and logging is one of the most useful features of embedded systems. Additionally, we looked at how we can use a terminal program to interact
with the mbed, which is important for debugging projects.
Beyond the Tutorial
Right now, the SD card is at risk for being ruined if you remove it or shut off power in the middle of a write operation. Change the code so that the file is
only ever opened and written to just after a measurement is made.
Change the code so that measurements are taken once per minute and do not stop after just 10 readings.
Make the mbed consume less power between readings (Hint: see the PowerControl library)
Have the mbed post the collected data once per day on a data.sparkfun.com data stream. You’ll be able to see some interesting patterns in the
temperature data after a few days!
Digging Deeper
Read about the history of computer terminals
Read more about the SD card format
Look into the specifics of the FAT file system
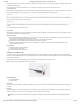
Experiment 9: PWM Sounds
Let’s make some music! By using the pulse-width modulation (PWM) pins on the mbed LPC1768 and a speaker (or headphones), we can make rudimentary
sounds. By controlling the PWM frequency, we can create specific notes in the music scale. While it won’t sound like a full-size orchestra, the notes (and perhaps
the song) will be recognizable.
This tutorial will cover how to connect a headphone jack to the mbed and control the PWM pins to create basic sounds.
Note: You will need a set of headphones or speakers to hear the sounds.
Suggested Reading
Pulse-Width Modulation
How Sound Works
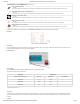
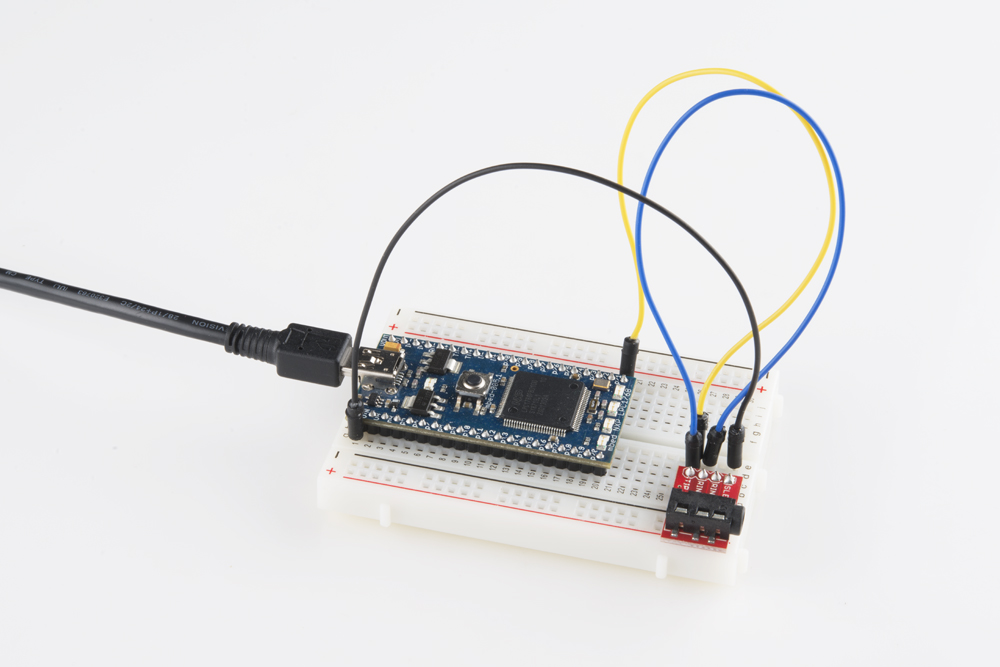
The Circuit
This circuit can be made with parts in the SparkFun mbed Starter Kit. Also, keep in mind that the LPC1768 box contains a USB mini-B cable for programming
and power.
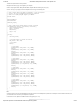
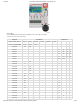
Parts List
To follow this experiment, you would will need the following materials if you did not order the SparkFun mbed starter kit. You may not need everything though
depending on what you have. Add it to your cart, read through the guide, and adjust the cart as necessary.
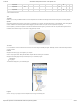
Heads up! For anyone ordering the parts separately from the SparkFun mbed starter kit, you will need to solder the header to the TRRS jack's breakout
board.