
Guide


1/12/2018 mbed Starter Kit Experiment Guide - learn.sparkfun.com
https://learn.sparkfun.com/tutorials/mbed-starter-kit-experiment-guide/all 43/65
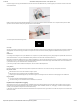
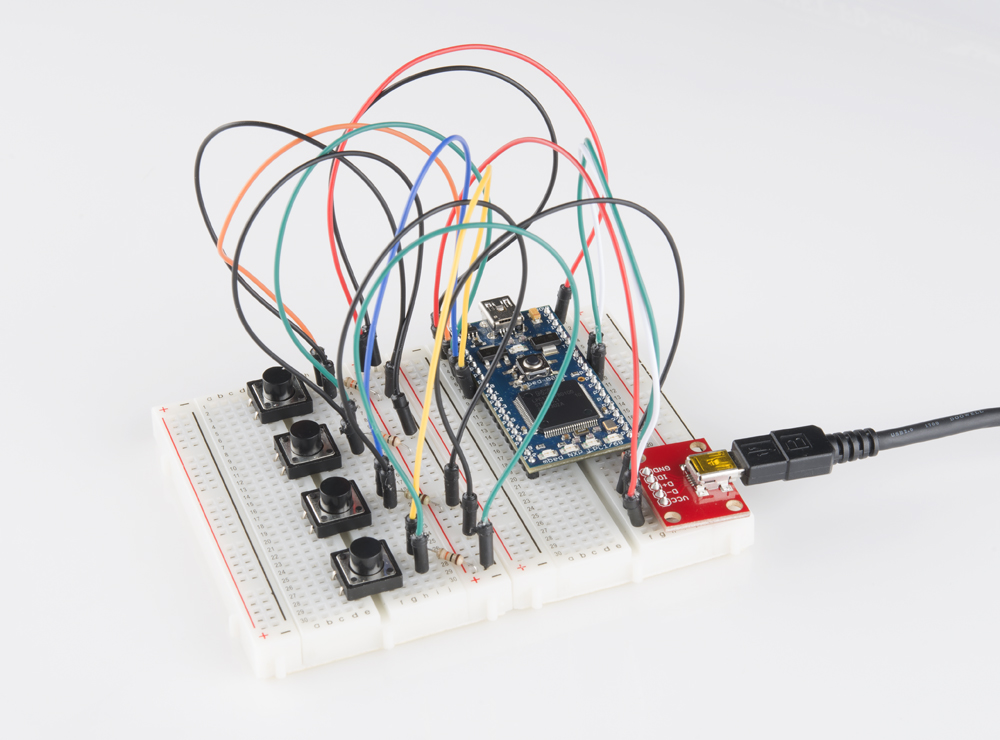
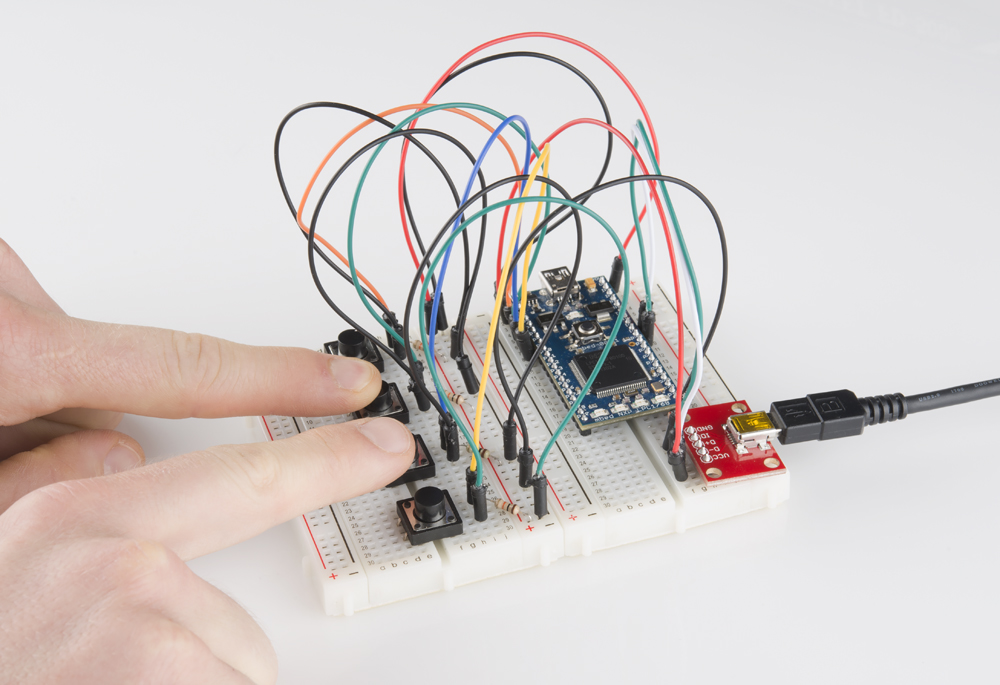
Compile the program and copy the downloaded file to the mbed. Disconnect the USB mini-B that you used to program your mbed and connect it into the USB
mini-B breakout board.
Make sure that the other end of the USB cable is plugged into your computer and press the mbed’s restart button. Your computer should tell you that a USB
input device has been detected. Start pressing the four buttons on the breadboard.
Your mouse pointer should start moving around!
Concepts
We really only covered one important new concept in this tutorial: USB devices. Instead of acting as a USB host to accept peripherals, we turned the mbed into a
USB peripheral. This allowed us to plug the mbed into a computer and control some functions normally assigned to dedicated accessories (a mouse, in this
case).
USB Device
A lot of things need to happen to show up as a USB device on a computer. The process of attaching a device, getting assigned a unique identifier and a driver is
called “USB enumeration.” Luckily, the mbed USBDevice library handles all of the device-side enumeration details for us.
Being able to enumerate as a USB device opens up a world of possibilities for us. We can make the mbed act as a mouse, a keyboard, an audio device, a mass
storage device, and so on. Note that the LPC1768 only supports USB Full-Speed, which means that the higher rates of USB 2.0 and 3.0 are not available to us.
If you wanted to make your own mbed Flash Drive, it would be quite slow.
If you want to get really involved in USB device development, see Jan Axelson’s USB Complete book.
Going Further
Becoming a USB device lets us interact with many different computers and mobile devices. You could even make your own keyboard and mouse!
Beyond the Tutorial
Make the buttons act as mouse clicks instead of moving the pointer
Make the buttons act as keyboard keys (Hint: see USBDevice Keyboard)
Create a program that automatically opens up a text editor and types out a message to the user whenever the mbed is plugged in as a USB device
Digging Deeper
Look into the specifics of USB enumeration and messages
Learn about making your own USB device drivers for Windows, OS X, and Linux
Experiment 8: Temperature Logging
We are going to move on to a very important topic for embedded systems: sensor data logging! Many microcontroller projects are built around the concept of
taking some sort of measurement (temperature, distance, light, acceleration, GPS coordinates, heart rate, etc.) and logging it. This data is examined (later or in
real time) to look for patterns or notify the user of some kind of anomoly.
In this tutorial, we will have the mbed LPC1768 take measurements from a temperature sensor, log the data to a micro SD card, and print out the contents of the
SD card to a console.