
Guide


1/12/2018 mbed Starter Kit Experiment Guide - learn.sparkfun.com
https://learn.sparkfun.com/tutorials/mbed-starter-kit-experiment-guide/all 3/65
Tutorial 8 - Temperature Logging
Want to see how the temperature varies over time in an area? We connect a temperature sensor and an SD card to the mbed to log
temperature measurements.
Tutorial 9 - PWM Sounds
Let’s make some music! We can use pulse-width modulation (PWM) to control sounds out of a speaker or set of headphones.
Tutorial 10 - Hardware Soundboard
In the final project, we load some sound clips onto our SD card and use the mbed to play one whenever we push a button.
Experiment 1: Blink an LED
Welcome to the world of mbed! In the following series of tutorials, we will show you how to configure your mbed.org account, connect some hardware, and
program your mbed controller to do some cool things. Each tutorial will list the required components, but if you are just starting out with mbed, we recommend
you get the mbed Starter Kit, which will provide all the necessary hardware to complete the tutorials.
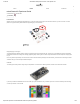
In this tutorial, we will unbox the mbed LPC1768, connect it to our computer, configure our mbed.org profile, and write our first blinking LED program.
Account Setup
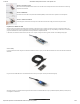
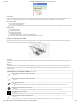
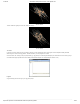
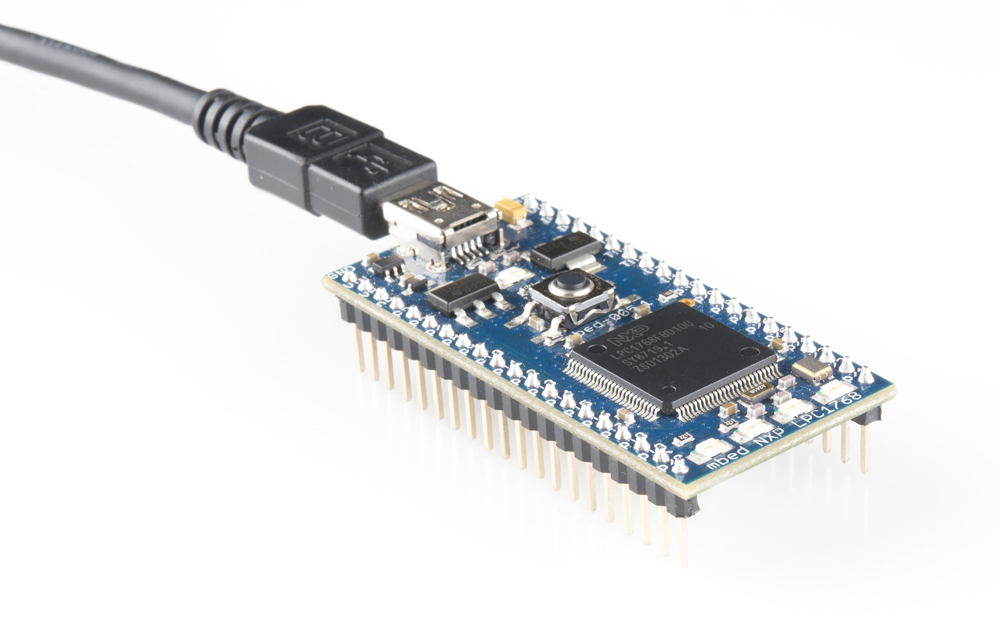
For this first tutorial, we will be using the LPC1768 and the USB mini-B cable. So, open your mbed NXP LPC1768 box and remove the LPC1768 controller and
USB cable.
Plug one end of the USB cable into the LPC1768 and the other end into your computer. The blue power LED should light up.
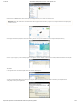
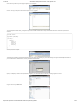
After a few seconds, your computer should recognize the mbed controller as a standard USB drive. Open up a Windows Explorer (Windows) or Finder (OS X)
and navigate to the mbed drive.