
Guide

3/7/2018 SparkFun Inventor's Kit for micro:bit Experiment Guide - learn.sparkfun.com
https://learn.sparkfun.com/tutorials/sparkfun-inventors-kit-for-microbit-experiment-guide/all#introduction-to-microsoft-makecode 62/63
Note: You may need to disable your ad/pop-up blocker to interact with the MakeCode programming environment and
simulated circuit!
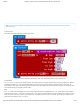
Code to Note
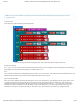
Let’s take a look at the code blocks in this experiment.
If you are having a hard time viewing this code, click on the image above to get a better look!
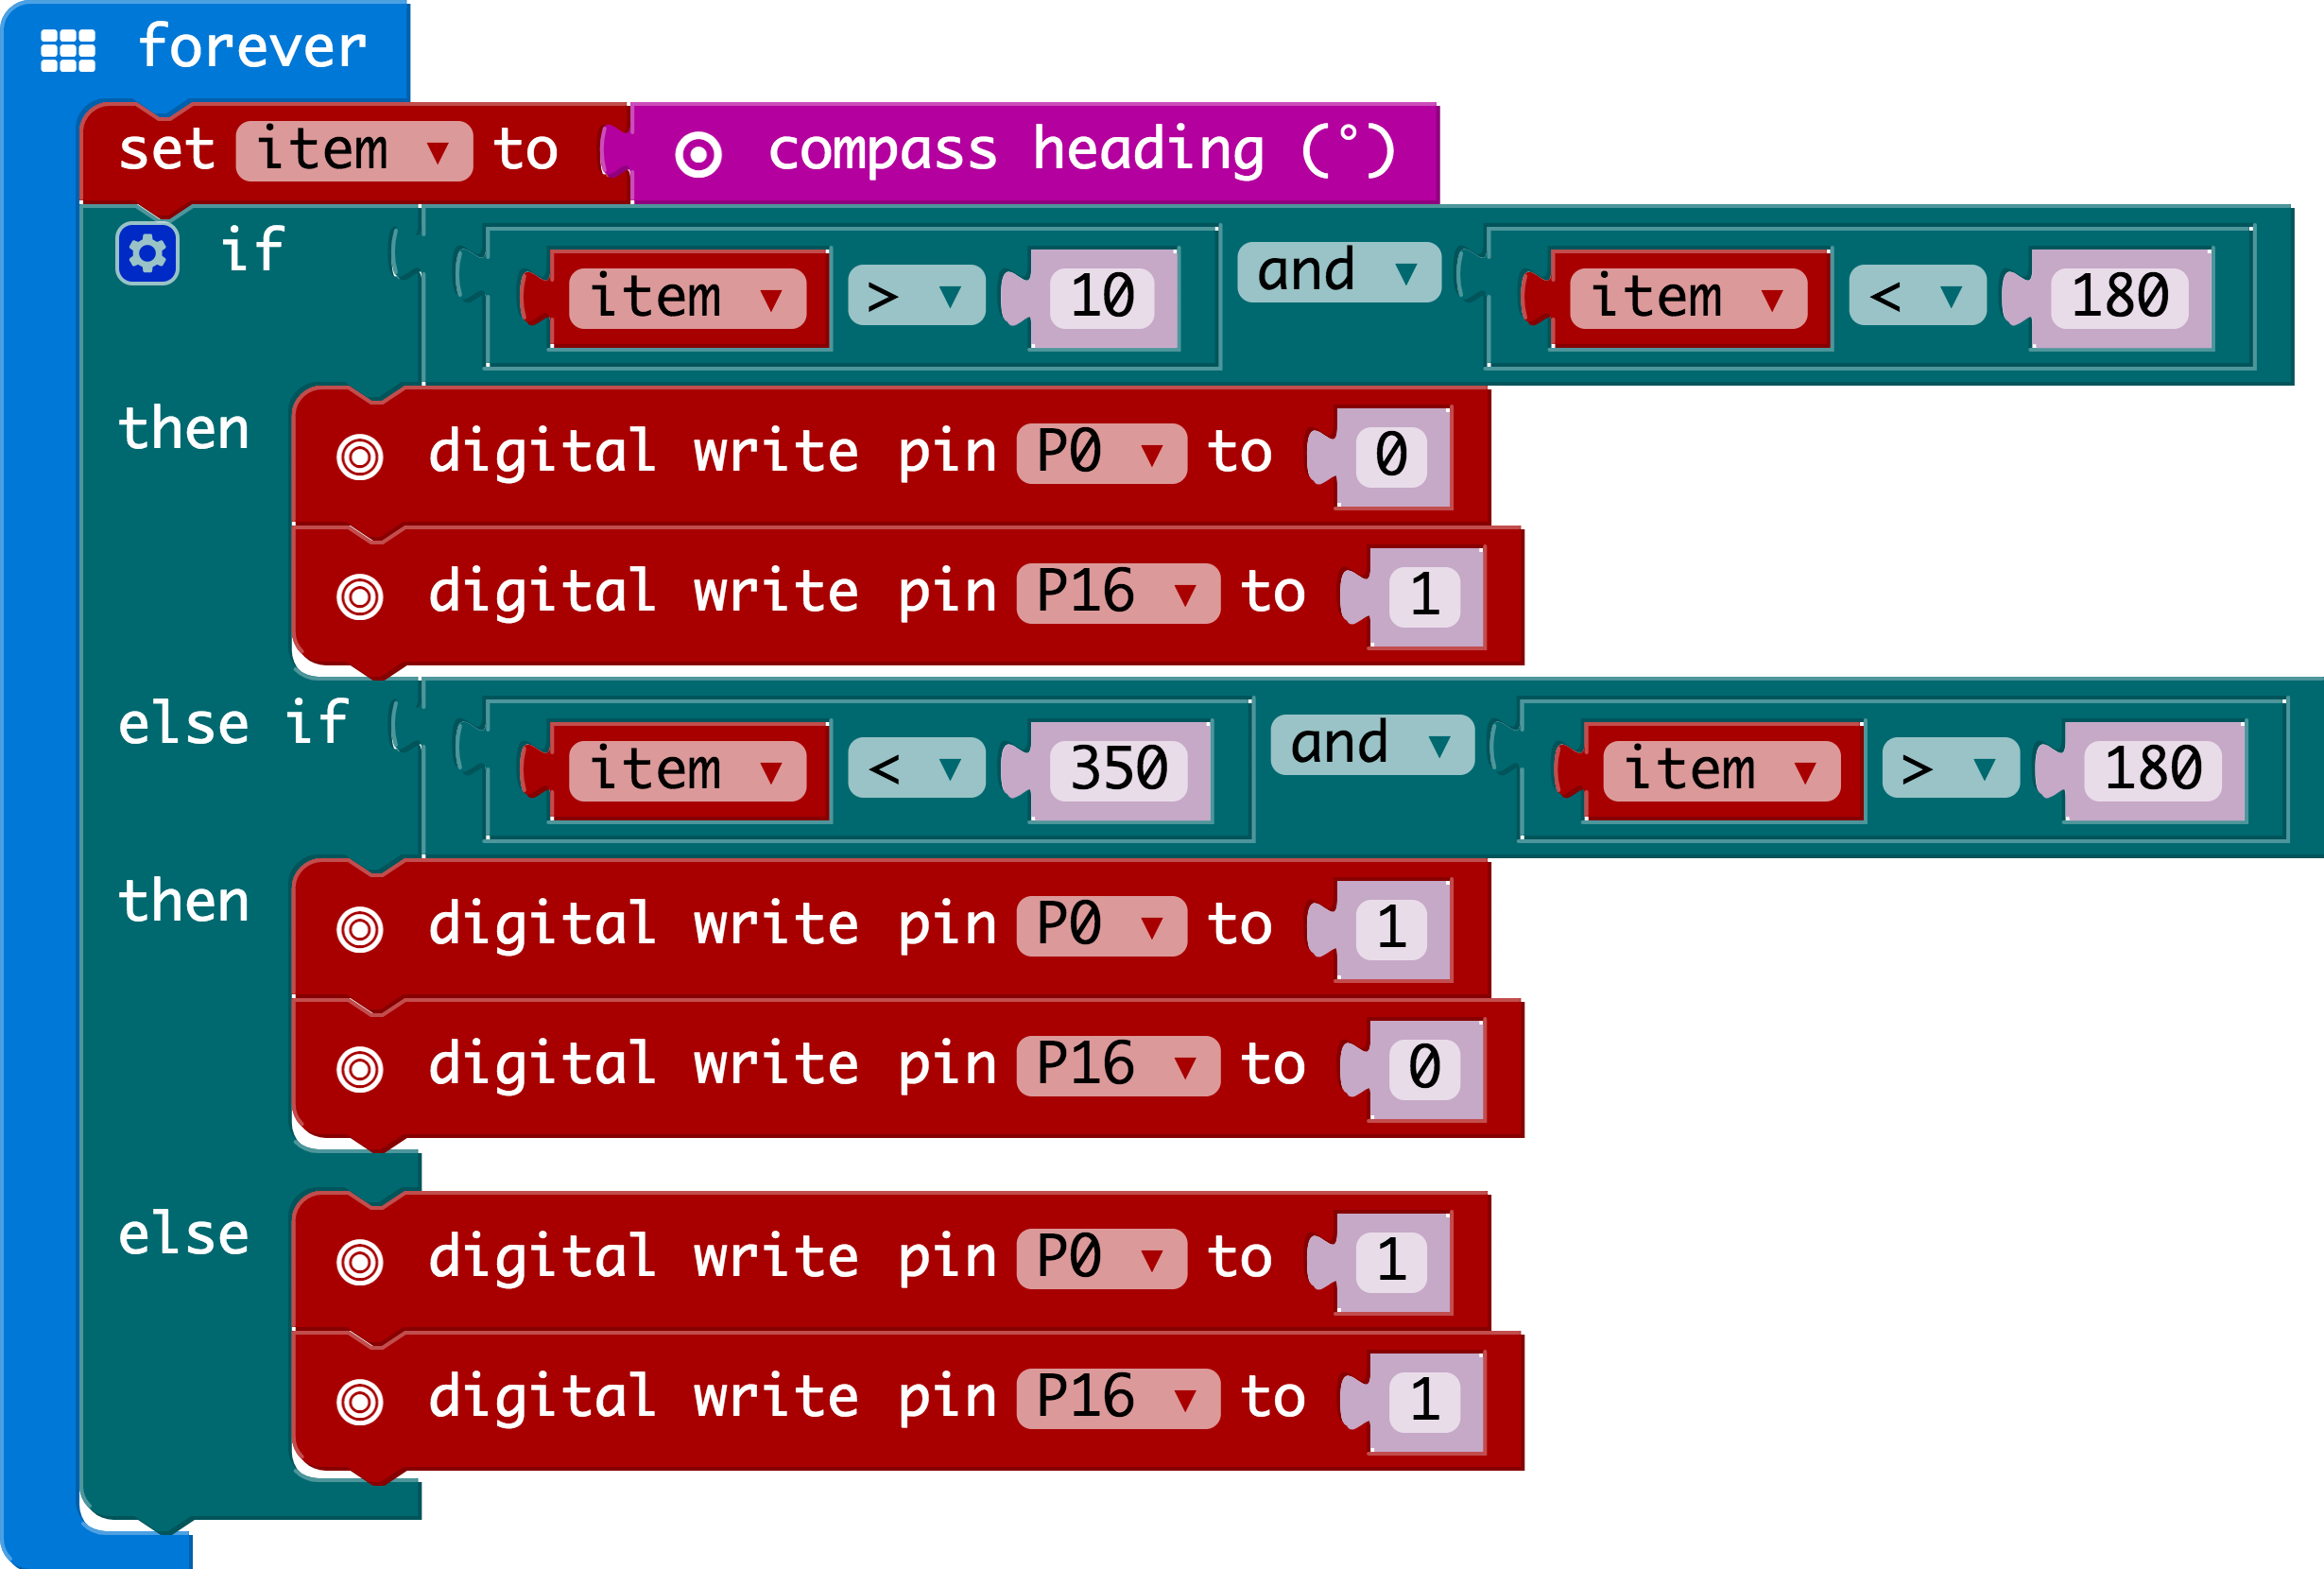
Compass Heading
The compass heading block returns the heading that you are facing if you are holding the micro:bit flat with the pins toward you.
Zero degrees is north. We store this heading in a variable called item .
And
Much of the rest of this code is straightforward, but the logical and block is used. This combines two logical statements into one
statement that returns true when both of the other statements are true and only true.
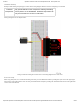
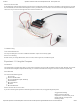
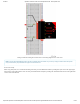
What You Should See
When your code is loaded you will first see instructions on the micro:bit LED array. The instructions will ask you to draw a circle,
move the micro:bit around until all of the part of the circle have been added and it displays a smiley face. This process is to
calibrate the micro:bit’s magnetometer with its surroundings. The LEDs will start to turn on — one or the other, or both. While
standing still, rotate in the direction of the LED that is on. When both LEDs are lit, you are facing generally north (if you are
outside)! You now have a compass that helps you find north, or any other direction you choose if you change the code!