
Guide


3/7/2018 SparkFun Inventor's Kit for micro:bit Experiment Guide - learn.sparkfun.com
https://learn.sparkfun.com/tutorials/sparkfun-inventors-kit-for-microbit-experiment-guide/all#introduction-to-microsoft-makecode 47/63
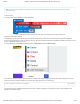
Troubleshooting
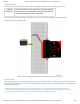
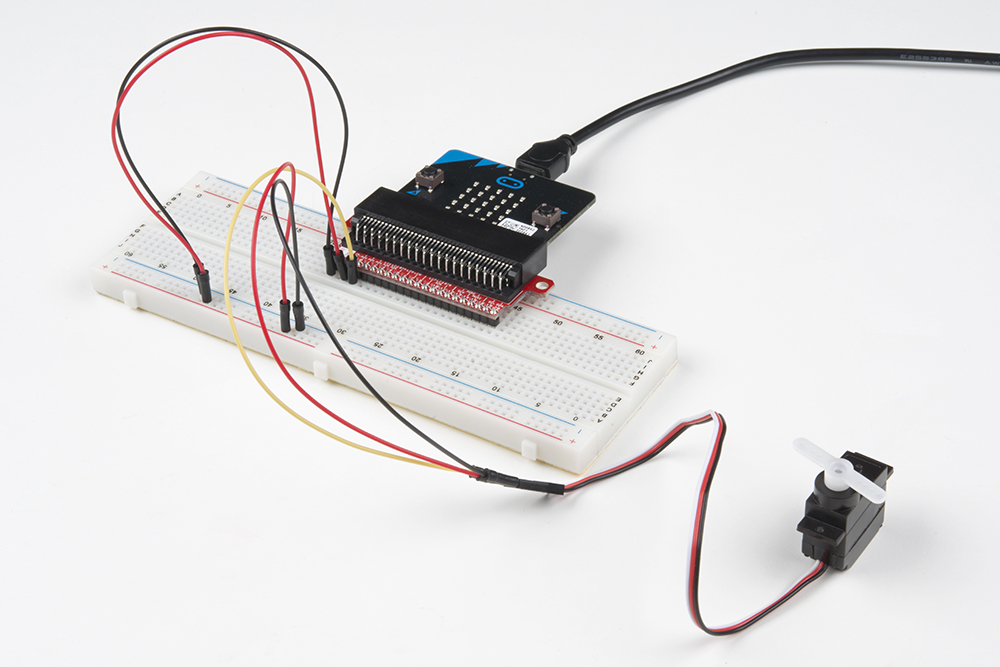
Servo Not Twisting
Even with colored wires, it is still shockingly easy to plug a servo in backward. This might be the case.
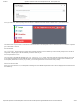
Still Not Working
A mistake we made a time or two was simply forgetting to connect the power (red and black wires) to 3.3 volts and ground (GND).
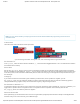
Experiment 9: Using a Buzzer
Introduction
In this experiment, we will again bridge the gap between the digital world and the analog world. We’ll be using a piezo buzzer that
makes a small “click” when you apply voltage to it (try it!). By itself that isn’t terribly exciting, but if you turn the voltage on and off
hundreds of times a second, the piezo buzzer will produce a tone. And if you string a bunch of tones together, you’ve got music!
This circuit and set of code blocks will create a simple sound machine.
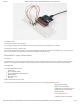
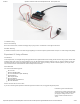
Parts Needed
You will need the following parts:
1x micro:bit
1x Micro B USB Cable
1x micro:bit Breakout (with Headers)
1x Breadboard
14x Jumper Wires
1x Piezo Buzzer
2x Momentary Push Buttons
2x 10kΩ Resistors
Didn’t Get the SIK for micro:bit?
If you are conducting this experiment and didn’t get the Inventor’s Kit, we suggest using these parts:
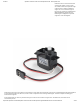
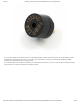
Introducing the Piezo Buzzer
The buzzer is a small component with
a piece of metal in it that moves when
you apply a voltage across it. This
motion causes a small sound, or
“click.”