
Guide

3/7/2018 SparkFun Inventor's Kit for micro:bit Experiment Guide - learn.sparkfun.com
https://learn.sparkfun.com/tutorials/sparkfun-inventors-kit-for-microbit-experiment-guide/all#introduction-to-microsoft-makecode 17/63
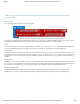
Troubleshooting
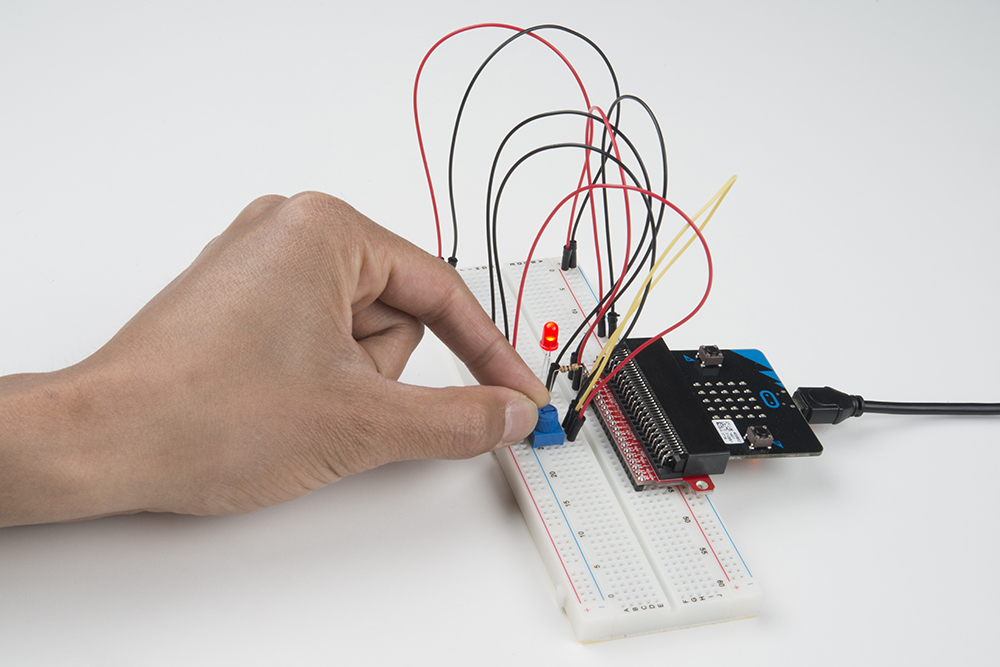
Sporadically Working
This is most likely due to a slightly dodgy connection with the potentiometer’s pins. This can usually be conquered by holding the
potentiometer down or moving the potentiometer circuit somewhere else on your breadboard.
Not Working
Make sure you haven’t accidentally connected the wiper (center pin), the resistive element in the potentiometer, to a wrong pin!
LED Not Lighting Up
LEDs will only work in one direction. Double check your connections.
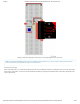
Experiment 3: Reading a Photoresistor
Introduction
In Experiment 2, you got to use a potentiometer, which varies resistance based on the twisting of a knob and, in turn, changes the
voltage being read by the analog input pin. In this circuit you’ll be using a photoresistor, which changes resistance based on how
much light the sensor receives. You will read the light value of the room and have an LED turn on if it is dark and turn off if it is
bright. That’s right; you are going to build a night light!
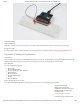
Parts Needed
You will need the following parts:
1x micro:bit
1x Micro B USB Cable
1x micro:bit Breakout (with Headers)
1x Breadboard
8x Jumper Wires
1x Photoresistor
1x 10kΩ Resistor
1x LED
1x 100Ω Resistor
Didn’t Get the SIK for micro:bit?
If you are conducting this experiment and didn’t get the Inventor’s Kit, we suggest using these parts:
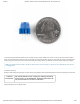
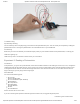
Introducing the Photoresistor