
Guide

3/7/2018 SparkFun Inventor's Kit for micro:bit Experiment Guide - learn.sparkfun.com
https://learn.sparkfun.com/tutorials/sparkfun-inventors-kit-for-microbit-experiment-guide/all#introduction-to-microsoft-makecode 12/63
Troubleshooting
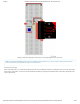
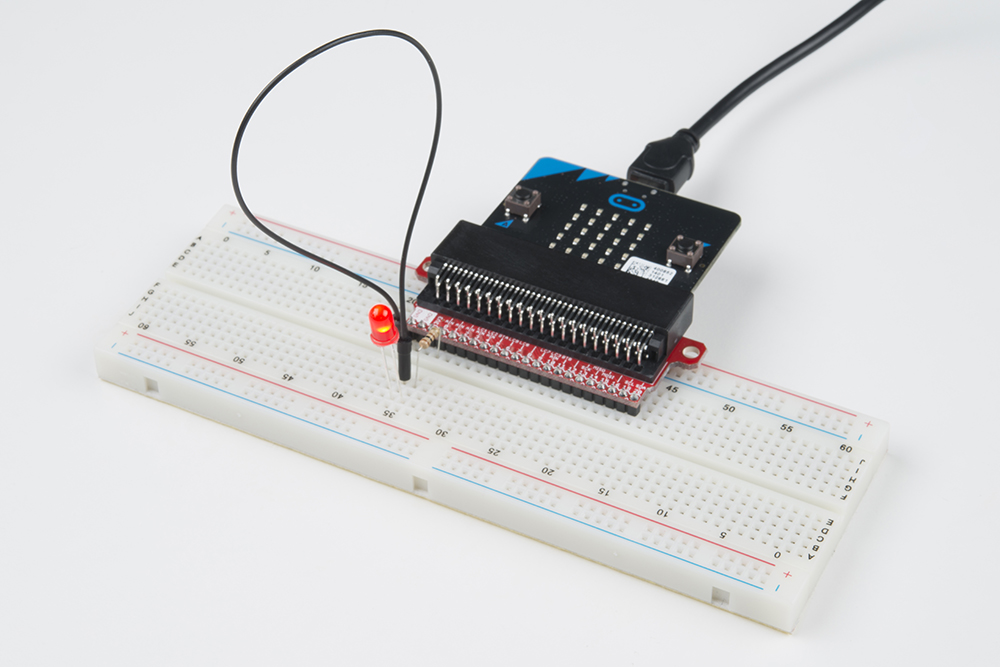
LED Not Blinking
Make sure you have it wired correctly and the correct pin to ground. Remember, short pin to ground; long pin to signal.
Still No Success
A broken circuit is no fun. Send us an email, and we will get back to you as soon as we can: techsupport@sparkfun.com .
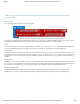
Experiment 2: Reading a Potentiometer
Introduction
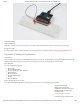
In this circuit you will work with a potentiometer. You will learn how to use a potentiometer to control the brightness of an LED by
reading a sensor and storing its 0–1023 value as a variable, then using it as a brightness level for the LED.
Parts Needed
You will need the following parts:
1x micro:bit
1x Micro B USB Cable
1x micro:bit Breakout (with Headers)
1x Breadboard
8x Jumper Wires
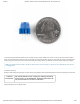
1x 10kΩ Potentiometer
1x LED
1x 100Ω Resistor
Didn’t Get the SIK for micro:bit?
If you are conducting this experiment and didn’t get the Inventor’s Kit, we suggest using these parts:
Suggested Reading
Before continuing with this
experiment, we recommend you be
familiar with the concepts in the
following tutorial:
Analog to Digital Conversion
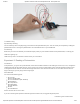
Introducing the Potentiometer