
Product Overview

1/23/2018 ESP32 Environment Sensor Shield Hookup Guide - learn.sparkfun.com
https://learn.sparkfun.com/tutorials/esp32-environment-sensor-shield-hookup-guide?_ga=2.200929641.659504291.1516640116-204410570.150963…
11/17
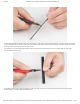
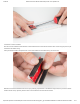
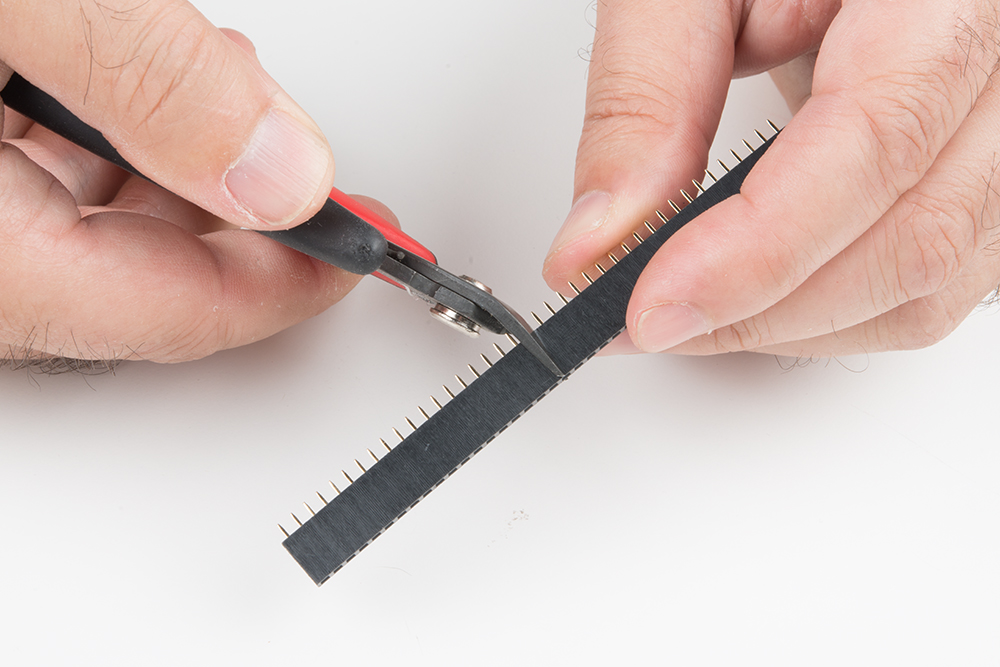
Optionally, you may take a file, piece of sandpaper, or some other sanding/grinding tool to sand down the end of the header so that
it’s smoother. You can do both pieces at the same time by holding them together and rubbing the ends on the finishing surface.
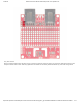
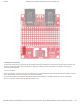
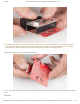
Install the Male Headers
We’re going to install the male headers on the ESP32 Thing board first. We’re going to do so “right side up”, with the headers
extending down from the side of the board with no components on it. This is easier than doing it the other way as the connectors
on the component side of the board create a difficult gap when attempting this method from that side.
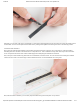
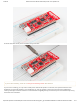
First, insert your male headers long-side-down into a breadboard, as shown below. You can see that we’re inserting the headers
into the second column in from the edge–columns labeled as B and I on the breadboard we’re using here.
Now, with the headers installed, you can easily drop the ESP32 Thing board into place on top of them.