
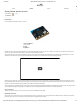
Getting Started Guide


11/16/2017 Getting Started with the micro:bit - learn.sparkfun.com
https://learn.sparkfun.com/tutorials/getting-started-with-the-microbit?_ga=2.220747408.983033930.1510848989-204410570.1509632255 4/8
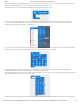
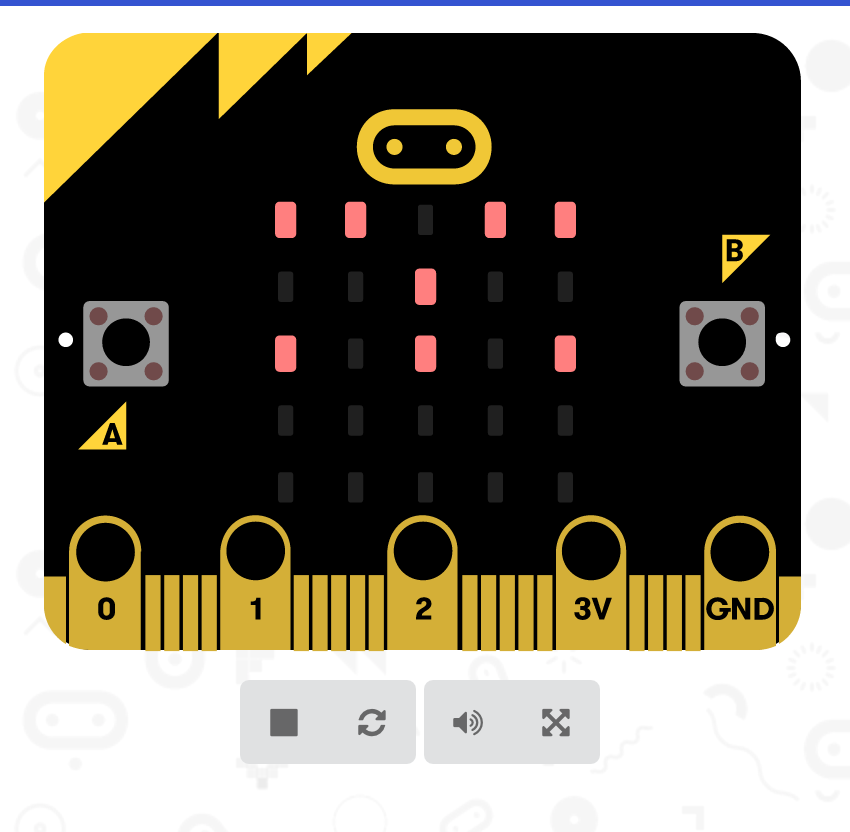
The simulator will update as you build your code, and if you want to run it from the beginning you can click the stop and run buttons to start it over again!
Speaking of code, let’s write a quick program and get it onto your micro:bit!
Hello, World!
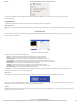
Now comes the good stuff — writing your first program for your micro:bit in the MakeCode programming environment!
“Hello World” is the term we use to define that first program you write in a programming language or on a new piece of hardware. Essentially it is a simple piece of code that
gives you a quick win (fingers crossed) and a first step in learning. It also gives you a chance to make sure everything is up and running and A-OK.
For your first “Hello World” we are going to create a simple animation on the LED array that repeats forever. If you just want the complete program, you can see it here. To see
a step-by-step explanation of how we built the program, continue reading!
Note: You may need to disable your ad/pop blocker to interact with the MakeCode programming environment and simulated circuit!
Building ‘Hello World’
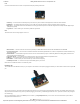
A “Hello World” on the micro:bit is a little different than on a normal run-of-the-mill microcontroller. The micro:bit has no single LED to blink on its own, as you would find on the
Arduino or similar boards. What the micro:bit does have is an LED array! So, the “Hello World” for the micro:bit is to draw something using the LED array!