
Getting Started Guide


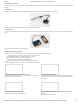


11/16/2017 Getting Started with the micro:bit - learn.sparkfun.com
https://learn.sparkfun.com/tutorials/getting-started-with-the-microbit?_ga=2.220747408.983033930.1510848989-204410570.1509632255 3/8
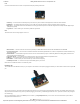
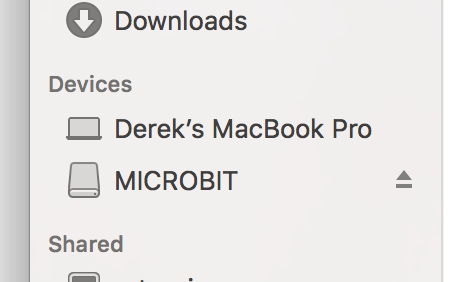
If you are on a Chromebook, when you plug your micro:bit in you will be greeted with a dialog box to open the drive. Feel free to do so to make sure it works!
Let’s get programming!
Using MakeCode
This guide and most of SparkFun’s content around the micro:bit will use MakeCode by Microsoft for programming.
What Is MakeCode?
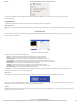
MakeCode is an open programming environment built by Microsoft for the micro:bit, as well as other boards. You can navigate to MakeCode for the micro:bit by following this
link:
LAUNCH MAKECODE!
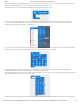
Once you have launched MakeCode, you will be greeted by its basic layout with a simulator on the left and a block-based environment on the right when your browser’s
window is maximized, as shown here.
Click on the image above for a larger view.
Let’s take a quick tour and check out what is available to us!
1. Projects — A cloud storage system connected to your computer with no account setup required.
2. Share — Allows you to share your project code in a number of different ways with your friends!
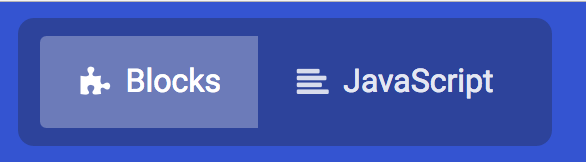
3. Blocks/JavaScript — Choose your own adventure by programming in blocks (default) or in JavaScript.
4. Program Space — This is where the magic happens and where you build your program…where you “make code.”
5. Zoom/Undo-Redo — Sometimes you need to undo things, or zoom out and look around; these are the buttons for that.
6. Name & Save — Name your program and save it (download it) to your computer.
7. Download — Similar to Save, download your program as a .hex file and drag it into your micro:bit.
8. Block Library — All of the options in terms of program building blocks, which are color-coded by function.
9. Simulator Hide/Show — You can hide/show the simulator if you would like.
10. Simulator — You don’t need hardware! MakeCode has a real-time simulator! As you change your program, you can see what it will do on this virtual micro:bit!
Phew! Now you have a choice - blocks or text-based programming?
Blocks or Text
For this guide and the majority of the content that you will find on SparkFun for the micro:bit, we will be using block-based programming examples.
But, if you so choose there is a JavaScript option to use as well. The choice is yours, and the good news is that you can switch back and forth from one to the other in the
same program; one will populate the other, which is really nice if you are new to programming!
Simulator
MakeCode includes a simulator for the micro:bit, meaning if you don’t have your micro:bit in hand you can still write code for it. Or if you want to try out an idea before you
upload it to your micro:bit, you can do that too!