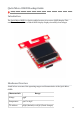
Qwiic Micro OLED Hookup Guide learn.sparkfun.com/tutorials/qwiic-micro-oled-hookup-guide Introduction The Qwiic Micro OLED is a Qwiic enabled version of our micro OLED display! This small monochrome, blue-on-black OLED display displays incredibly clear images Hardware Overview Listed below are some of the operating ranges and characteristics of the Qwiic Micro OLED. Characteristic Range Voltage 3.
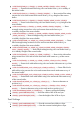
Pins Pin Description Direction GND Ground In 3.3V Power In SDA Data In SCL Clock In Optional Features There are several jumpers on board that can be changed to facilitate several different functions. The first of which is the I2C pull-up jumper, highlighted below. If multiple boards are connected to the I2C bus, the equivalent resistance goes down, increasing your pull up strength. If multiple boards are connected on the same bus, make sure only one board has the pull-up resistors connected.
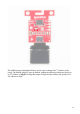
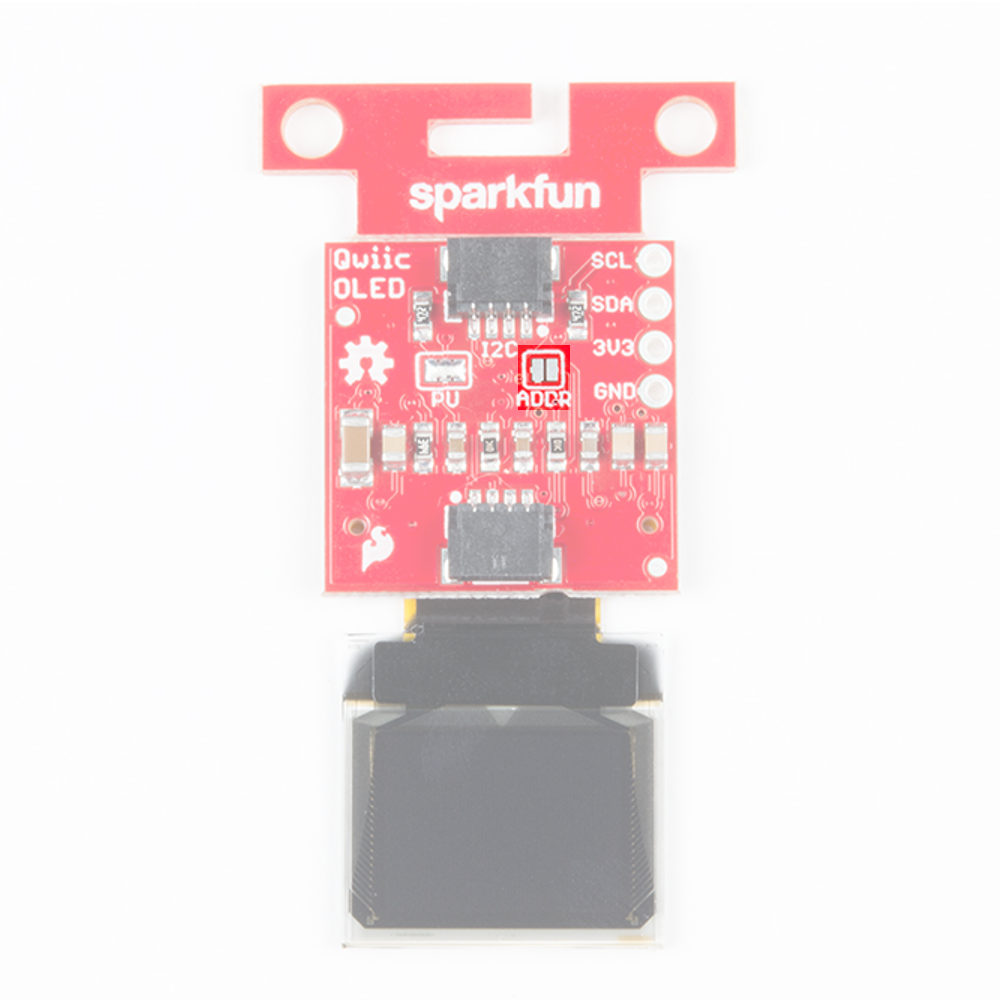
The ADDR jumper (highlighted below) can be used to change the I 2C address of the board. The default jumper is open by default, pulling the address pin high and giving us an I2C address of 0X3D. Closing this jumper will ground the address pin, giving us an I2C address of 0X3C.
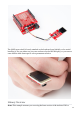
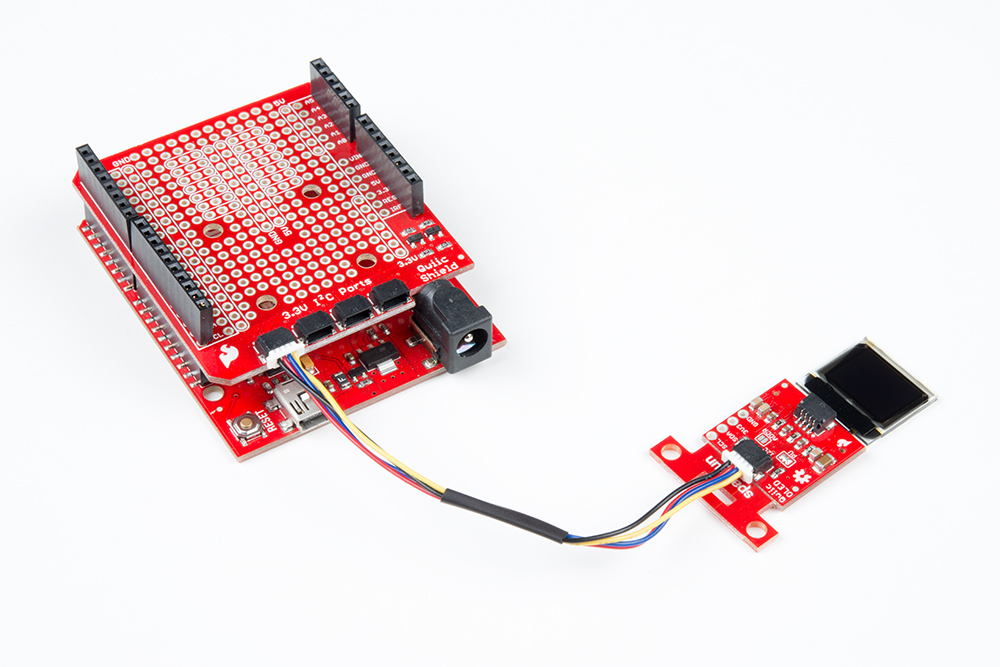
Hardware Assembly If you haven't yet assembled your Qwiic Shield, now would be the time to head on over to that tutorial. With the shield assembled, Sparkfun's new Qwiic environment means that connecting the screen could not be easier. Just plug one end of the Qwiic cable into the OLED display, the other into the Qwiic Shield and you'll be ready to start displaying images on your little display.
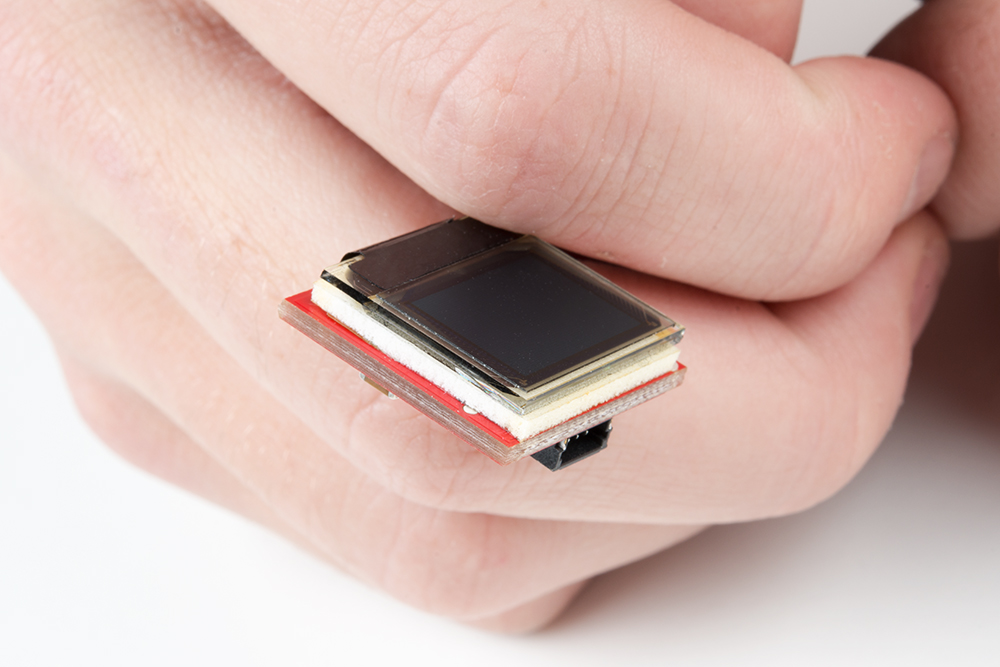
The OLED screen itself is loosely attached to the breakout board initially, so be careful handling it! You can either use your own enclosure for the OLED display, or you can use some double sided foam tape for a less permanent solution.
your desktop. If this is your first time using Arduino, please review our tutorial on installing the Arduino IDE. If you have not previously installed an Arduino library, please check out our installation guide. First, you'll need to download and install the SparkFun Micro OLED library. You can install this library automatically in the Arduino IDE's Library Manager by searching for "Micro OLED Breakout". Or you can manually download it from the GitHub repository.
void lineH(uint8_t x, uint8_t y, uint8_t width, uint8_t color, uint8_t mode); --- Draw horizontal line using color and mode from x,y to x+width,y of the screen buffer. void lineV(uint8_t x, uint8_t y, uint8_t height); --- Draw vertical line using current fore color and current draw mode from x,y to x,y+height of the screen buffer. void lineV(uint8_t x, uint8_t y, uint8_t height, uint8_t color, uint8_t mode); --- Draw vertical line using color and mode from x,y to x,y+height of the screen buffer.
uint8_t getTotalFonts(void); --- Return the total number of fonts loaded into the MicroOLED's flash memory. uint8_t getFontType(void); --- Returns the font type number of the current font (Font types shown below). uint8_t setFontType(uint8_t type); --- Sets the font type (Font types shown below). Font Type Maximum Columns Maximum Rows Description 0 10 6 Smallest, 5x7-pixel characters. 1 6 3 Medium, 8x16-pixel characters. 2 5 3 7-segment display style characters, 10x16-pixels each.
takes two steps. You must first write what you want the screen to display into the screens memory, then you must tell the screen to display what is in its memory. To begin, we must include our Wire library to use I2C, and the SFE_MicroOLED library to control the screen. Then the code initializes the OLED using DC_JUMPER = 1 . If you have closed the jumper on the breakout board, use DC_JUMPER = 0 . MicroOLED oled(PIN_RESET, DC_JUMPER); void setup() { delay(100); Wire.begin(); oled.begin(); oled.
oled.line(middleX, middleY, middleX + xEnd, middleY + yEnd, BLACK, NORM); oled.display(); delay(10); } } } void shapeExample() { printTitle("Shapes!", 0); int paddleW = 3; int paddleH = 15; int paddle0_Y = (oled.getLCDHeight() / 2) - (paddleH / 2); int paddle0_X = 2; int paddle1_Y = (oled.getLCDHeight() / 2) - (paddleH / 2); int paddle1_X = oled.getLCDWidth() - 3 - paddleW; int ball_rad = 2; int int int int int int ball_X = paddle0_X + paddleW + ball_rad; ball_Y = random(1 + ball_rad, oled.
} } if ((ball_Y <= ball_rad) || (ball_Y >= (oled.getLCDHeight() - ball_rad - 1))) { ballVelocityY = -ballVelocityY; } paddle0_Y += paddle0Velocity; paddle1_Y += paddle1Velocity; if ((paddle0_Y <= 1) || (paddle0_Y > oled.getLCDHeight() - 2 - paddleH)) { paddle0Velocity = -paddle0Velocity; } if ((paddle1_Y <= 1) || (paddle1_Y > oled.getLCDHeight() - 2 - paddleH)) { paddle1Velocity = -paddle1Velocity; } oled.clear(PAGE); oled.rect(0, 0, oled.getLCDWidth() - 1, oled.getLCDHeight()); oled.rectFill(oled.
oled.write(i); oled.display(); delay(10); if ((i%60 == 0) && (i != 0)) { delay(500); oled.clear(PAGE); oled.setCursor(0, 0); } } delay(500); oled.setFontType(1); oled.clear(PAGE); oled.setCursor(0, 0); oled.print(" !\"#$%&'()*+,-./01234"); oled.display(); delay(1000); oled.clear(PAGE); oled.setCursor(0, 0); oled.print("56789:;<=>?@ABCDEFGHI"); oled.display(); delay(1000); oled.clear(PAGE); oled.setCursor(0, 0); oled.print("JKLMNOPQRSTUVWXYZ[\\]^"); oled.display(); delay(1000); oled.clear(PAGE); oled.
oled.print("A0: "); oled.setFontType(2); oled.print(analogRead(A0)); oled.setCursor(0, 16); oled.setFontType(0); oled.print("A1: "); oled.setFontType(2); oled.print(analogRead(A1)); oled.setCursor(0, 32); oled.setFontType(0); oled.print("A2: "); oled.setFontType(2); oled.print(analogRead(A2)); oled.display(); delay(100); } oled.setFontType(3); int ms = 0; int s = 0; while (s <= 5) { oled.clear(PAGE); oled.setCursor(0, 0); if (s < 10) oled.print("00"); else if (s < 100) oled.print("0"); oled.print(s); oled.
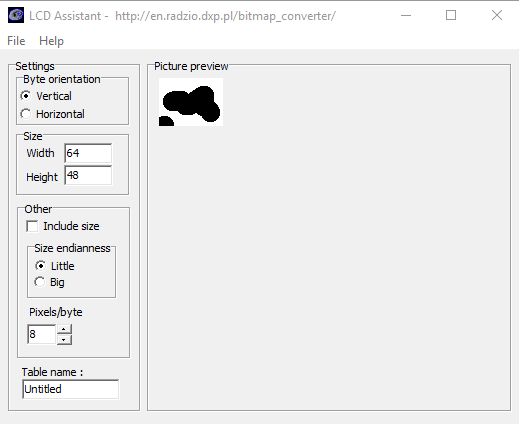
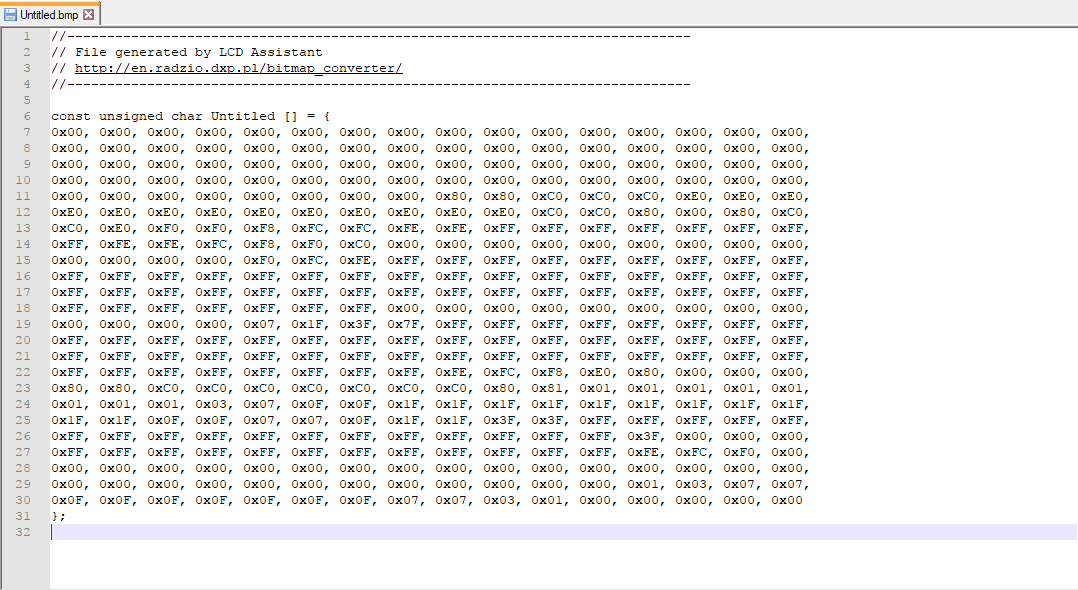
middleY - (oled.getFontWidth() / 2)); oled.print(title); oled.display(); delay(1500); oled.clear(PAGE); } The example code will then loop between all of the examples. This is a good way to see exactly what your code looks like on the screen. void loop() { lineExample(); // Then the line example function shapeExample(); // Then the shape example textExamples(); // Finally the text example } Example: Drawing Bitmaps It is also possible to load bitmaps of your own custom images into the screen.
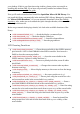
This array is the image that will be displayed by the screen, so now we just have to paste it into the bitmaps.h header file as the correct data type so our compiler is able to find the image. Make sure you change the array to a uint8_t . The pasted bitmap should looke something like the below image, with the variable type changed to uint8_t .
Now we will be able to call drawBitmap(Untitled) to draw our image. Some example code showing how to display some Rick and Morty bitmaps is shown below.
MicroOLED oled(PIN_RESET, DC_JUMPER); void setup() { delay(100); oled.begin(); oled.clear(ALL); oled.display(); delay(1000); oled.clear(PAGE); } void loop() { drawRick(); delay(5000); drawMorty(); delay(5000); } void drawRick() { oled.clear(ALL); oled.clear(PAGE); oled.drawBitmap(rick); oled.display(); } void drawMorty() { oled.clear(ALL); oled.clear(PAGE); oled.drawBitmap(morty); oled.


