
User's Manual
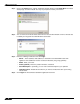


Table Of Contents
- Using This Guide
- Virtual Office Overview
- Using Virtual Office Features
- Importing Certificates
- Using Two-Factor Authentication
- Using One-Time Passwords
- Using NetExtender
- User Prerequisites
- User Configuration Tasks
- Installing NetExtender Using the Mozilla Firefox Browser
- Installing NetExtender Using the Internet Explorer Browser
- Launching NetExtender Directly from Your Computer
- Configuring NetExtender Properties
- Configuring NetExtender Connection Scripts
- Configuring Proxy Settings
- Configuring NetExtender Log Properties
- Configuring NetExtender Advanced Properties
- Viewing the NetExtender Log
- Disconnecting NetExtender
- Upgrading NetExtender
- Changing Passwords
- Authentication Methods
- Uninstalling NetExtender
- Verifying NetExtender Operation from the System Tray
- Using the NetExtender Command Line Interface
- Installing NetExtender on MacOS
- Using NetExtender on MacOS
- Installing and Using NetExtender on Linux
- Installing and Using NetExtender for Windows Mobile
- Passwords in NetExtender Mobile
- Installing NetExtender on Android Smartphones
- Using NetExtender on Android Smartphones
- Related Documents
- Using Virtual Assist
- Understanding Virtual Assist
- Installing and Launching Virtual Assist
- Configuring Virtual Assist Settings
- Selecting a Virtual Assist Mode
- Launching a Virtual Assist Technician Session
- Performing Virtual Assist Technician Tasks
- Using Virtual Assist from the Customer View
- Using Virtual Assist in Unattended Mode
- Enabling a System for Virtual Access
- Using the Request Assistance Feature
- Using File Shares
- Managing Bookmarks
- Using Bookmarks
- Logging Out of the Virtual Office
Using File Shares
99
SonicWALL SSL VPN 5.0 User Guide
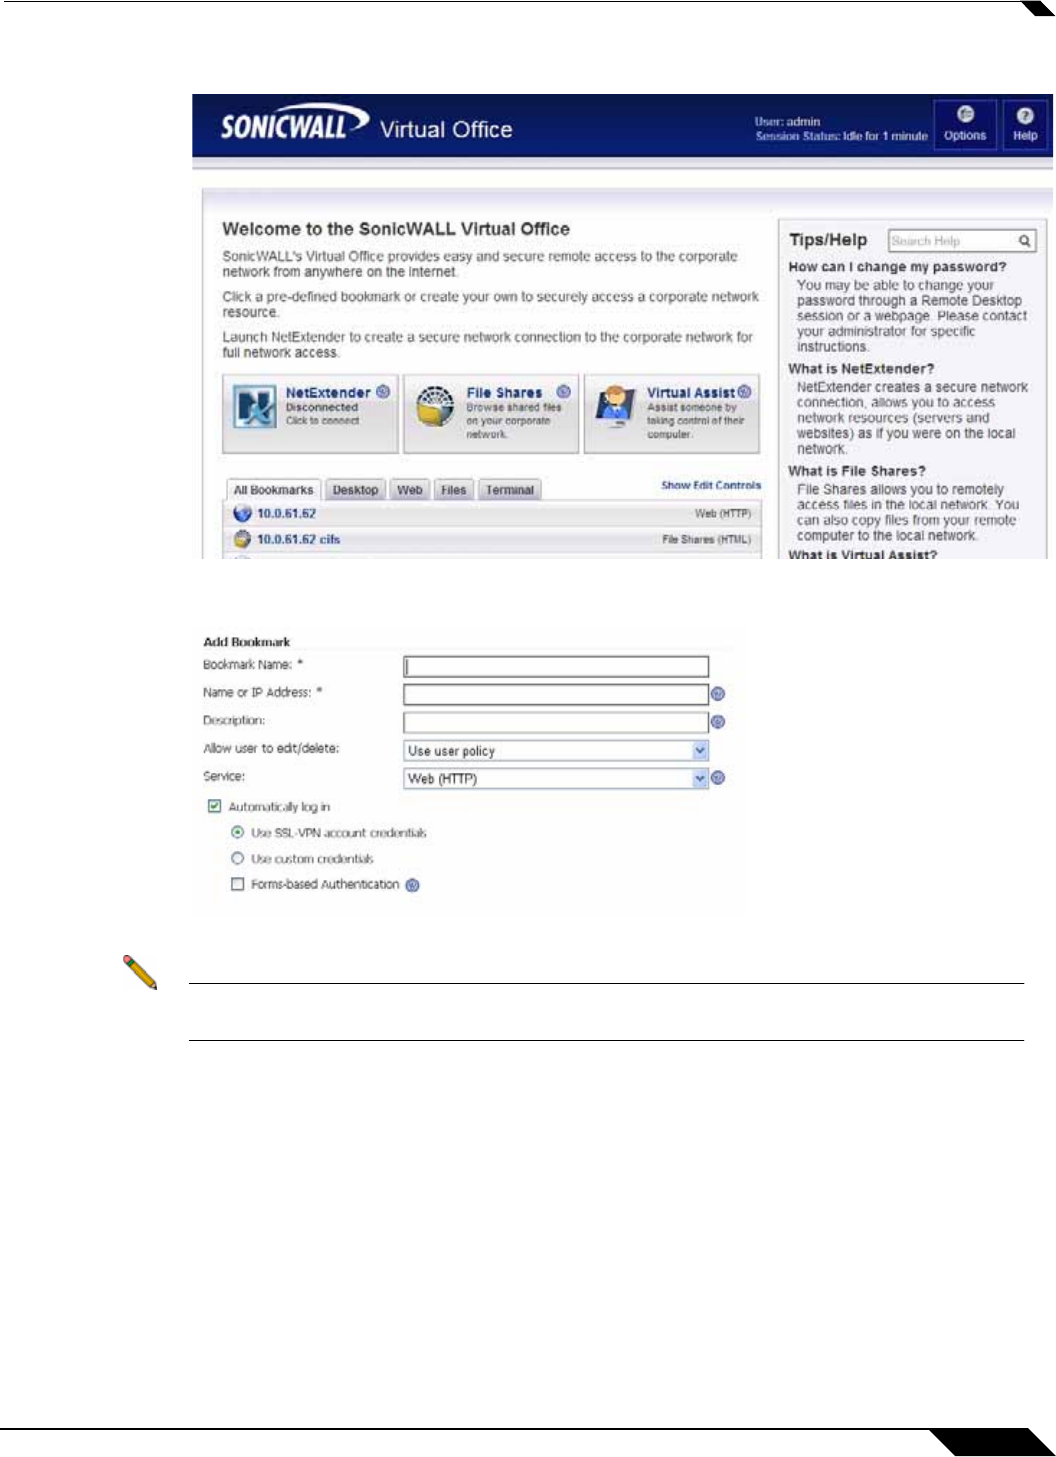
Step 3 Click the New Bookmark tab in the portal page.
Step 4 The Add Bookmark screen displays. Enter a friendly name for the bookmark in the Bookmark
Name field.
Step 5 Enter the IP address and file directory path to the File Share in the Name or IP Address field.
Note When using the Java applet, the Name or IP Address field must be to a file directory and
end with a / or \ character.
Step 6 In the Service pull down menu, select the File Shares (CIFS) option.
Step 7 Check the Use File Shares Java Applet box to enable the File Shares Applet for this
bookmark. Leaving this box unchecked means the portal will launch the original HTML browser
when the bookmark is selected.
Step 8 Optionally, select Automatically log in to log in to this file share using either your SSL VPN
credentials or by specifying custom credentials.
Step 9 Click Add.
Bookmark serve as useful shortcuts to quickly access different network locations. Bookmarks
can also be set up from the File Shares Browser, either by clicking the Bookmark button, or
using the bookmark option from the right-click menu.