
User's Manual
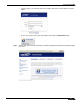
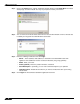


Table Of Contents
- Using This Guide
- Virtual Office Overview
- Using Virtual Office Features
- Importing Certificates
- Using Two-Factor Authentication
- Using One-Time Passwords
- Using NetExtender
- User Prerequisites
- User Configuration Tasks
- Installing NetExtender Using the Mozilla Firefox Browser
- Installing NetExtender Using the Internet Explorer Browser
- Launching NetExtender Directly from Your Computer
- Configuring NetExtender Properties
- Configuring NetExtender Connection Scripts
- Configuring Proxy Settings
- Configuring NetExtender Log Properties
- Configuring NetExtender Advanced Properties
- Viewing the NetExtender Log
- Disconnecting NetExtender
- Upgrading NetExtender
- Changing Passwords
- Authentication Methods
- Uninstalling NetExtender
- Verifying NetExtender Operation from the System Tray
- Using the NetExtender Command Line Interface
- Installing NetExtender on MacOS
- Using NetExtender on MacOS
- Installing and Using NetExtender on Linux
- Installing and Using NetExtender for Windows Mobile
- Passwords in NetExtender Mobile
- Installing NetExtender on Android Smartphones
- Using NetExtender on Android Smartphones
- Related Documents
- Using Virtual Assist
- Understanding Virtual Assist
- Installing and Launching Virtual Assist
- Configuring Virtual Assist Settings
- Selecting a Virtual Assist Mode
- Launching a Virtual Assist Technician Session
- Performing Virtual Assist Technician Tasks
- Using Virtual Assist from the Customer View
- Using Virtual Assist in Unattended Mode
- Enabling a System for Virtual Access
- Using the Request Assistance Feature
- Using File Shares
- Managing Bookmarks
- Using Bookmarks
- Logging Out of the Virtual Office
Using Virtual Assist
95
SonicWALL SSL VPN 5.0 User Guide
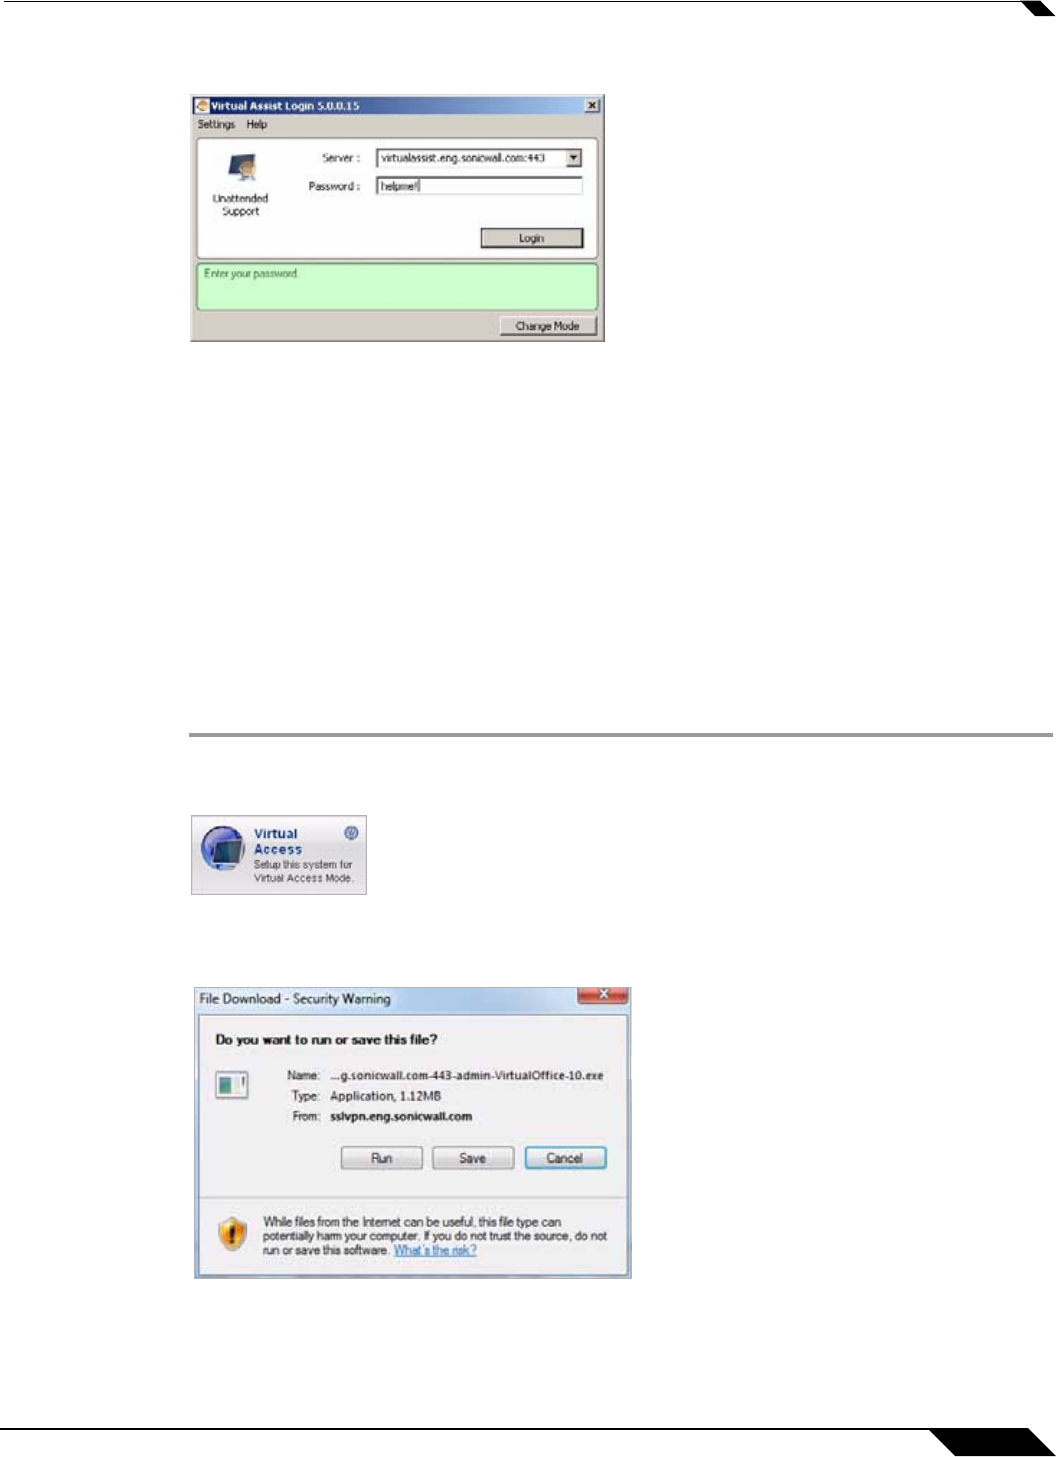
Step 2 Click Change Mode, select Unattended, and click Change Mode again.
Step 3 Select or enter the IP address or domain name of the SSL VPN server.
Step 4 Enter a Password and click Login. The Waiting window displays and shows the length of time
you have been in the queue.
Step 5 You need to provide the technician with the password you just defined. An easy way to do this
is to click Add Information and give the technician your password.
Enabling a System for Virtual Access
Virtual Access is similar to unattended mode in that
If Virtual Access has been enabled on the Virtual Assist tab on the Portals > Portals page of the
management interface, users should see a link on the Virtual Office portal to set-up a system
for Virtual Access. The following process allows Virtual Access to be set-up on a system.
Step 1 Login to the Virtual Office portal through the system you wish to set-up for Virtual Access and
click the Virtual Access link.
Step 2 A file should download with parameters to install the VASAC.exe file that will provide the
needed client for Virtual Access mode. Save and run the file.