
User's Manual
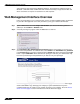


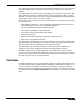


Table Of Contents
- Using This Guide
- Virtual Office Overview
- Using Virtual Office Features
- Importing Certificates
- Using Two-Factor Authentication
- Using One-Time Passwords
- Using NetExtender
- User Prerequisites
- User Configuration Tasks
- Installing NetExtender Using the Mozilla Firefox Browser
- Installing NetExtender Using the Internet Explorer Browser
- Launching NetExtender Directly from Your Computer
- Configuring NetExtender Properties
- Configuring NetExtender Connection Scripts
- Configuring Proxy Settings
- Configuring NetExtender Log Properties
- Configuring NetExtender Advanced Properties
- Viewing the NetExtender Log
- Disconnecting NetExtender
- Upgrading NetExtender
- Changing Passwords
- Authentication Methods
- Uninstalling NetExtender
- Verifying NetExtender Operation from the System Tray
- Using the NetExtender Command Line Interface
- Installing NetExtender on MacOS
- Using NetExtender on MacOS
- Installing and Using NetExtender on Linux
- Installing and Using NetExtender for Windows Mobile
- Passwords in NetExtender Mobile
- Installing NetExtender on Android Smartphones
- Using NetExtender on Android Smartphones
- Related Documents
- Using Virtual Assist
- Understanding Virtual Assist
- Installing and Launching Virtual Assist
- Configuring Virtual Assist Settings
- Selecting a Virtual Assist Mode
- Launching a Virtual Assist Technician Session
- Performing Virtual Assist Technician Tasks
- Using Virtual Assist from the Customer View
- Using Virtual Assist in Unattended Mode
- Enabling a System for Virtual Access
- Using the Request Assistance Feature
- Using File Shares
- Managing Bookmarks
- Using Bookmarks
- Logging Out of the Virtual Office
Using Two-Factor Authentication
19
SonicWALL SSL VPN 5.0 User Guide
Step 2 Enter your username in the Username field.
Step 3 The first time you log in to the Virtual office, your entry in the password field depends on
whether you have been given a PIN or if you need to create the PIN.
–
If you already have a PIN, enter the passcode in the Password field. The passcode is
the user PIN and the SecurID token code. For example, if the user’s PIN is 8675 and
the token code is 30966673, then the passcode is 867530966673.
–
If you do not have a PIN, enter the SecurID token code in the Password field.
Step 4 Select the appropriate Domain.
Note If manually entering the Domain, it is case-sensitive.
Step 5 Click Login.
Creating a New PIN
The RSA Authentication Manager automatically determines when users are required to create
a new PIN. will determines that user associated with a particular token requires a new PIN. The
SSL-VPN appliance prompts the user to enter new PIN.
Step 1 If the user is configured for the Allowed to Create a PIN option, users are first asked if they
want the system to generate a PIN. To have the system generate a PIN, type y and click OK.
To create your own PIN, type n and click OK.
Step 2 The new PIN is displayed. To accept the PIN type y and click OK. To have the system generate
a different PIN, type n and click OK.
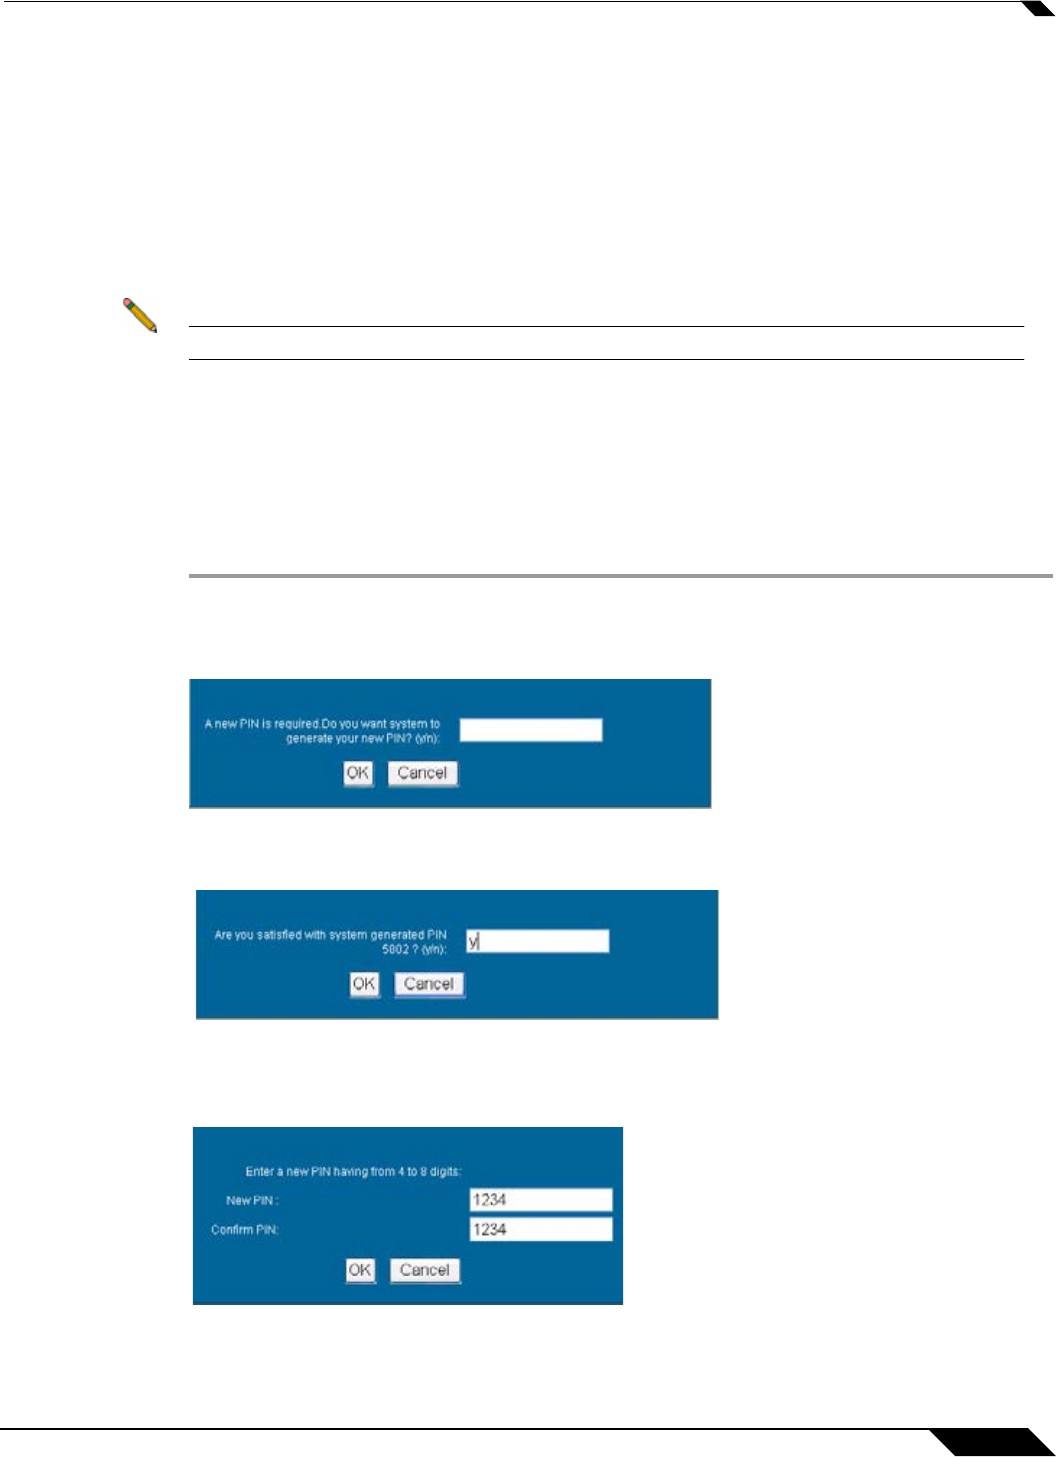
Step 3 If you declined to accept a system-generated PIN, or if your username is configured for
Required to Create a PIN, you are prompted to enter your new PIN. Enter the PIN in the New
PIN field and again in the Confirm PIN field and click OK.