
User's Manual

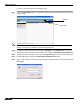
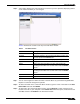
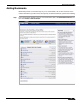


Table Of Contents
- Using This Guide
- Virtual Office Overview
- Using Virtual Office Features
- Importing Certificates
- Using Two-Factor Authentication
- Using One-Time Passwords
- Using NetExtender
- User Prerequisites
- User Configuration Tasks
- Installing NetExtender Using the Mozilla Firefox Browser
- Installing NetExtender Using the Internet Explorer Browser
- Launching NetExtender Directly from Your Computer
- Configuring NetExtender Properties
- Configuring NetExtender Connection Scripts
- Configuring Proxy Settings
- Configuring NetExtender Log Properties
- Configuring NetExtender Advanced Properties
- Viewing the NetExtender Log
- Disconnecting NetExtender
- Upgrading NetExtender
- Changing Passwords
- Authentication Methods
- Uninstalling NetExtender
- Verifying NetExtender Operation from the System Tray
- Using the NetExtender Command Line Interface
- Installing NetExtender on MacOS
- Using NetExtender on MacOS
- Installing and Using NetExtender on Linux
- Installing and Using NetExtender for Windows Mobile
- Passwords in NetExtender Mobile
- Installing NetExtender on Android Smartphones
- Using NetExtender on Android Smartphones
- Related Documents
- Using Virtual Assist
- Understanding Virtual Assist
- Installing and Launching Virtual Assist
- Configuring Virtual Assist Settings
- Selecting a Virtual Assist Mode
- Launching a Virtual Assist Technician Session
- Performing Virtual Assist Technician Tasks
- Using Virtual Assist from the Customer View
- Using Virtual Assist in Unattended Mode
- Enabling a System for Virtual Access
- Using the Request Assistance Feature
- Using File Shares
- Managing Bookmarks
- Using Bookmarks
- Logging Out of the Virtual Office
Managing Bookmarks
116
SonicWALL SSL VPN 5.0 User Guide
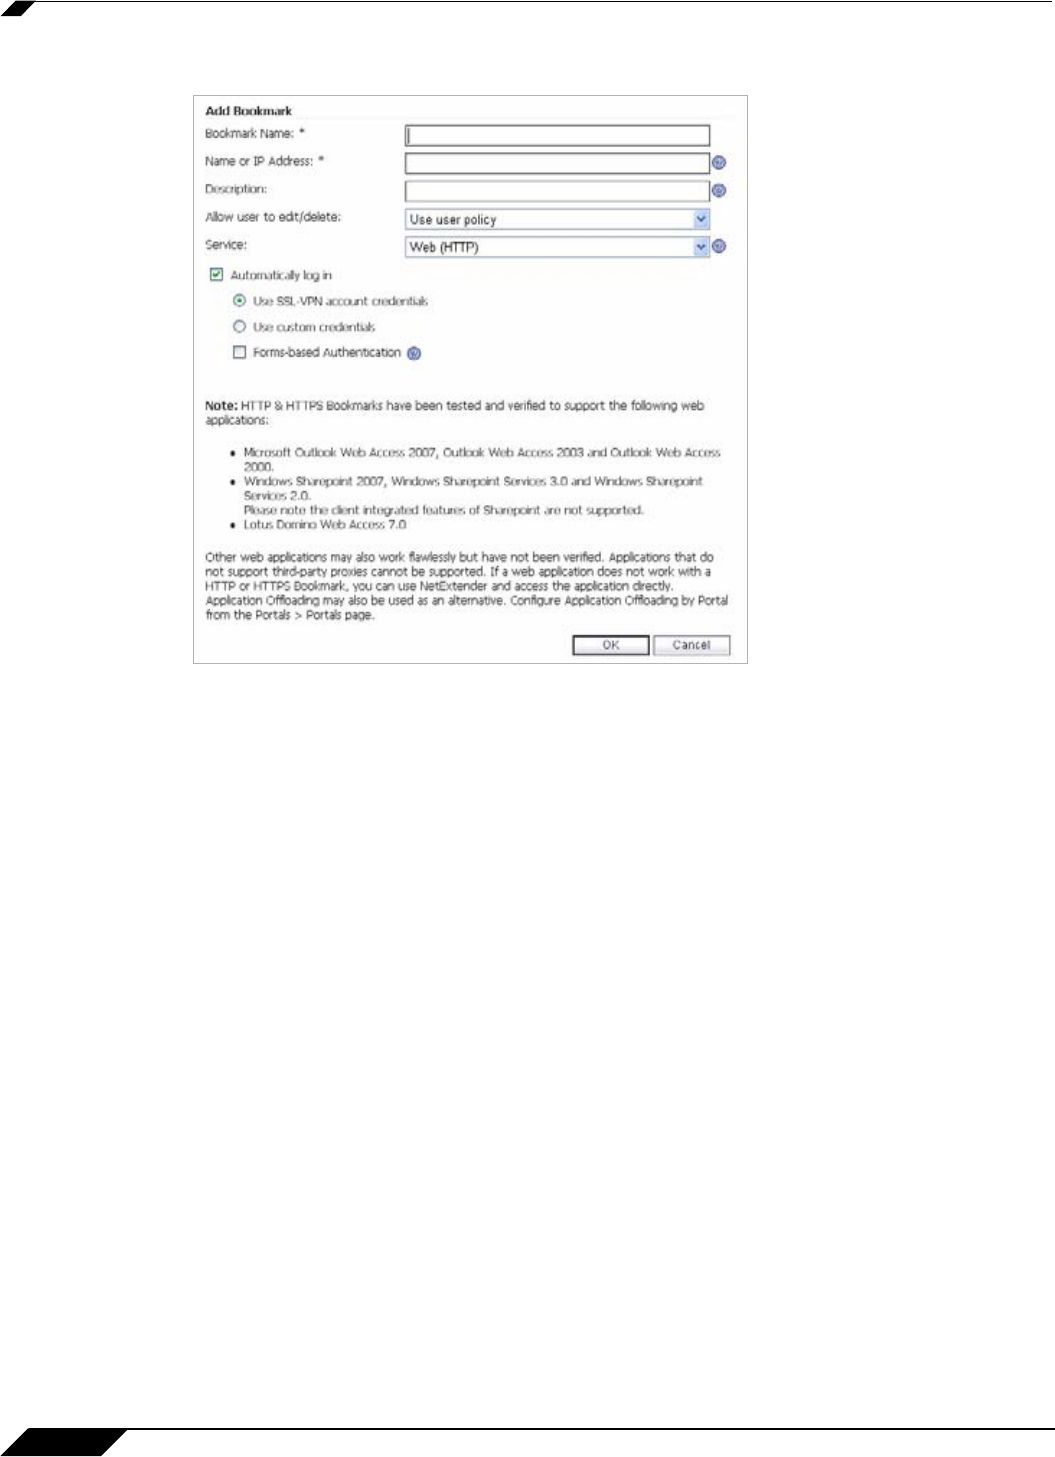
Step 2 In the Add Bookmark screen, enter a descriptive name in the Bookmark Name field.
Step 3 Enter the domain name, IP address, or IPv6 address of a host machine on the LAN in the Name
or IP Address field. IPv6 addresses should be enclosed in brackets (i.e. the [ and ] symbols).
You may also enter the wildcard variable %USERNAME% to display the current user name.
Variables are case-sensitive.
Step 4 In the Description field, optionally enter a friendly description to be displayed in the bookmark
table.
Step 5 Select the user permissions level from the Allow user to edit/delete drop-down list. You can
select Use user policy, Allow, or Deny.
Step 6 Select the service type in the Service drop-down list. You can select from the following
services:
–
Terminal Services (RDP - ActiveX)
–
Terminal Services (RDP - Java)
–
Virtual Network Computing (VNC)
–
Citrix Portal (Citrix)
–
Web (HTTP)
–
Secure Web (HTTPS)
–
External Web Site
–
File Shares (CIFS)
–
File Transfer Protocol (FTP)
–
Telnet
–
Secure Shell version 1 (SSHv1)
–
Secure Shell version 2 (SSHv2)