
User's Manual

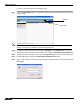
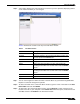

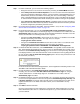


Table Of Contents
- Using This Guide
- Virtual Office Overview
- Using Virtual Office Features
- Importing Certificates
- Using Two-Factor Authentication
- Using One-Time Passwords
- Using NetExtender
- User Prerequisites
- User Configuration Tasks
- Installing NetExtender Using the Mozilla Firefox Browser
- Installing NetExtender Using the Internet Explorer Browser
- Launching NetExtender Directly from Your Computer
- Configuring NetExtender Properties
- Configuring NetExtender Connection Scripts
- Configuring Proxy Settings
- Configuring NetExtender Log Properties
- Configuring NetExtender Advanced Properties
- Viewing the NetExtender Log
- Disconnecting NetExtender
- Upgrading NetExtender
- Changing Passwords
- Authentication Methods
- Uninstalling NetExtender
- Verifying NetExtender Operation from the System Tray
- Using the NetExtender Command Line Interface
- Installing NetExtender on MacOS
- Using NetExtender on MacOS
- Installing and Using NetExtender on Linux
- Installing and Using NetExtender for Windows Mobile
- Passwords in NetExtender Mobile
- Installing NetExtender on Android Smartphones
- Using NetExtender on Android Smartphones
- Related Documents
- Using Virtual Assist
- Understanding Virtual Assist
- Installing and Launching Virtual Assist
- Configuring Virtual Assist Settings
- Selecting a Virtual Assist Mode
- Launching a Virtual Assist Technician Session
- Performing Virtual Assist Technician Tasks
- Using Virtual Assist from the Customer View
- Using Virtual Assist in Unattended Mode
- Enabling a System for Virtual Access
- Using the Request Assistance Feature
- Using File Shares
- Managing Bookmarks
- Using Bookmarks
- Logging Out of the Virtual Office
Using File Shares
112
SonicWALL SSL VPN 5.0 User Guide
To create a file share, perform the following steps:
Step 1 Click on the File Shares button. Virtual Office displays a dialog box that provides a hot link to
a login prompt.
Note Pop-up window blockers may prevent File Shares from functioning properly. Configure your
browser to allow pop-up windows on the SSL VPN portal site.
Step 2 To specify a new share path (as an example, \\moosedc) in the Address field. You need to
precede the share name with two back slashes. For example: \\file-directory01.example.com.
Step 3 To connect to a pre-existing file share, click the Login to Server link next to the file share name.
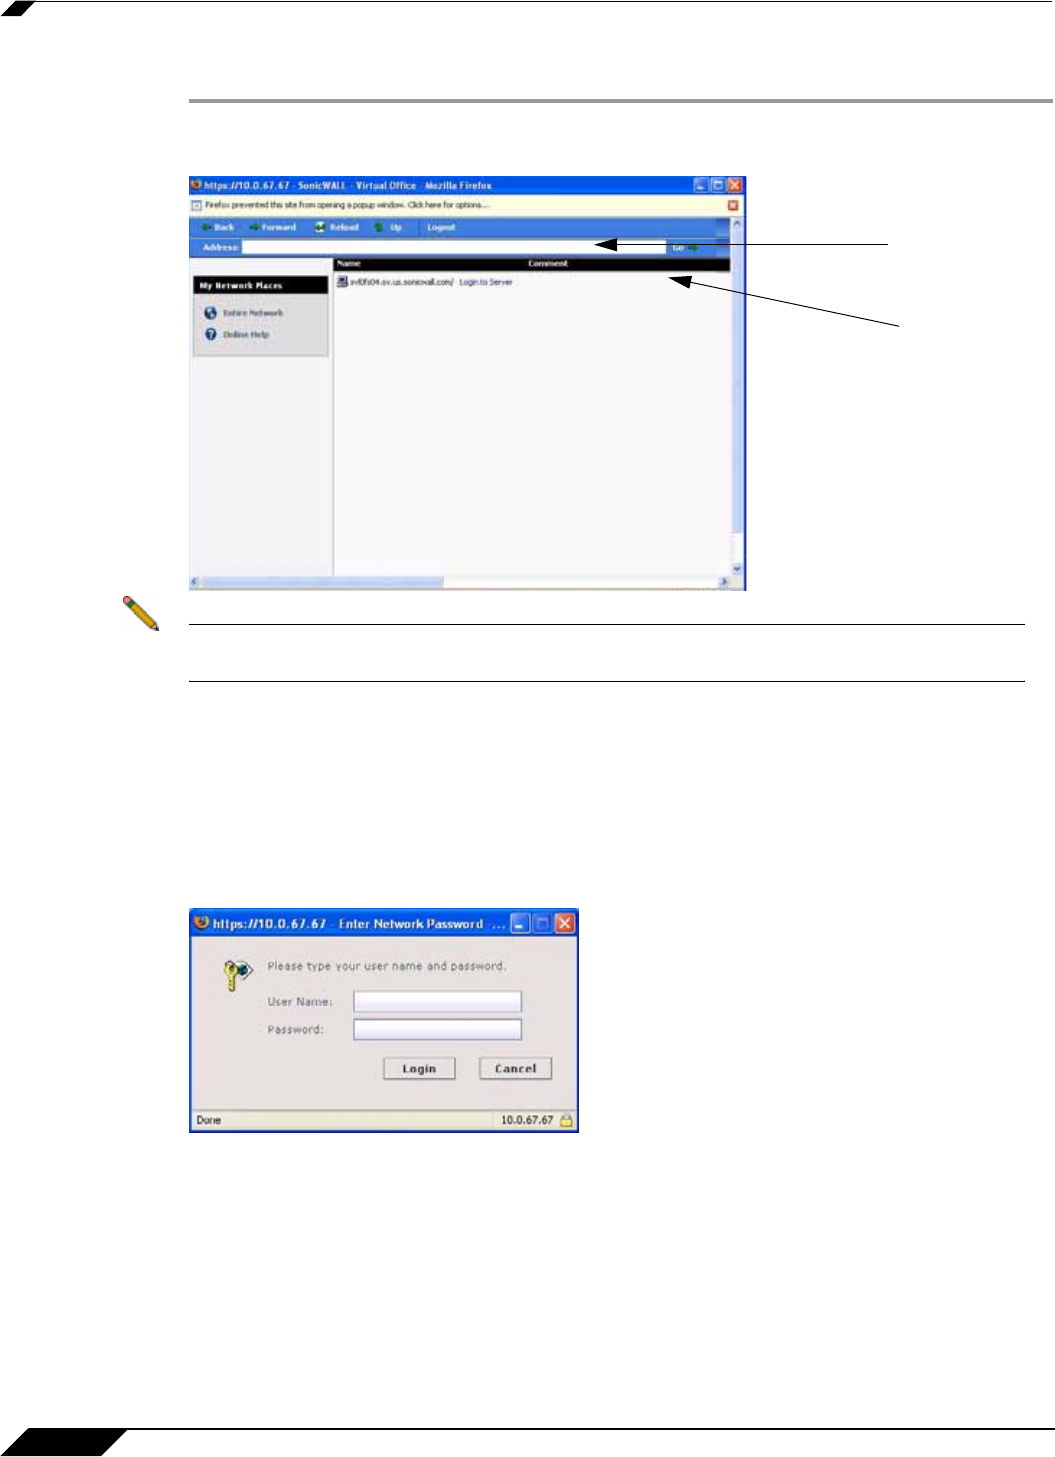
Step 4 Click the go prompt to display the Enter Network Password dialog box.
Step 5 Type a valid username in the User Name field and a valid password in the Password field and
click Login.
Login
Address