
User's Manual
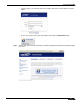
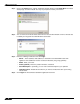


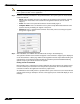


Table Of Contents
- Using This Guide
- Virtual Office Overview
- Using Virtual Office Features
- Importing Certificates
- Using Two-Factor Authentication
- Using One-Time Passwords
- Using NetExtender
- User Prerequisites
- User Configuration Tasks
- Installing NetExtender Using the Mozilla Firefox Browser
- Installing NetExtender Using the Internet Explorer Browser
- Launching NetExtender Directly from Your Computer
- Configuring NetExtender Properties
- Configuring NetExtender Connection Scripts
- Configuring Proxy Settings
- Configuring NetExtender Log Properties
- Configuring NetExtender Advanced Properties
- Viewing the NetExtender Log
- Disconnecting NetExtender
- Upgrading NetExtender
- Changing Passwords
- Authentication Methods
- Uninstalling NetExtender
- Verifying NetExtender Operation from the System Tray
- Using the NetExtender Command Line Interface
- Installing NetExtender on MacOS
- Using NetExtender on MacOS
- Installing and Using NetExtender on Linux
- Installing and Using NetExtender for Windows Mobile
- Passwords in NetExtender Mobile
- Installing NetExtender on Android Smartphones
- Using NetExtender on Android Smartphones
- Related Documents
- Using Virtual Assist
- Understanding Virtual Assist
- Installing and Launching Virtual Assist
- Configuring Virtual Assist Settings
- Selecting a Virtual Assist Mode
- Launching a Virtual Assist Technician Session
- Performing Virtual Assist Technician Tasks
- Using Virtual Assist from the Customer View
- Using Virtual Assist in Unattended Mode
- Enabling a System for Virtual Access
- Using the Request Assistance Feature
- Using File Shares
- Managing Bookmarks
- Using Bookmarks
- Logging Out of the Virtual Office
Using File Shares
100
SonicWALL SSL VPN 5.0 User Guide
Using the Java File Shares Applet
While loading the browser interface, warning messages might display. These messages will
look different for different browsers. For the purpose of these examples, Internet Explorer 6.0
was used.
Step 1 If you are not logged into the SSL VPN Virtual Office user interface, open a Web browser and
type the Virtual Office interface URL in the Location or Address bar and press Enter. Type in
your user name in the User Name field and your password in the Password field, then select
the appropriate domain from the Domain pull-down. Click Login.
Step 2 Launch File Shares Applet by clicking the File Shares button, or clicking on a link with the File
Shares Applet enabled. The File Shares Applet will launch in a new window, separate from the
Virtual Office portal.
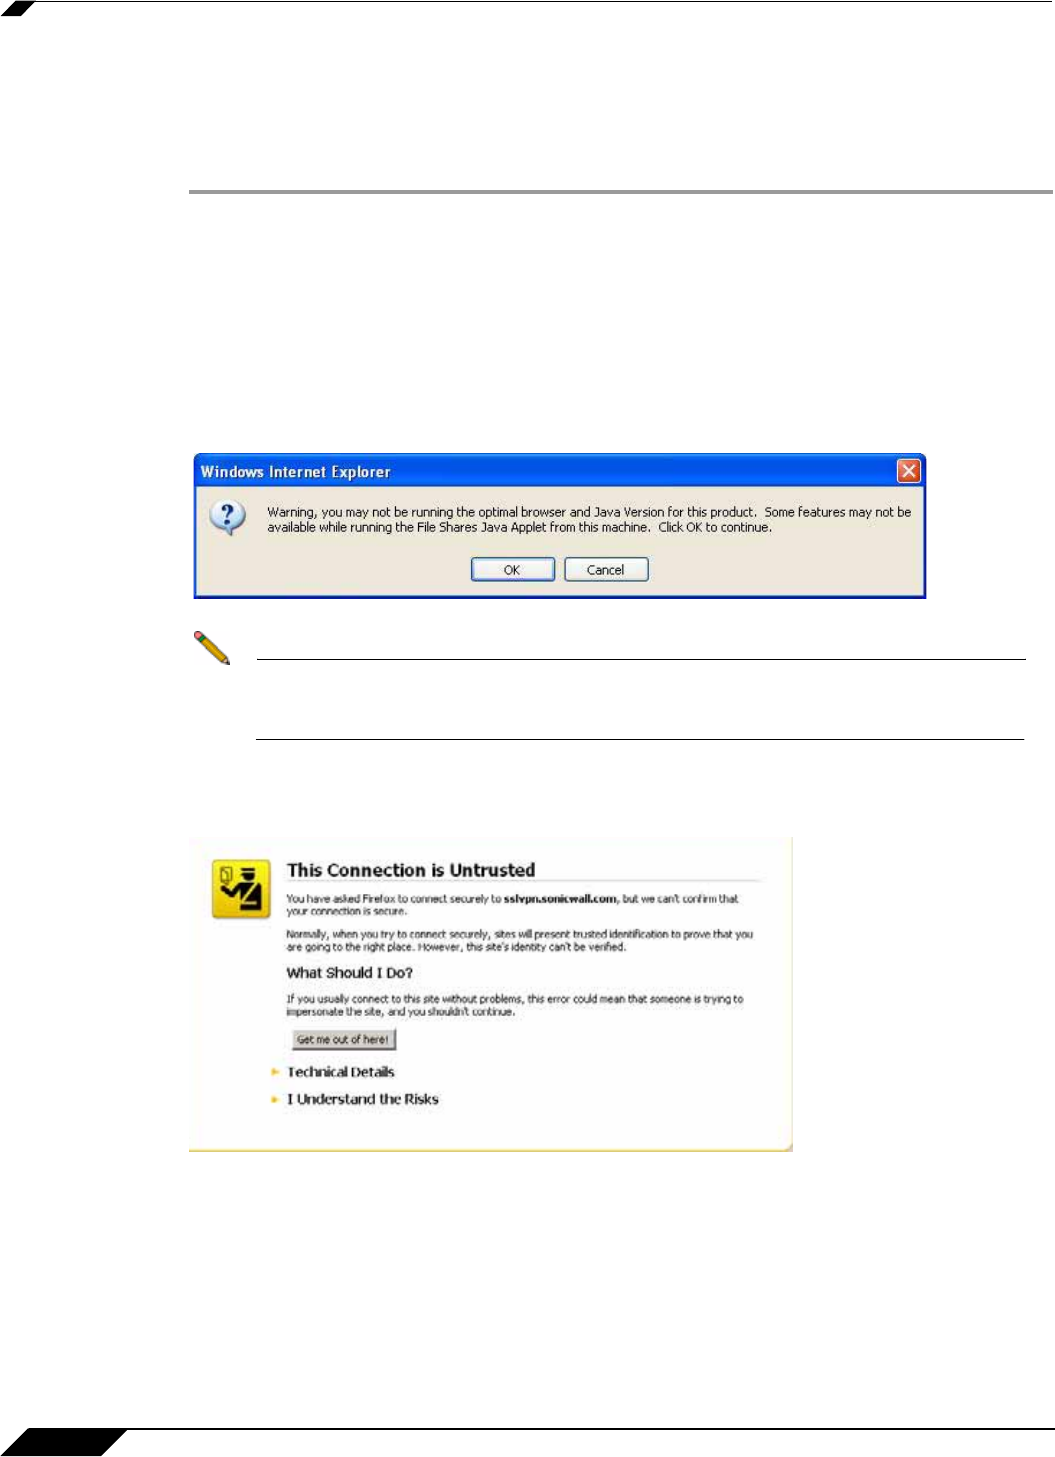
Step 3 Depending on available browser and Java plug-in, a warning may display, click OK to continue.
Note To avoid this warning, upgrade browser to Internet Explorer 7.0 or newer, Firefox 3.0
or newer, Chrome 6.0 or newer, or Safari 5.0 or newer. Also updates to Java 5.0
Update 10 or newer are recommended.
Step 4 Depending on the networks configurations and browser, one or more security warnings may
display. Follow the instructions to accept the certificate for the server.