
Installation Guide
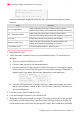


Table Of Contents
- Disclaimers
- Revision History
- HANDLING AND SAFETY INSTRUCTIONS
- IMPORTANT INVERTER SAFETY INSTRUCTIONS
- Chapter 1: Overview
- Chapter 2: Installing the Power Optimizers
- Chapter 3: Installing the Inverter
- Chapter 4: Auto-transformer and Backed-up Loads Panel Installation (for Backup)
- Chapter 5: Meter Installation
- Chapter 6: Commissioning the Installation
- Chapter 7: StorEdge Inverter Connections
- Chapter 8: User Interface
- Chapter 9: Setting Up Communication to the Monitoring Platform
- Chapter 10: System Configuration
- Appendix A: Troubleshooting
- Appendix B: Opening Conduit Drill Guides
- Appendix C: Replacing and Adding System Components
- Appendix D: External Rapid Shutdown
- Appendix E: Mechanical Specifications
- Appendix F: Powering the LG Chem Battery Off and On
- StorEdge Single Phase Inverter with Connection Unit for High Power Technical ...
S e l f - t e s t c o m p l e t e d
s u c c e s s f u l l y
A n y b u t t o n t o c o n t .
If an error message is displayed during the test, use the following table to resolve
the error.
Error Solution
Bat 1 charge failed
Check that the power and communication cables
between the battery and inverter are properly connected.
Bat 1 discharge failed
Check that the power and communication cables
between the battery and inverter are properly connected.
Low SOE
Charge the battery to 20 percent SOEat least.
Battery comm. error
Check that the communication cables between the
battery and inverter are properly connected.
Turn switch to On Turn the inverter ON/OFF switch to ON.
To test the meter and inverter:
1. Verify that ACis ON.
2.
Check the meter (installed in export or consumption position, CT arrows point to
the grid):
a. Turn the inverter ON/OFFswitch to OFF.
b. Connect loads on one of the measured phases.
c.
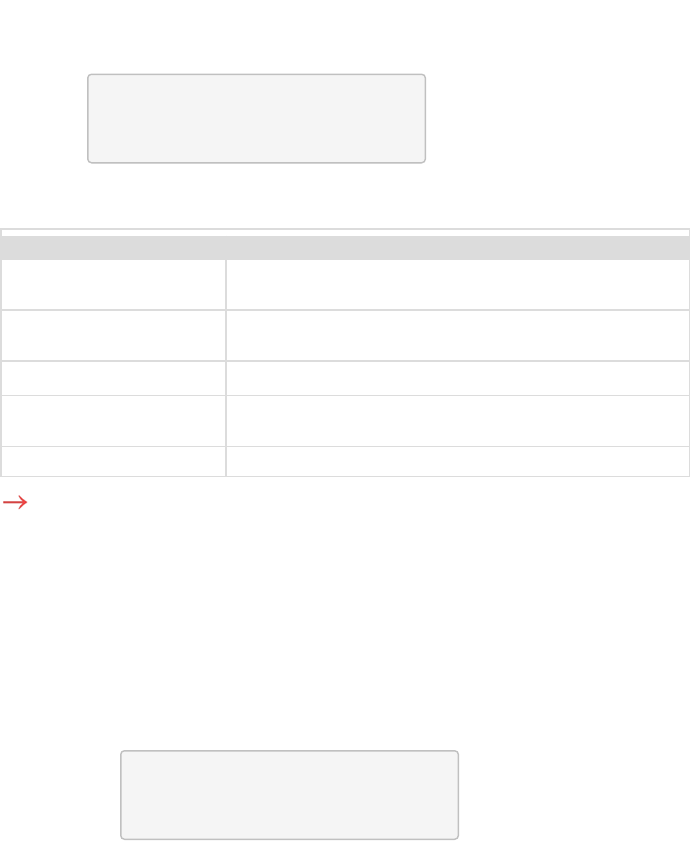
Press the external LCD light button to display the Import or Consumption meter
status screen, and check that the import or consumption energy (Energy[Wh]) is
greater than 0 (may take a few minutes, depending on the loads size):
I m p o r t M e t e r
S t a t u s : < O K / E r r o r # >
P o w e r [ W ] : x x x x x . x
E n e r g y [ W h ] : X X X X X . X
d. Press the LCD light button to display the Export meter status screen, and check
that the Export power is equal to zero. If it is not zero, check the CT direction on
all connected phases.
3. Turn the inverter ON/OFFswitch to ON.
4. Turn the StorEdge Connection Unit switch to ON.
5.
While the modules are exposed to sunlight (PV system is connected to the grid and
the inverter is producing power), press the inverter LCD light button to display the
power status screen, and check that the grid ACoutput (Vac) increases to 220-240V,
StorEdge Solution with Backup MAN-01-00262-1.5
120 Verifying StorEdge Components Functionality