
Installation Guide


Table Of Contents
- Disclaimers
- Support and Contact Information
- Revision History
- Contents
- HANDLING AND SAFETY INSTRUCTIONS
- IMPORTANT SAFETY INSTRUCTIONS
- Chapter 1: Introducing the SolarEdge Power Harvesting System
- Chapter 2: Installing the Power Optimizers
- Chapter 3: Installing the Inverter
- Chapter 4: Connecting the AC and the Strings to the Safety Switch
- Chapter 5: Commissioning the Installation
- Chapter 6: User Interface
- Chapter 7: Setting Up Communication
- Appendix A: Errors and Troubleshooting
- Appendix B: Mechanical Specifications
- Appendix C: External Fan Maintenance and Replacement
- Appendix D: Replacing and Adding System Components
- Appendix E: Determining the Circuit Breaker Size
- Technical Specifications - Single Phase Inverters (North America)
- Technical Specifications - Three Phase Inverters (North America)
Appendix D: Replacing and Adding System
Components
This appendix includes replacement procedures for the SolarEdge system components.
For inverter or Safety Switch replacement, typically only the part to be replaced is
supplied (not both inverter and Safety Switch). In this case, the Safety Switch should be
disconnected from the inverter as described herein.
NOTE
If you are permanently disassembling the installation or part of it, make sure to
use the disposal methods dictated by local regulations.
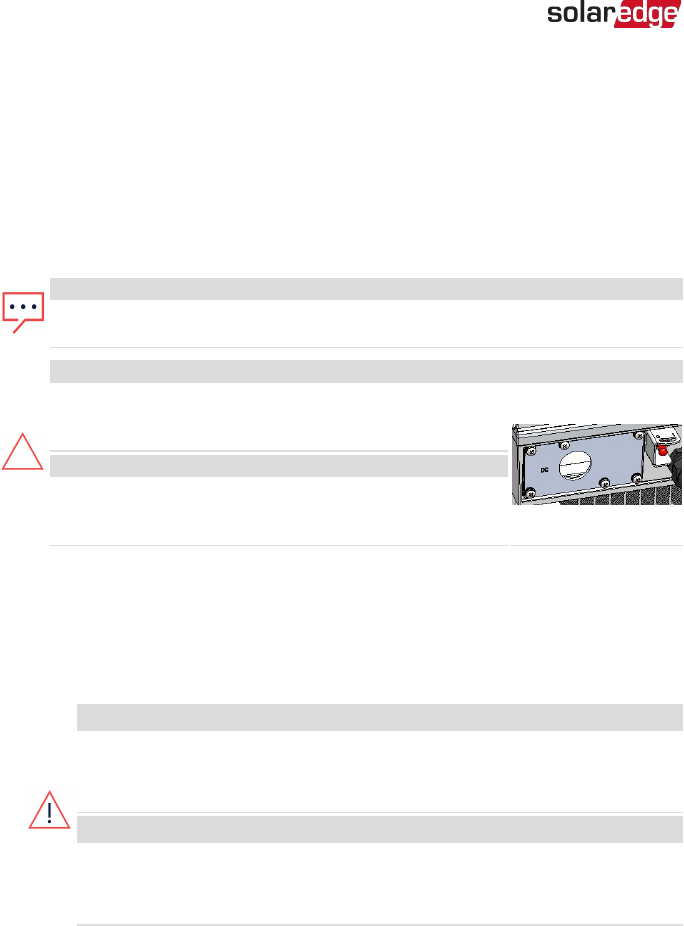
CAUTION!
Do not remove the six screws on the DC conduit metal
panel as it may harm the inverter sealing and void the
warranty.
ATTENTION!
Ces vis ne doivent pas être retirées. Les enlever est
susceptible d’endommager l’étanchéité de l’onduleur et
annuler la validité de la garantie.
Replacing an Inverter
1. Turn OFF the Safety Switch (if applicable).
2. Turn OFF the inverter ON/OFF switch, and wait until the LCD indicates that the DC
voltage is safe (<50V), or wait five minutes before continuing to the next step.
WARNING!
If you cannot see the inverter panel, or if a malfunction is indicated on the
LCD panel, wait five minutes for the input capacitors of the inverter to
discharge.
AVERTISSEMENT!
Si vous ne pouvez pas voir l'écran de l'onduleur ou si un dysfonctionnement
est indiqué sur l'écran LCD, attendez cinq minutes pour que les
condensateurs d'entrée de l'onduleur soient déchargés.
3. Disconnect the AC to the inverter by turning OFF the circuit breakers on the
distribution panel.
4. Open the inverter cover as described in
Removing the Inverter Cover
on page 86.
-Three Phase System Installation Guide MAN-01-00002-4.3
104 Appendix D: Replacing and Adding System Components