
User's Manual


Draft 4/14/15- Do Not Distribute
142
System Settings Operations Paired Devices
The M2 Scope/Meter only needs to be paired once before it’s initial use. The connection
configuration should remain in memory for all future uses. If the connection configuration is
removed or lost the pairing procedure will need to be repeated.
Before pairing, make sure the M2 Scope/Meter and the Diagnostic Tool have fully charged
batteries, or are connected to their AC/DC power supplies. It is highly recommended that both
devices be powered by their respective AC/DC power supplies during the paring operation. The
two devices to be paired should also be in close proximity to each other, and in an area that is
relatively free of radio frequency interference.
NOTE:
i The M2 Scope/Meter can only be paired with one Diagnostic Tool at a time.
z To pair the M2 Scope/Meter with the Diagnostic Tool:
1. Turn on the Diagnostic Tool and M2 Scope/Meter.
2. Set the M2 Scope/Meter Rotary Switch to the oscilloscope position.
3. Press and hold the F1 key of the M2 Scope/Meter to open the alternate menu.
An alternate menu option for the F4 key is now displayed.
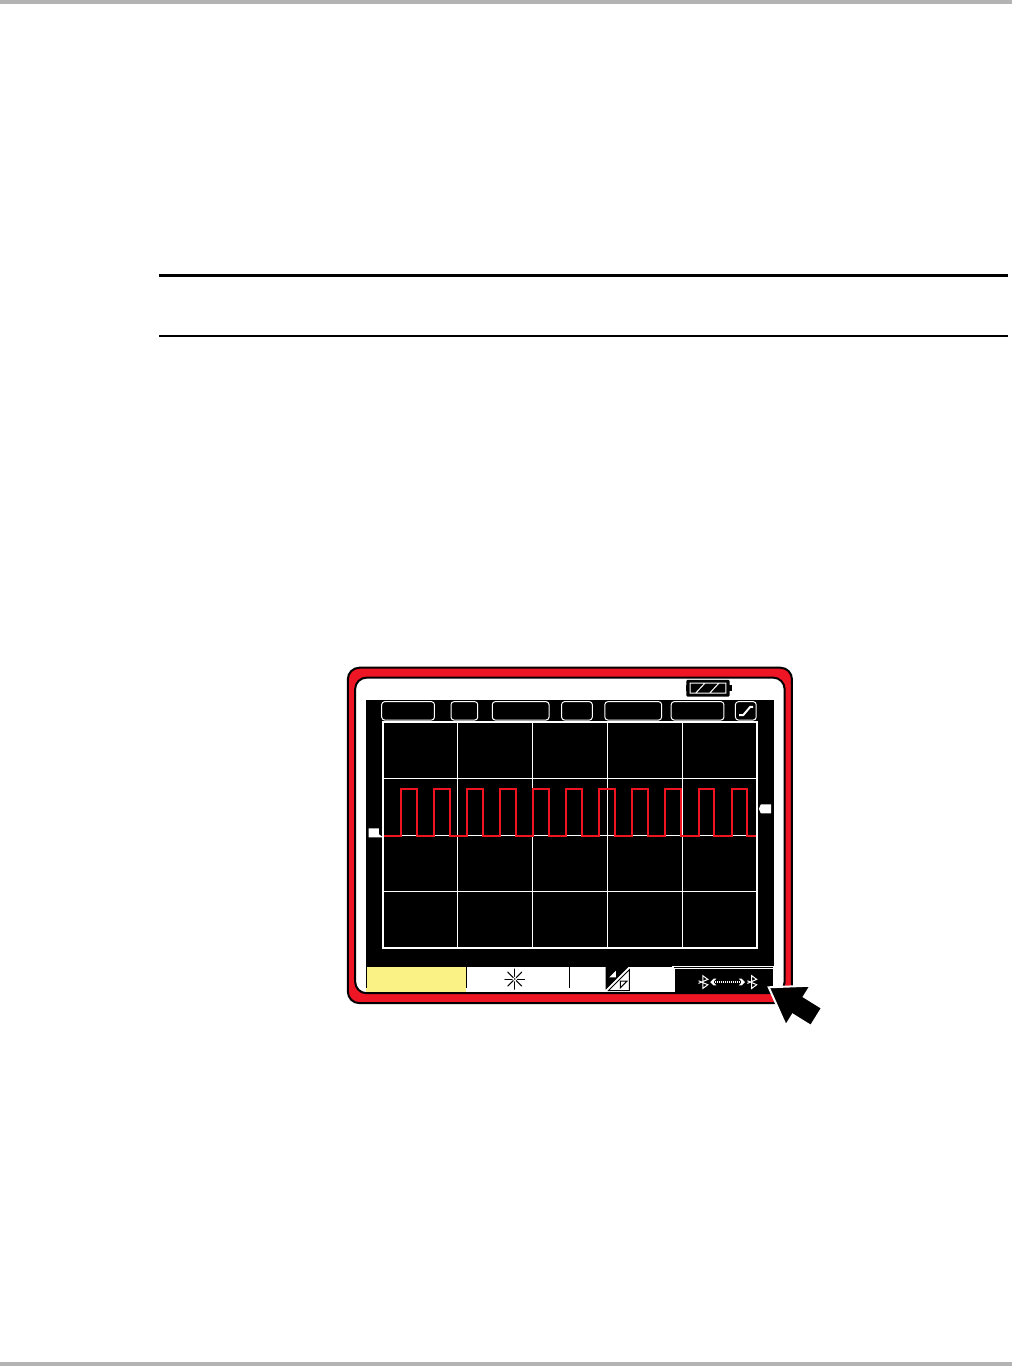
4. Press the F4 key (once) to enable Bluetooth Discovery. Enabling Bluetooth Discovery allows
the M2 Scope/Meter to be identified and paired to the Diagnostic Tool.
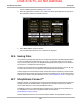
The F4 field on the screen switches to inverse video (white on black) when the Bluetooth
Discovery mode becomes enabled (Figure 14-2).
Figure 14-2 Bluetooth Discovery (shown enabled “on”)
&+
'&
P6
7$872
7&+
9
9'LY
7
'
$I
' ' '
%JTQMBZ
'