
Manual

21
FIGURE 31
FIGURE
32
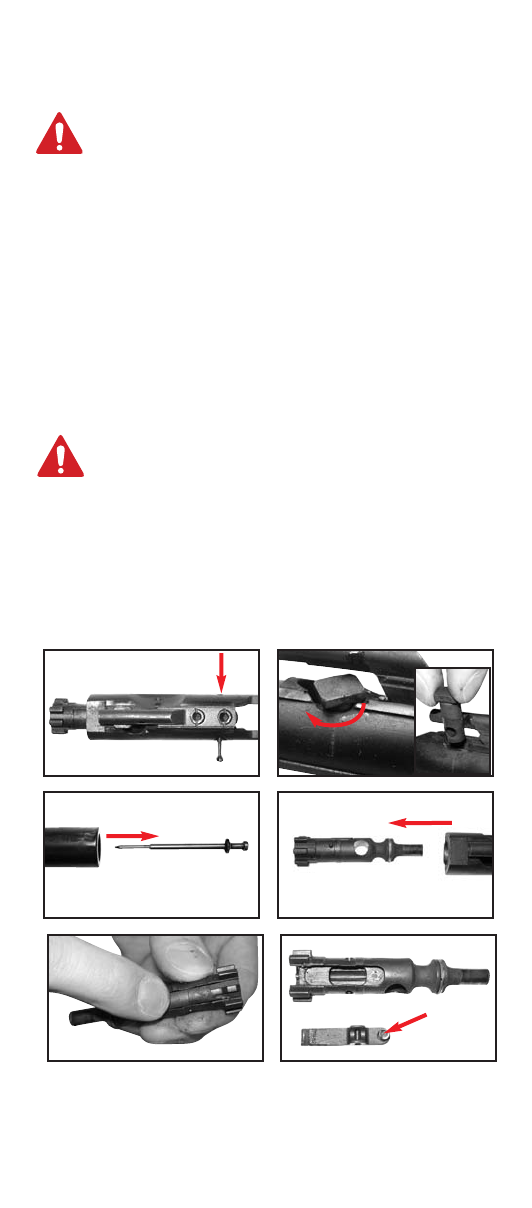
FIGURE 27
FIGURE 28
FIGURE 29
FIGURE 30
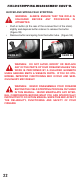
WARNING: DO NOT DISASSEMBLE THE EXTRACTOR
OR THE SPRING ASSEMBLY.
• Press the rear of the extractor to check that the spring works.
(Figure 31) If there is no tension, you must take the extractor ‘
apart and clean the parts.
• Use a drift/pen tip to remove the extractor pin.
• Remove the extractor from the bolt. Do not remove the rubber
grommet from the spring. (Figure 32)
SPECIAL COMPONENT DISASSEMBLY CONT’D.
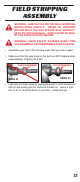
BOLT FIELD STRIPPING
WARNING: ALWAYS ENSURE THAT THE RIFLE IS
UNLOADED BEFORE ANY PROCEDURE IS
ATTEMPTED.
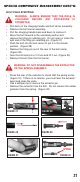
• Pull back on the charging handle and bolt carrier assembly.
• Remove the bolt carrier assembly.
• Pull the charging handle back and down to remove it.
• Move the bolt forward to the unlocked position and
remove the firing pin retaining pin. Do not open or close the
split end of the firing pin retaining pin. (Figure 27)
• Push the bolt into the bolt carrier to put it in the locked
position. (Figure 28)
• Remove the firing pin out of the rear of the bolt carrier.
(Figure 29)
• Give the bolt cam pin a 1/4 turn and lift it out. (Figure 30)
• Remove the bolt from the bolt carrier.
SPRING