
User's Manual
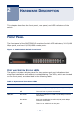

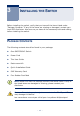
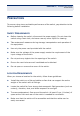


Table Of Contents
C
HAPTER
3
| Installing the Switch
Installation
– 16 –
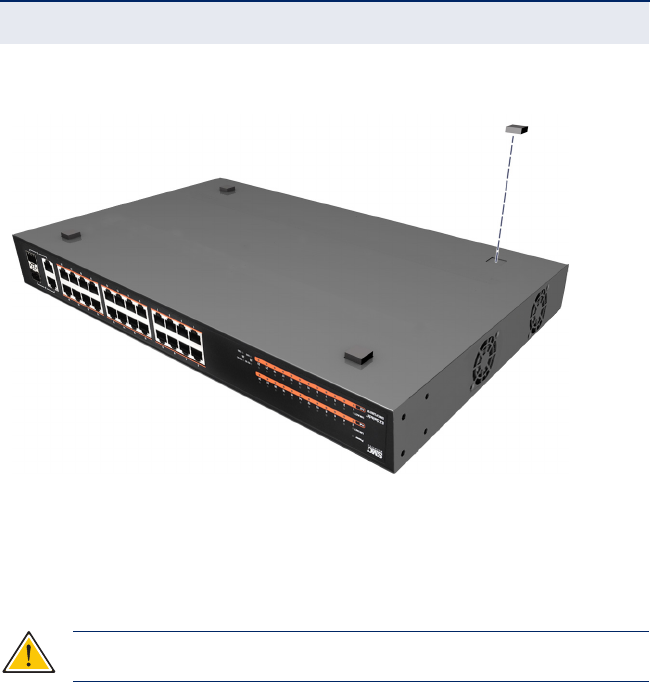
Figure 3: Attaching Rubber Feet
4. Upturn the switch and set in the desired location, making sure there is
enough ventilation space on all sides for proper airflow.
5. Connect the switch to a power source with the provided power cord. See
“How to Connect to AC Power” on page 18.
RACK INSTALLATION
To install the switch in an EIA standard-sized, 19-inch rack, follow the
instructions described below:
1. Secure the supplied rack-mounting brackets to each side of the switch with
supplied screws, as illustrated in the following figure.
C
AUTION
:
Avoid placing anything heavy on the switch.