
User manual
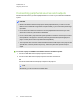

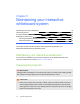

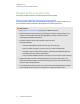
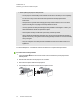
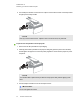
Table Of Contents
- Contents
- Important information
- Chapter 1: About your interactive whiteboard system
- Chapter 2: Installing your interactive whiteboard system
- Chapter 3: Using your interactive whiteboard system
- Appendix 4: Integrating other devices
- Chapter 5: Maintaining your interactive whiteboard system
- Chapter 6: Troubleshooting your interactive whiteboard system
- Before you start
- Determining your interactive whiteboard system’s status
- Resolving interactive whiteboard issues
- Resolving projector issues
- Resolving ECP issues
- Accessing the service menu
- Transporting your interactive whiteboard system
- Appendix A: Remotely managing your system through a network interface
- Appendix B: Remotely managing your system through an RS-232 serial interface
- Connecting your room control system to the ECP
- Projector programming commands
- Appendix C: Remote control code definitions
- Appendix D: Hardware environmental compliance
- Index
C H A P T E R 5
Maintaining your interactive whiteboard system
39 smarttech.com/kb/170401
5. Use a Phillips screwdriver to loosen the two captive screws from the bottom of the lamp module
and gently remove lamp module.
A
B
N O T E
Don’t try to remove these screws. Captive screws can’t be removed, only loosened.
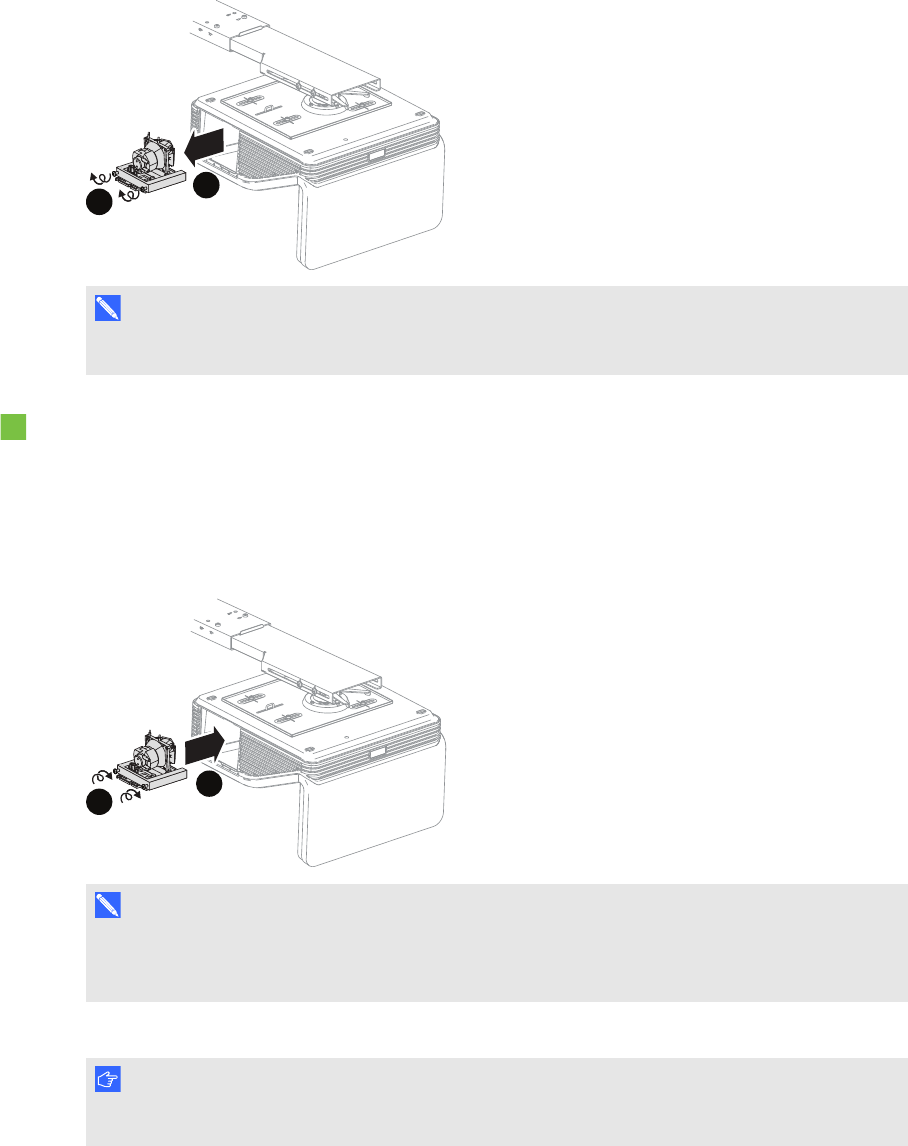
To put the new lamp module into the projector
1. Remove the new lamp module from its packaging.
2. Carefully place the lamp module into the projector and gently press the power end of the lamp
module against the projector to ensure the power plug makes contact with the projector’s power
receptacle.
A
B
N O T E
You should be able to place the lamp module into the projector easily without applying much
force.
3. Use the Phillips screwdriver to secure the captive screws.
I M P O R T A N T
Do not over-tighten the screws.