
Operation Manual


WPS
Wi-Fi Protected Setup (WPS) is the simplest way to establish a connection between the wireless
clients and the wireless router. You don’t have to select the encryption mode and fill in a long
encryption passphrase every time when you try to setup a wireless connection. You only need
to press a button on both wireless client and wireless router, and WPS will do the rest for you.
The wireless router supports two types of WPS: WPS via Push Button and WPS via PIN code. If
you want to use the Push Button, you have to push a specific button on the wireless client or in
the utility of the wireless client to start the WPS mode, and switch the wireless router to WPS
mode. You can simply push the WPS button of the wireless router, or click the ‘Start to Process’
button in the web configuration interface. If you want to use the PIN code, you have to know
the PIN code of the wireless client and switch it to WPS mode, then fill-in the PIN code of the
wireless client through the web configuration interface of the wireless router.
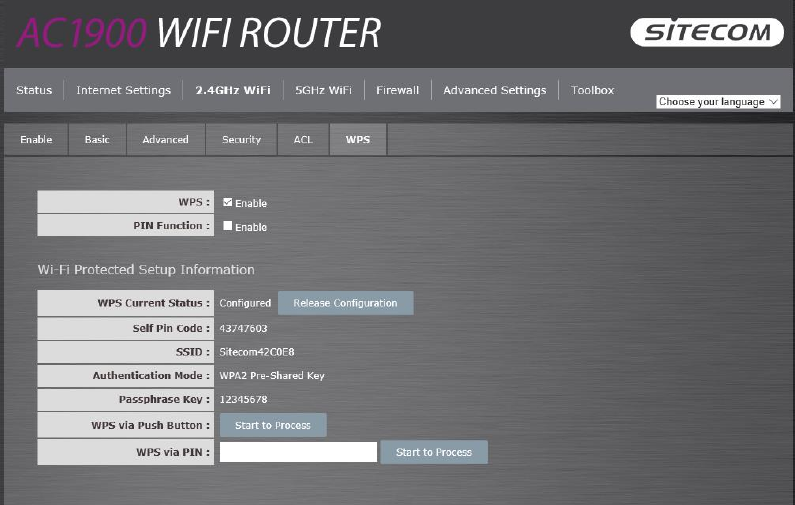
• WPS: Check the box to enable WPS function and uncheck it to disable the WPS
function.
• WPS Current Status: If the wireless security (encryption) function of this wireless
router is properly set, you’ll see a ‘Configured’ message here. Otherwise, you’ll see
‘UnConfigured’.
• Self-Pin Code: This is the WPS PIN code of the wireless router. You may need this
information when connecting to other WPS-enabled wireless devices.
• SSID: This is the network broadcast name (SSID) of the router.
• Authentication Mode: It shows the active authentication mode for the wireless
connection.
• Passphrase Key: It shows the passphrase key that is randomly generated by the
wireless router during the WPS process. You may need this information when using
a device which doesn’t support WPS.
• WPS via Push Button: Press the button to start the WPS process. The router will wait
for the WPS request from the wireless devices within 2 minutes.