
Installation Type

INSTALLATION
10. Drill pilot holes in the locations marked in the previous step.
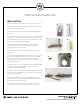
11. Reinsert the deadbolt latch bolt and attach the face plate with
the provided mounting hardware.
12. Repeat the previous steps for the handle face plate (D) and
latch bolt.
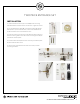
13. Push the handle latch bolt in and insert the spindle (E) through
the latch bolt mechanism so that the split in the spindle is in the
center of the latch bolt. Turn the spindle in the latch bolt to make
sure the spindle engages the latch bolt (F).
14. To attach the mounting tubes (G), thread the short hex
screws (H) onto the two exterior escutcheon holes (I) and
tighten with a hex wrench to secure.
15. Thread the mounting tubes (G) onto the hex screws and
tighten (J).
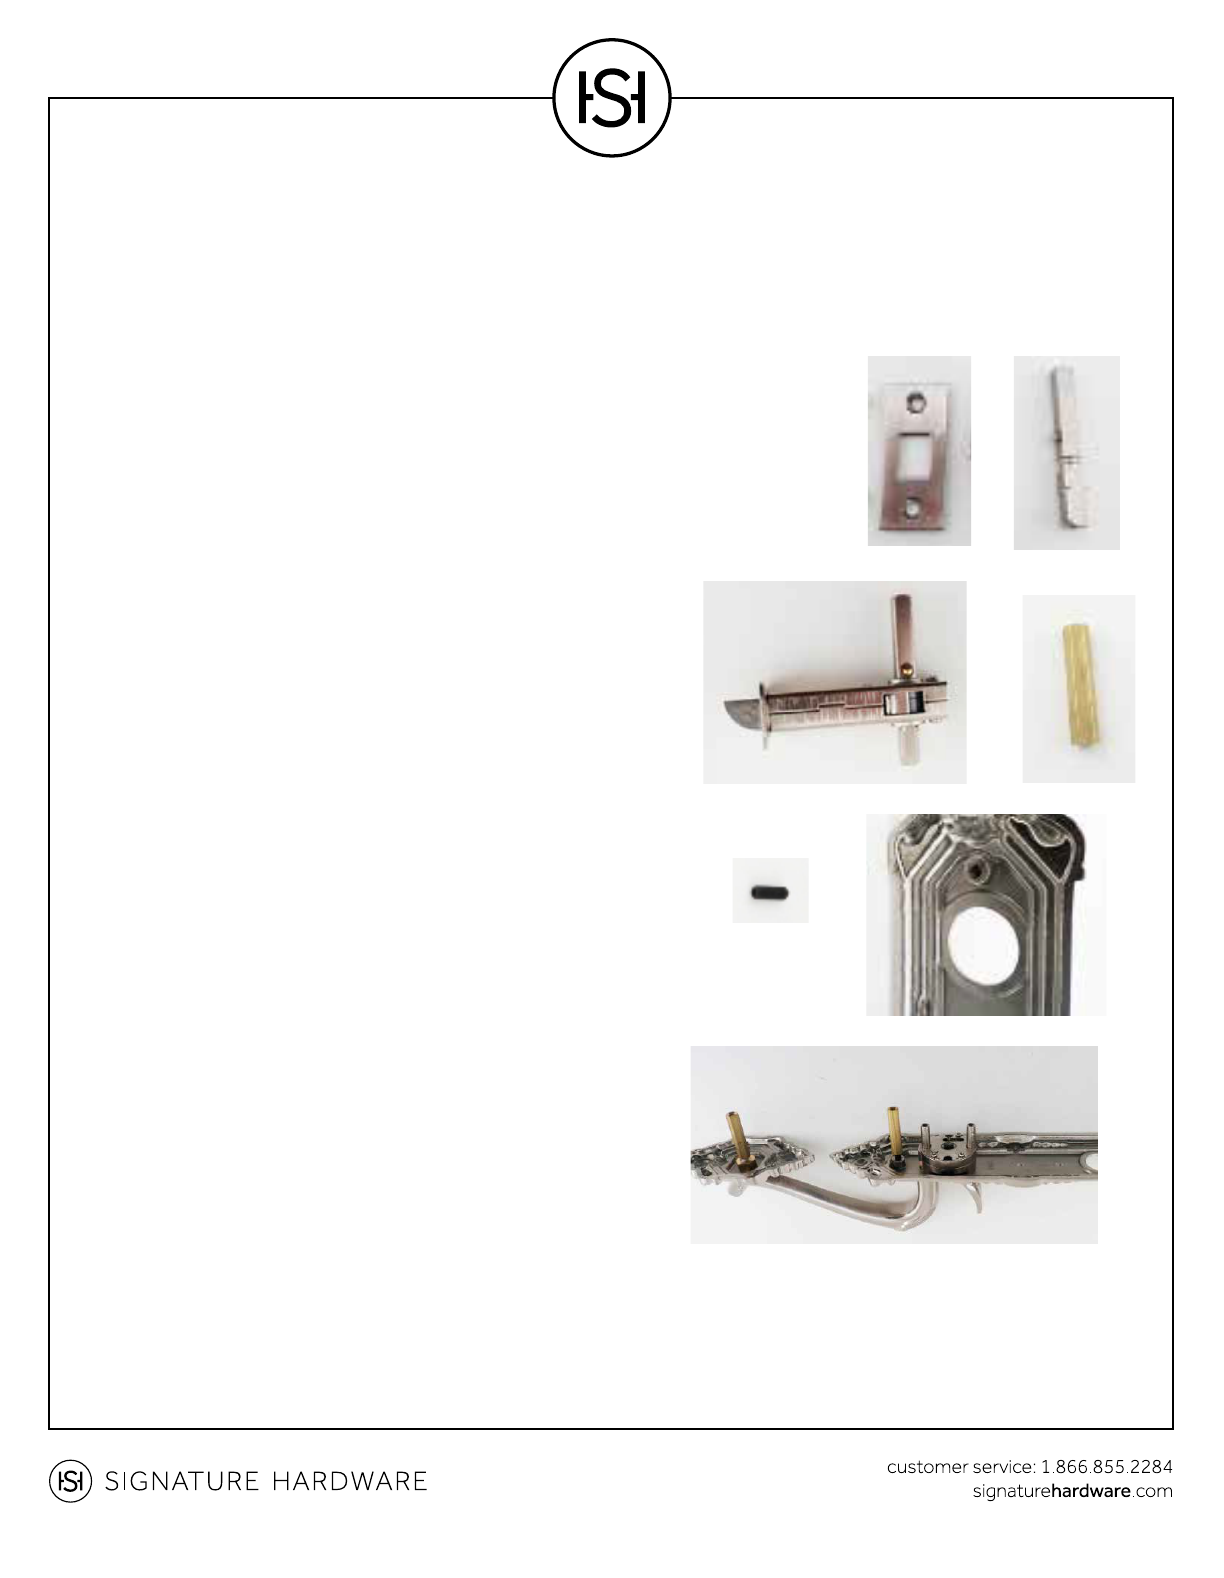
16. Insert the deadbolt cylinder (K) into the exterior escutcheon.
Make sure the cylinder tail piece is vertical. Push the deadbolt
latch bolt in and fit the exterior escutcheon onto the door,
keeping the tail piece vertical and making sure to fit the exterior
handle over the spindle.
17. Hold the interior mounting plate (L) in place with the deadbolt
cylinder in the center hole and attach to the door with the
provided mounting hardware (M).
18. Place the interior escutcheon on the door with the door knob
over the spindle. The deadbolt cylinder tail piece fits into the slot
on the interior escutcheon.
19. Hand-thread the long mounting screws (N) through the
interior escutcheon into the mounting tubes attached in step
10. Tighten firmly with a screwdriver.
20. Check both latch bolts to make sure they are functioning
correctly. If necessary, unscrew the escutcheons to adjust.
TWO PIECE ENTRANCE SET
2wo-Piece Entrance Set Installation Instructions
D
E
F
G
H
I
J