Programme Choice To enable you to select the programme most suitable for your needs we offer a choice of 3 programmes. Daily; Which means the unit will come ON and go OFF at the same times each day. Weekday/Weekend; Which means the unit can be altered for weekdays and weekends. 7 Day; Which means the unit can be set to come ON and go OFF differently on every or any day. Please refer to the dipswitch positions on the following pages. 4 3 2 1 L N Dip switches Fig.
Dipswitches To change the dipswitch positions first switch off the mains supply and then remove the unit from its backplate by simply loosening the two screws and pulling towards you. To select the dipswitch position for Daily Programming dipswitch 1 should be up and 2, 3 & 4 should be down. To select the dipswitch position for Weekday/Weekend Programming dipswitches 1, 3 & 4 should be down and 2 should be up.
Installation Please take a little time to fully read these installation and user instructions so as to gain the most from your RWB29. 1. First remove the backplate from the RWB29 by undoing the two small screws at the base of the unit and lift out from the bottom so that the two lugs at the top disengage from their positions. 2. The RWB29 is factory set to provide 2 on/off switching periods per day and each day will be the same, i.e. daily operation.
3. Your operating styles are:DAILY To select the dipswitch position for Daily Programming dipswitch 1 should be up and 2, 3 & 4 should be down. 5 DAY/2 DAY To select the dipswitch position for Weekday/Weekend Programming dipswitches 1, 3 & 4 should be down and 2 should be up. 7 DAY To select the dipswitch position for 7 Day Programming dipswitches 1, 2 & 4 should be down and 3 should be up.
4. Once you have completed the above you are now ready to connect the RWB29 to the backplate, If the RWB29 is replacing another Landis & Gyr or Landis & Staefa product as listed below no wiring changes are required, RWB1, RWB2, RWB20, RWB40, RWB200, RWB200cw, RWB252, RWB252cw, RWB270, RWBXP, Gloworm Mastermind, Potterton Miniminder, Sankey Sunline. 5. If the RWB29 is replacing another Landis & Gyr or Landis & Staefa product as listed below, these products are NOT suitable for replacement by the RWB29.
7. Backplate The RWB29 is supplied with the industry standard backplate to which the system must be wired. The backplate can be fitted directly to the wall or onto a conduit box. Only conduit boxes which comply with BS1363 or BS4662 (single gang) should be used. 8. RWB29 Internal Wiring Diagram (For more information see enclosed separate wiring and interchange sheet.
NOTE: All external wiring must comply with current IEE regulations. Wiring of this unit should be carried out by a competent electrician. Whilst every effort is made to ensure accuracy of the instructions given, you will appreciate that discrepancies may occur due to a variety of reasons outside our control. If, after wiring your system, you find that it does not work properly you should:• Check that you have used the correct system and wired it correctly.
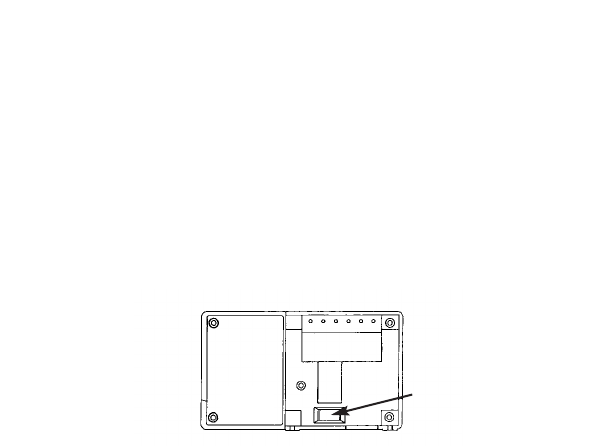
9. Fitting the Unit to the Backplate Tilt the bottom of the case away from the wall, and locate the two slots in the top of the case over the two tabs at the top of the backplate. Push the bottom of the case towards the wall, slotting the two backplate screws into the bottom of the case, and tighten the screws. This enables the contacts in the unit to engage with those in the backplate. Technical Data RWB29 Preset Factory Settings 2 on/off 6.30am to 8.30am and 4.30pm to 10.