
User Manual

Graphics engineering
Dashboards
6
162 | 196
A6V11604297_en--_e
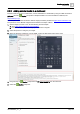
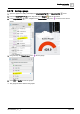
6.4.4 Adding or replacing a background image
This procedure adds a new image or replaces the existing background image for a tab. Each tab of the
dashboard can have a unique background image.
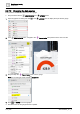
This procedure uses the PROPERTIES and LAYERS panes.
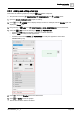
1. Open the Sample dashboard public graphic for editing.
2. Click in the LAYERS pane to display the layer to edit. For example, hide the Weather layer and
display the Energy layer.
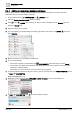
3. Expand the layer you are editing.
4. If you are replacing an existing background image, right-click on the image in the LAYERS pane and
select DELETE.
5. Make sure the layer you are editing is still selected.
6. Do one of the following:
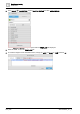
– If the image is already in the database, click VIEW ASSETS, select the image, and click Import.
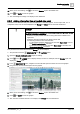
– If the image is not already in the database, drag the file from your local computer and drop it onto the
work area in Graphics Builder.
The image is now in the Assets and can be reused in other graphics.
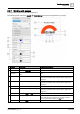
7. To resize the image, select it and drag its corners or specify an image size in the POSITION & SIZE section
of BASIC PROPERTIES.
BASIC PROPERTIES [➙ 71]
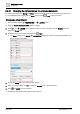
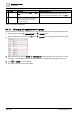
8. Right-click on the image and select ARRANGE > SEND TO BACK to set it as the background.
9. In BASIC PROPERTIES, click to lock the background layer.